101: Silent Hill Townfall, or Silent Hill, But We're in Scotland Now
Happy Spooky Season everyone! It’s that time again, that special time of year where we take our annual vacation to Silent Hill. A brand new game dropped and of course I was first in line to grab it. This year we’re looking at Silent Hill: Townfall. If you missed any of our previous vacations, here’s the list:
007: The Worst Vacation or That Time SoraRabbit Played Silent Hill 2 Yet Again
029: Silent Hill Shattered Memories, or Harry Runs Away Repeatedly
047: Harry's Bad Trip, or SoraRabbit Plays More Silent Hill
058: Heather Visits Her Hometown, or Silent Hill Time Again!
068: The Staycation From Hell, or SoraRabbit Revisits Silent Hill
079: A Brief Visit To Silent Hill
081: Revisited, Remade, Reborn, or SoraRabbit Plays Silent Hill 2 AGAIN
089: Silent Hill f Part 1, or Silent Hill But We're in Japan Now
Title. (Credit: Konami, Screen Burn Interactive)
Silent Hill: Townfall was developed by Screen Burn Interactive, published by Konami Digital Entertainment and Annapurna Interactive. It was released in 2026 for PlayStation 5 and Windows. I played the Steam version for this post because I’m done giving Sony my money. They know what they did.
The downside of playing on Steam is that there were performance and graphics issues and I was tinkering with the settings throughout my play, trying to get the game to look and perform better. An update was rolled out after about a week that helped a bit, but there were still intermediate framerate stuttering, annoying rendering delays, and times the graphics had strange qualities that I couldn’t quite smooth out.
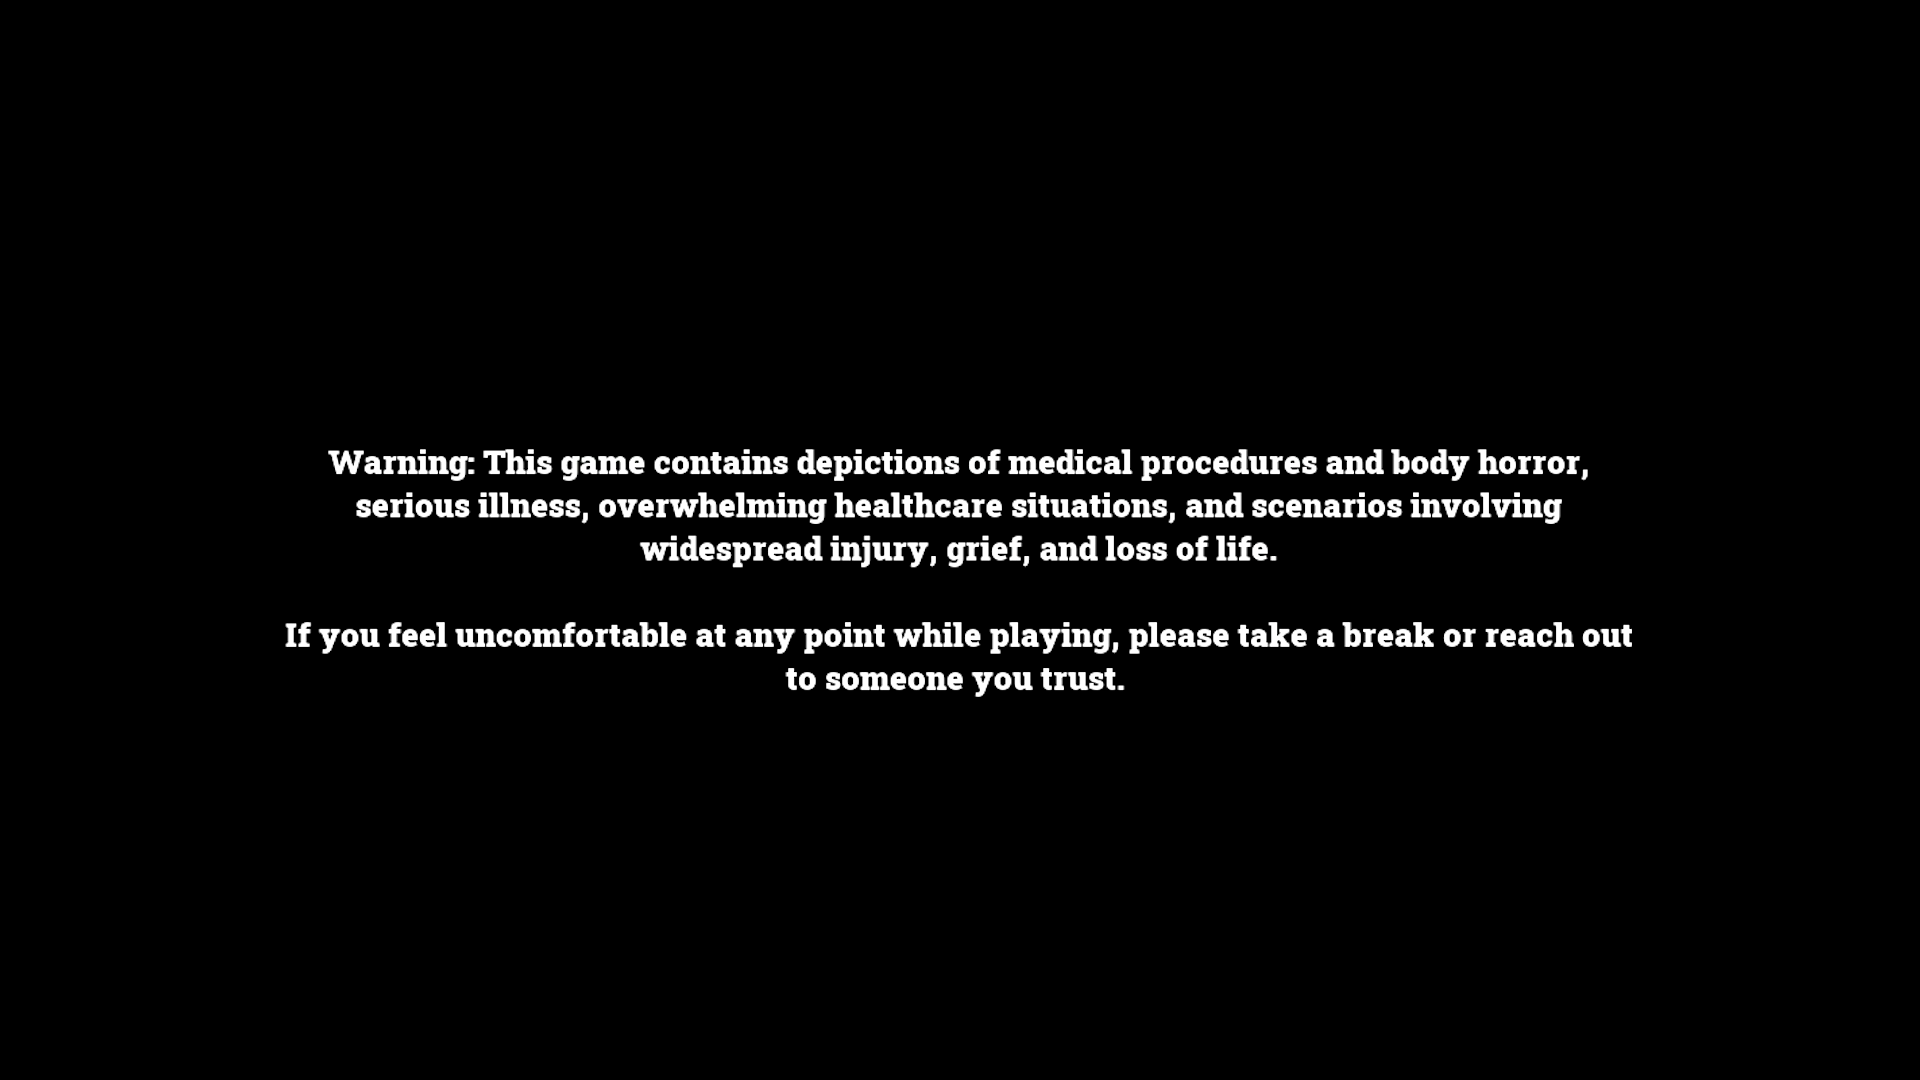
Warnings! (Credit: Konami, Screen Burn Interactive)
As with any Silent Hill game, we get some trigger warnings at the beginning. For my own warnings, my post will contain some mention of harm, death, disaster, suicide, mutilation, and questionable morals. And Terry O’Quinn shows up, in case you’re one of those people who are still bitter about the ending of Lost. Also, keep in mind that full spoilers follow as well as spoilers for one of the five endings.
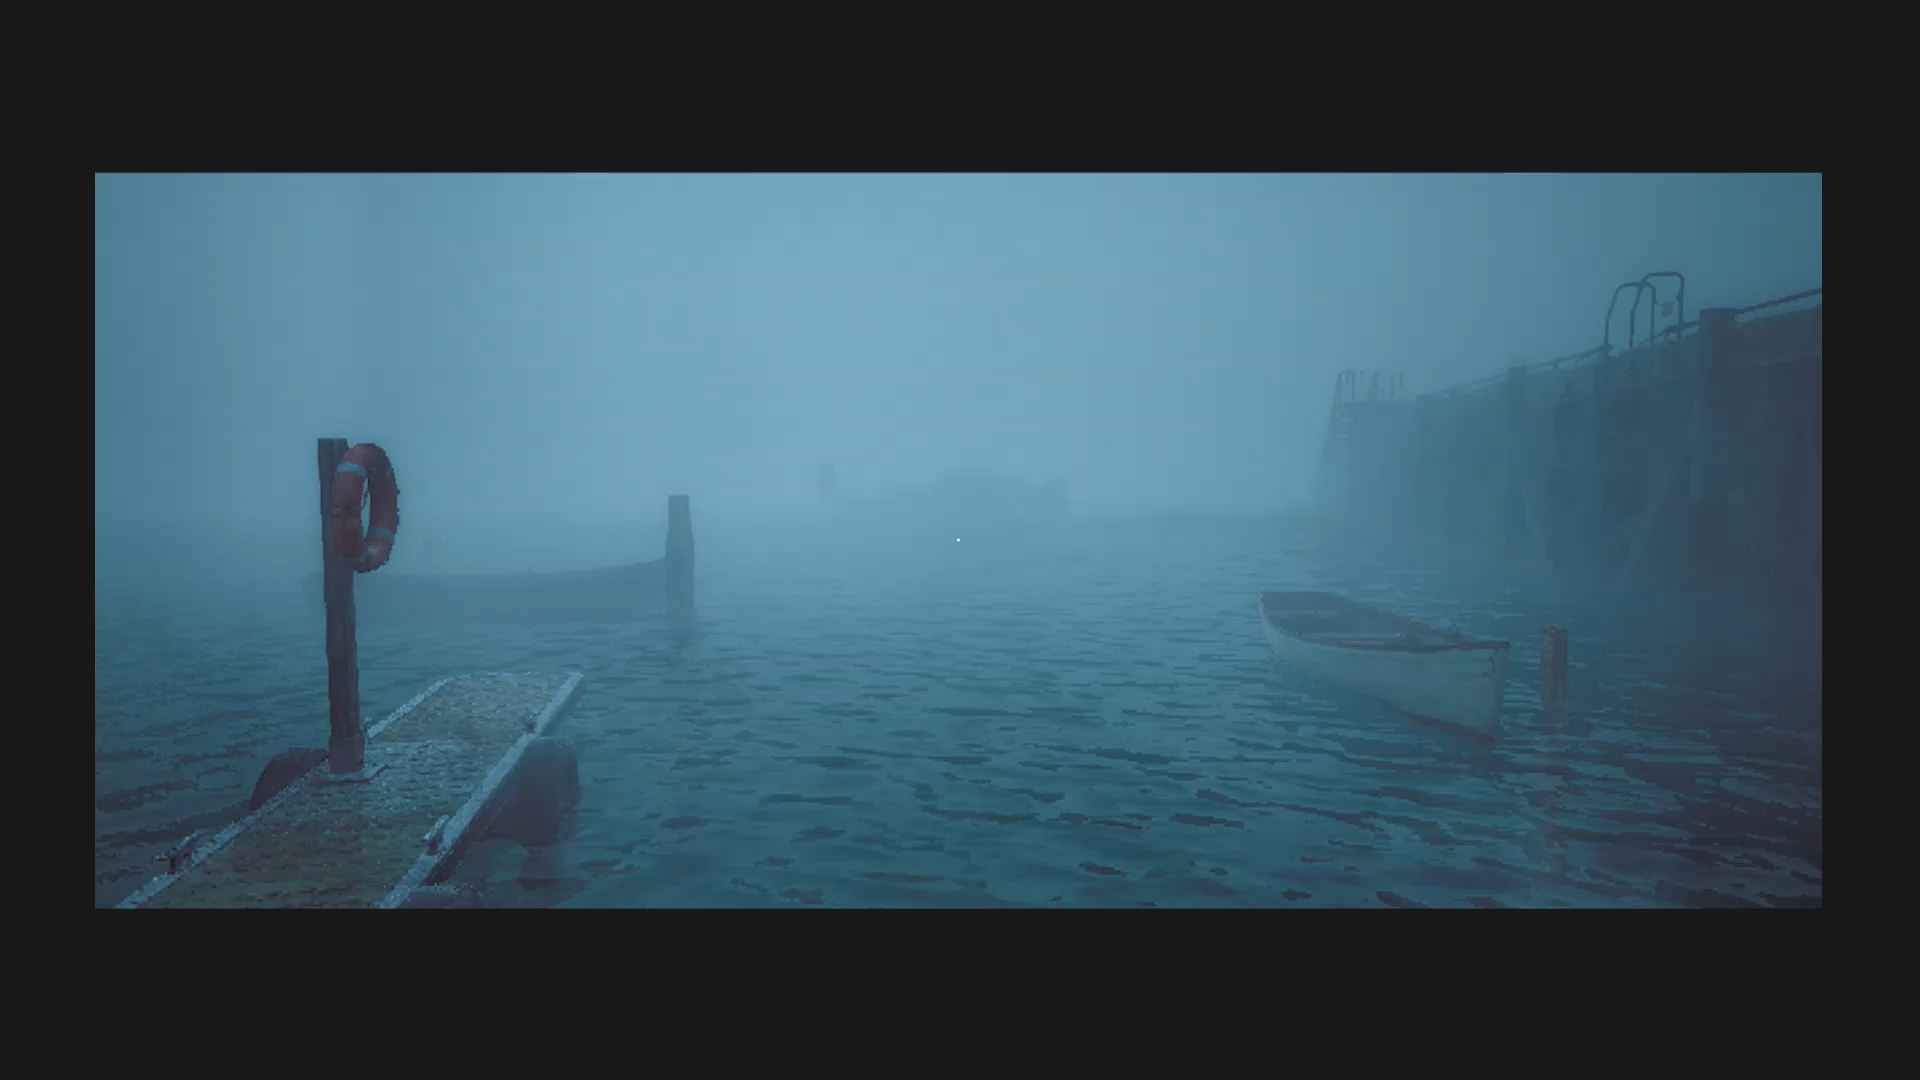
Welcome to St Amelia. (Credit: Konami, Screen Burn Interactive)
Before we get to the plot breakdown, let’s talk a bit about the gameplay mechanics. The first thing you’ll notice is that the game is in first person view. This has happened in Silent Hill games before. A Short Message and Shattered Memories were fully in first person. And in Silent Hill 4: The Room, you switched to first person while in your apartment. This choice was likely made to incorporate the CRTV— more on that soon— but it also serves to more fully put you into the role of the characters. (Wait, characters? You read that right. Keep reading… )
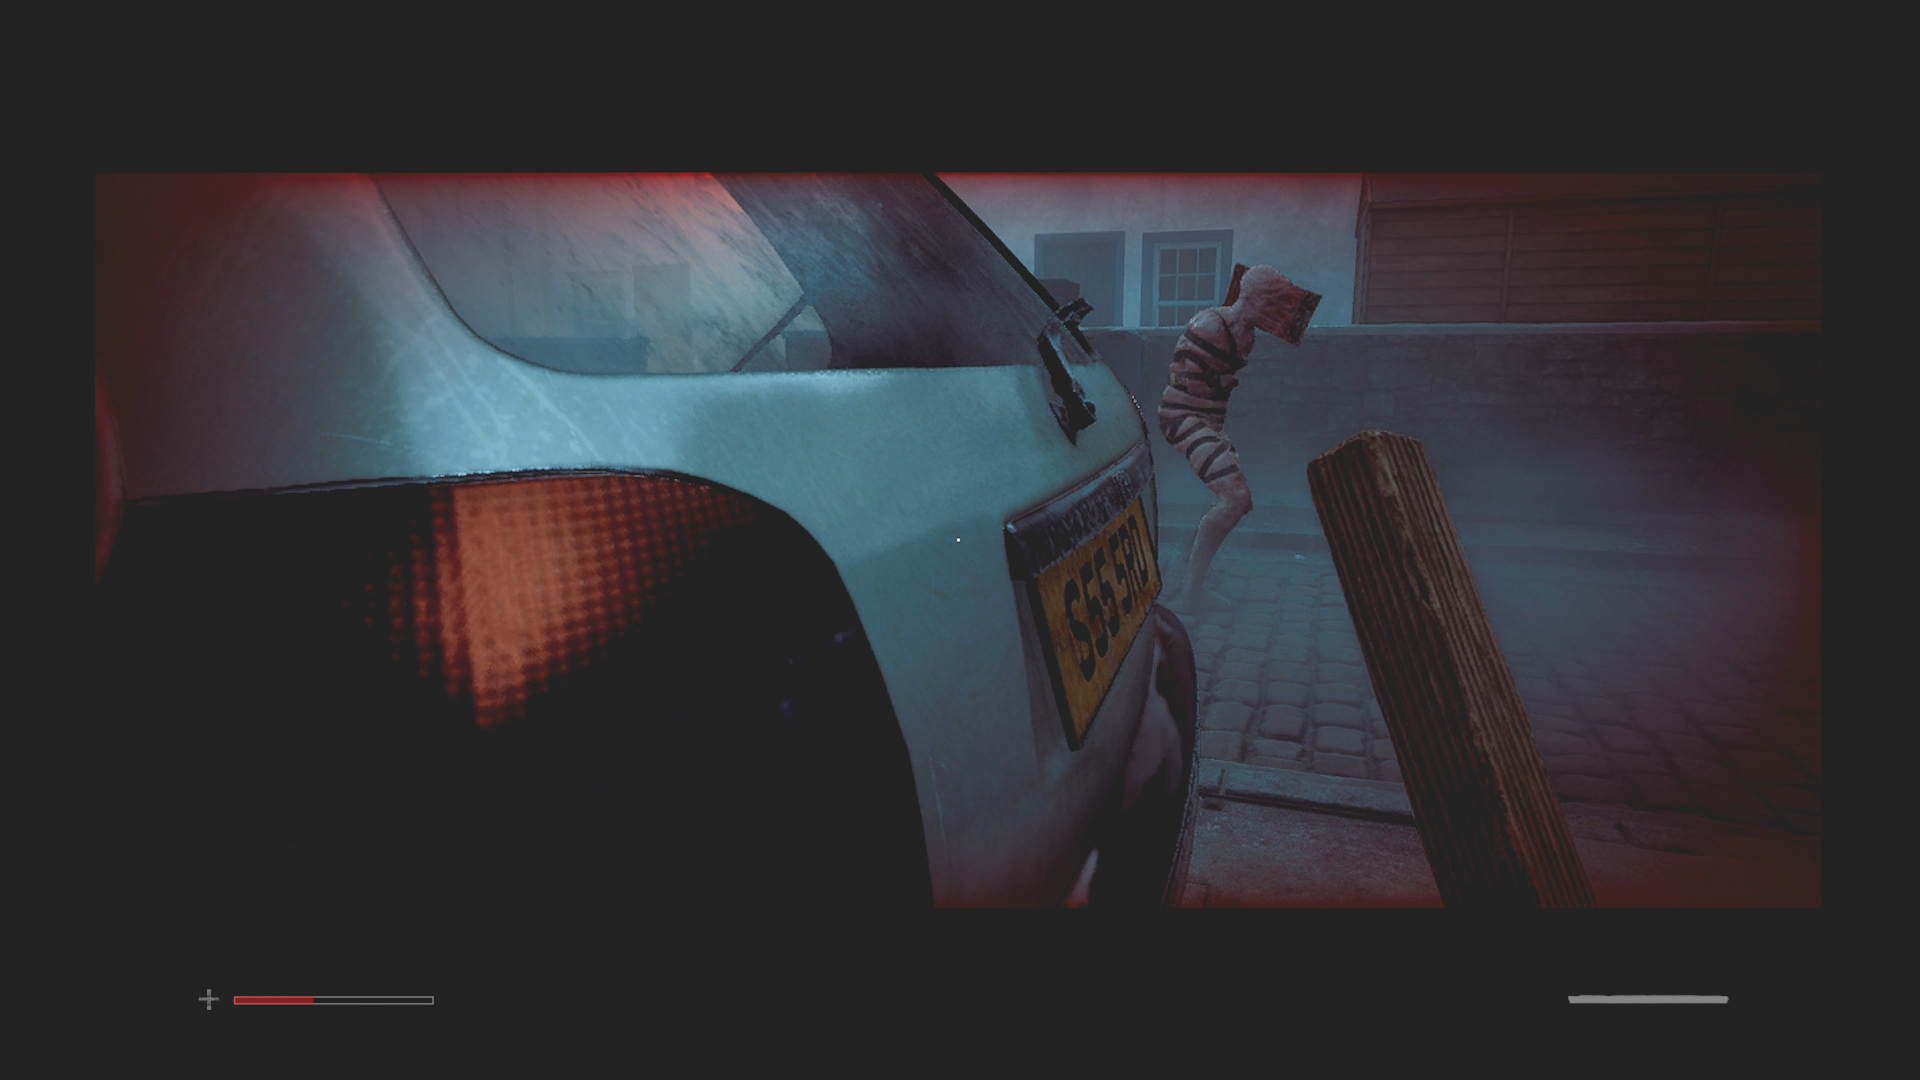
You spend a lot of this game hiding. (Credit: Konami, Screen Burn Interactive)
A huge part about the game is that it’s very stealth-centric. The enemies are intensely difficult to fight and it’s often better to avoid them than to fight your way through. There are a few ways to accomplish this. You can crouch, walk slowly to avoid detection, and turn your flashlight off. You can throw items, set off car alarms, and turn on radios to draw enemies to the noise. You can also peek around corners to see where an enemy is heading. When detected, a sort of drum sound plays and the music becomes hectic. If you choose to flee, most enemies have a range beyond which they stop chasing you. There are hiding places scattered throughout the game, but some of them make noise when you enter or leave them. You are not necessary safe in the hiding places— enemies can open them and drag you out.
Keep in mind that your kills count against your ending, so non-lethal conflict resolution is incentivized.
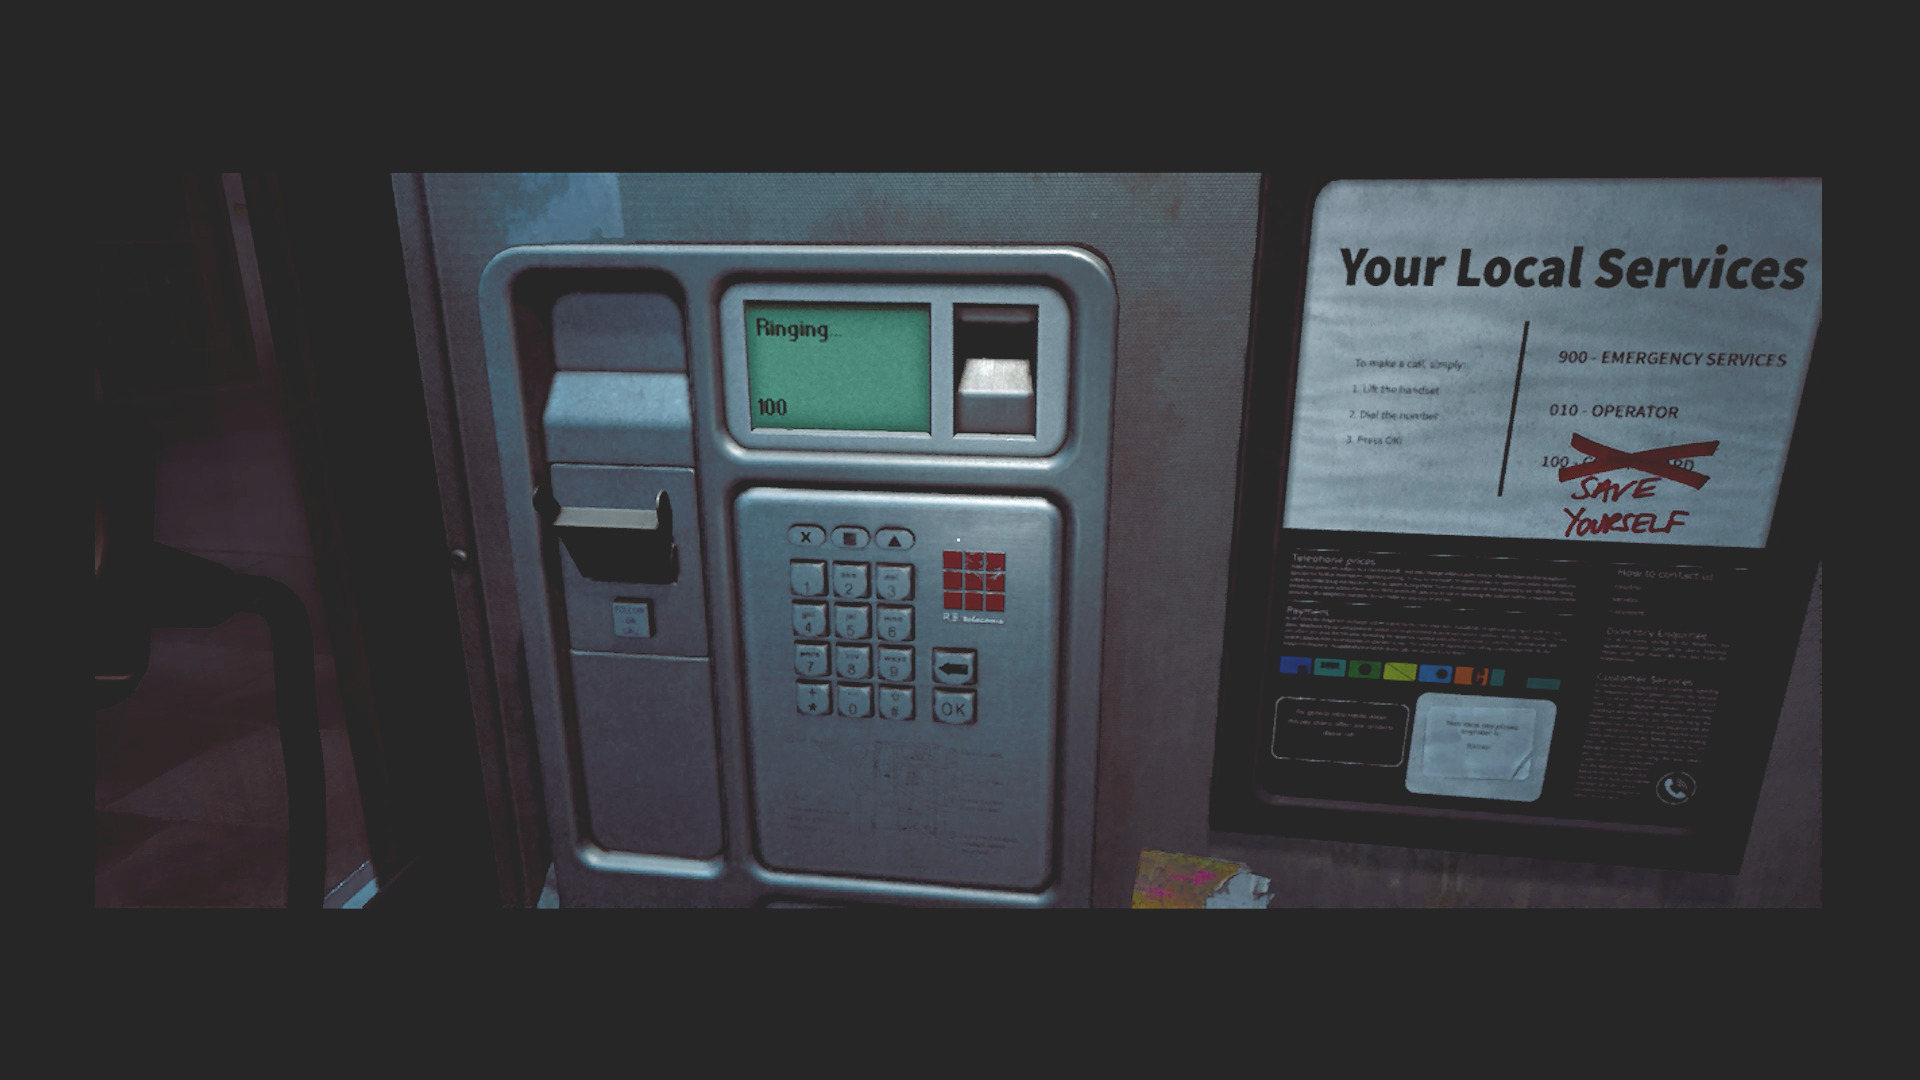
Clever save mechanic. (Credit: Konami, Screen Burn Interactive)
Silent Hill is known for its clever save spots. In the first game, Harry wrote in notepads. In Silent Hill f, Hinako prayed to little shrines. In this one, the save spot is telephones. You dial 100 (Save Yourself) to save the game. There are other numbers you can dial, some useless, some plot-related. (I did not find all the phone numbers in my playthrough.) In the screenshot above, you may notice the red squares. This is a reference to Silent Hill 2, where your save spot was a mysterious glowing red square. This icon also appears on the screen during auto save. Thankfully, the game does auto save in key spots, which really helps.
As seen clearly in the last two releases, Silent Hill is no longer just one town. The darkness has spread to other places. This time around the setting is the Scottish island town of St. Amelia, a previously prosperous and now seemingly empty fishing village.
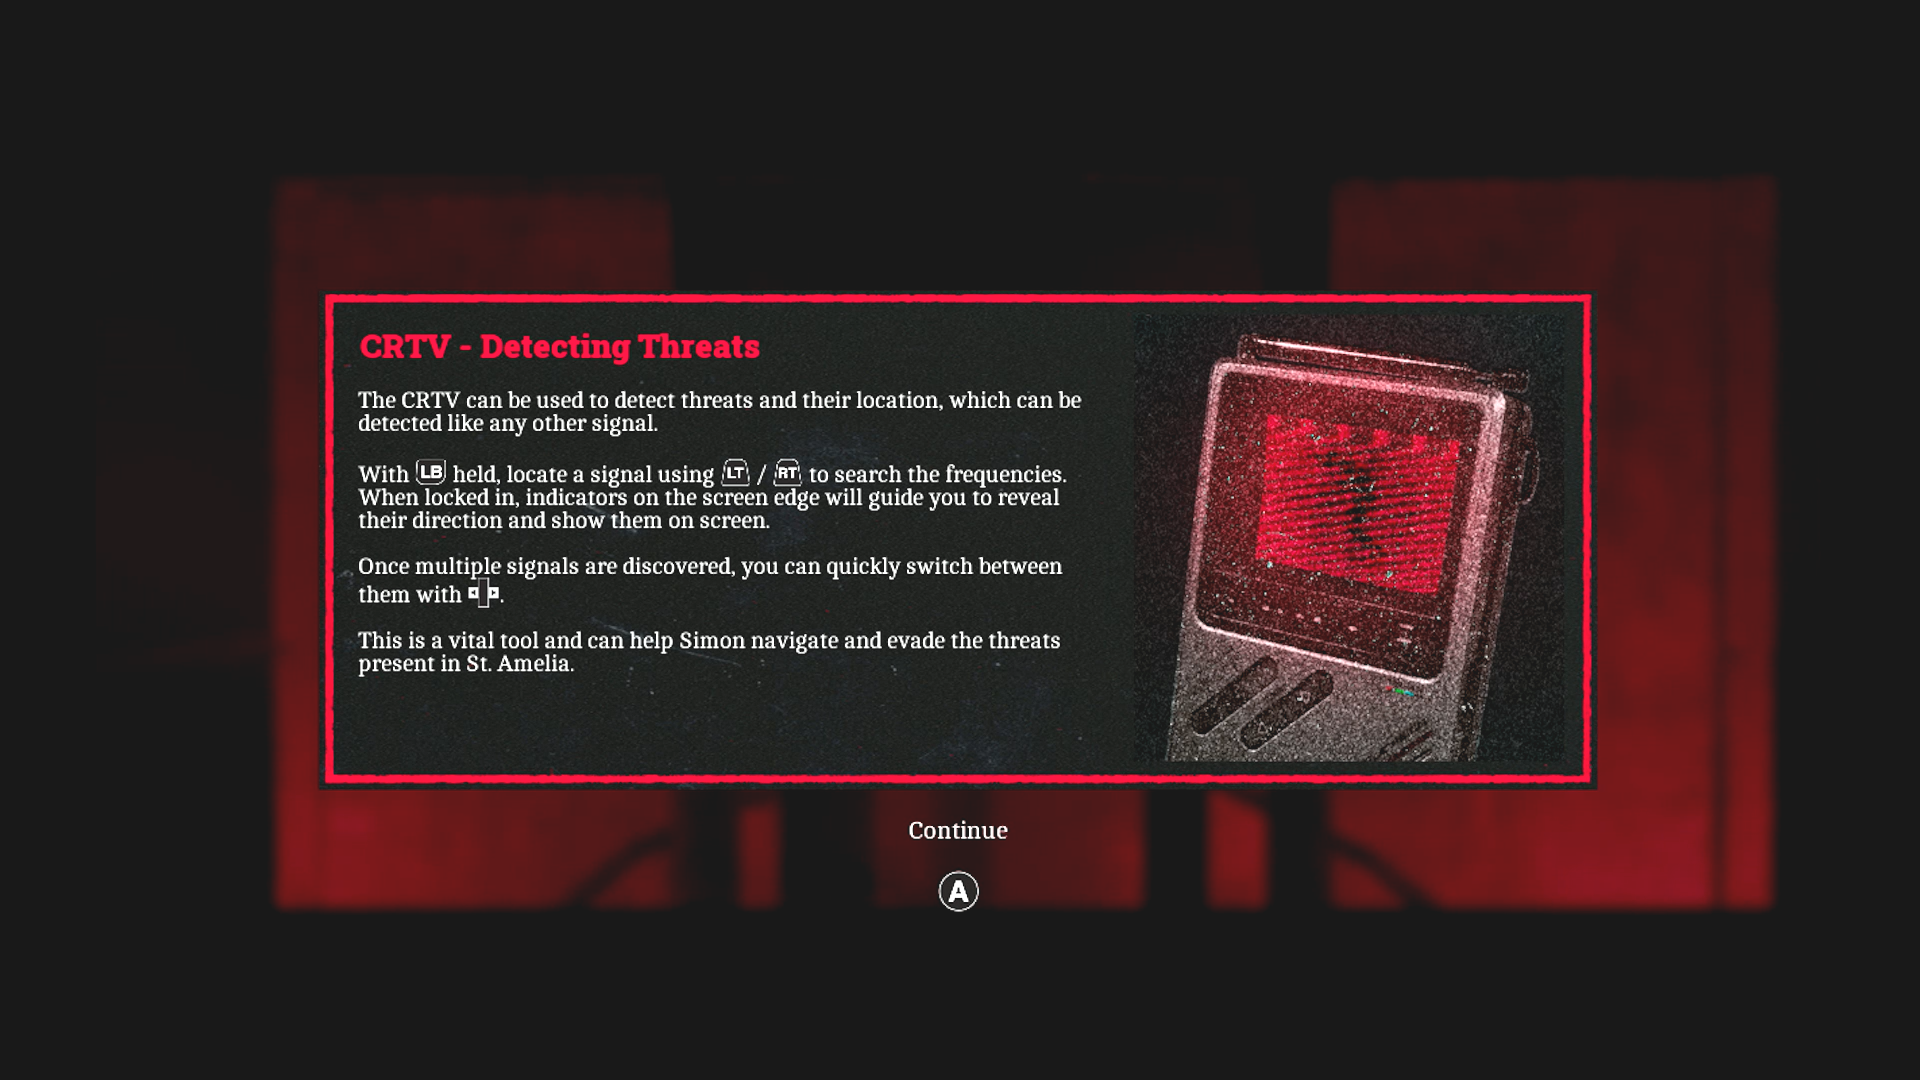
You spend a lot of this game watching TV. (Credit: Konami, Screen Burn Interactive)
While you still have the basic tools of a map and flashlight, the trusty enemy-detecting radio has been replaced with a CRTV. (And a pager when playing as Zoe.) This device has various channels you can tune to in order to see the general location and number of nearby enemies, clues on where to go next to advance the story, and also serves as a tool to solve puzzles to get more clues as you advance.
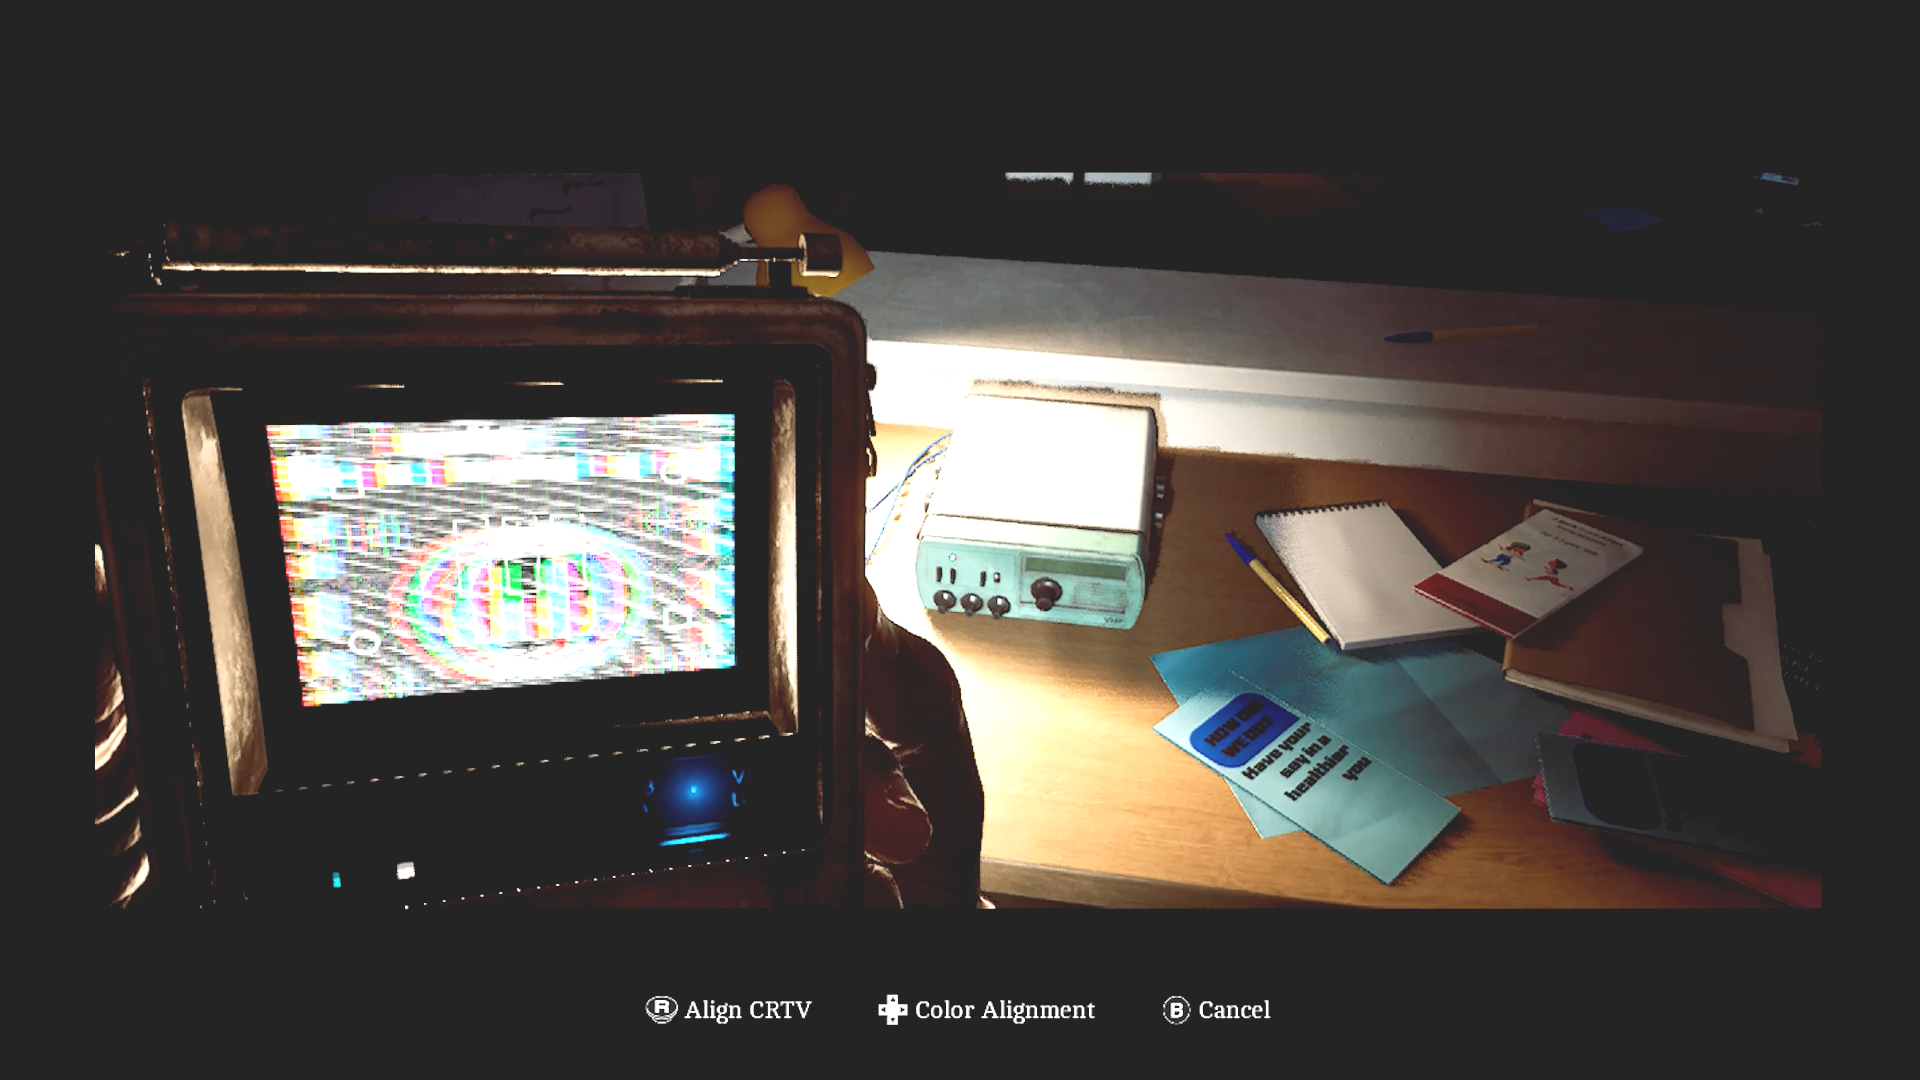
Tuning to a frequency. (Credit: Konami, Screen Burn Interactive)
In that latter mode, you have to use a second radio and sync the signals between them so that new clips are stored in your portable TV.
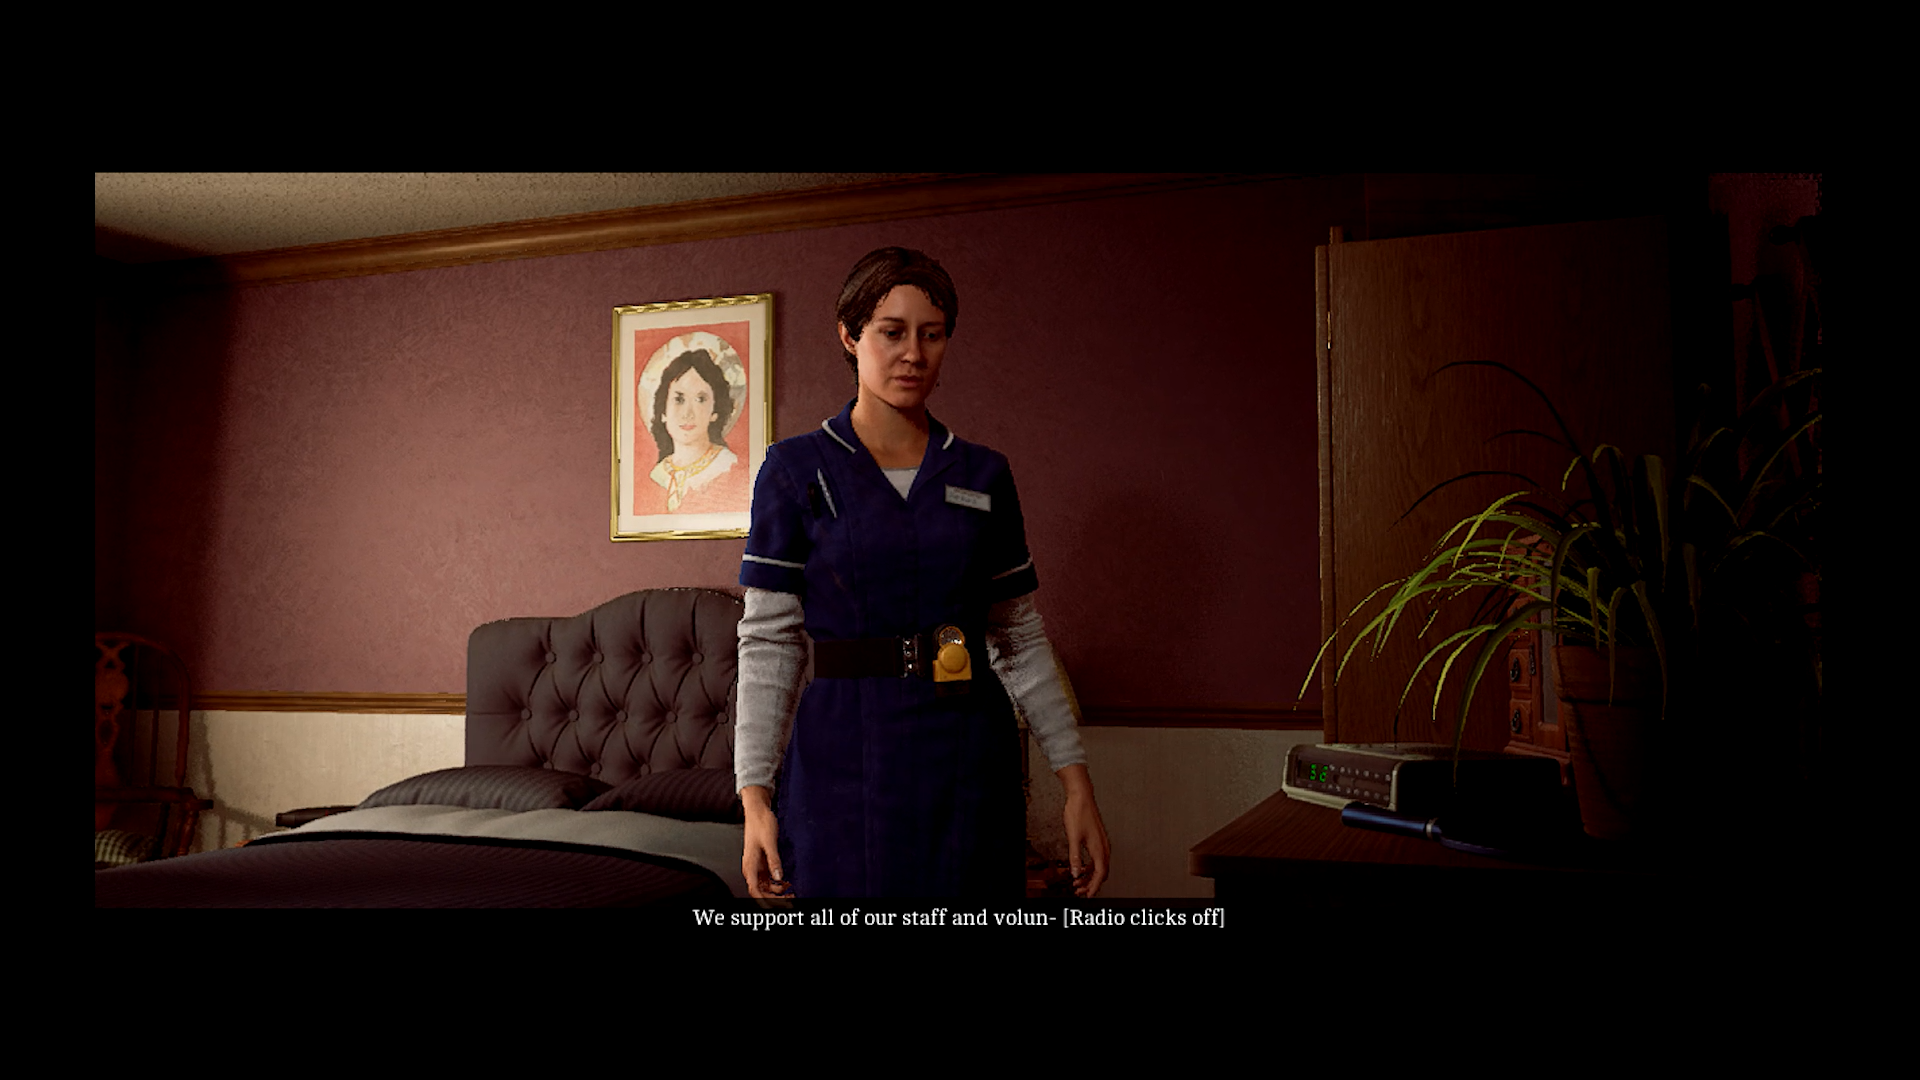
Zoe. (Credit: Konami, Screen Burn Interactive)
As hinted at earlier, another big difference is that there are three playable characters, a first for a Silent Hill game. At various times in the plot, you switch to controlling a nurse named Zoe, and then a business man named Richard. Zoe uses a pager instead of the CRTV. The pager gives you plot-related messages and allows you to very roughly see the location of enemies. (Mostly just if they’re to the right or left of you. It’s pretty useless, honestly.) Zoe is more stealth-focused, with weapons appearing more sparingly and more healing items and throwables taking their place. I didn’t find my first melee weapon as Zoe until the very tail end of her segments.
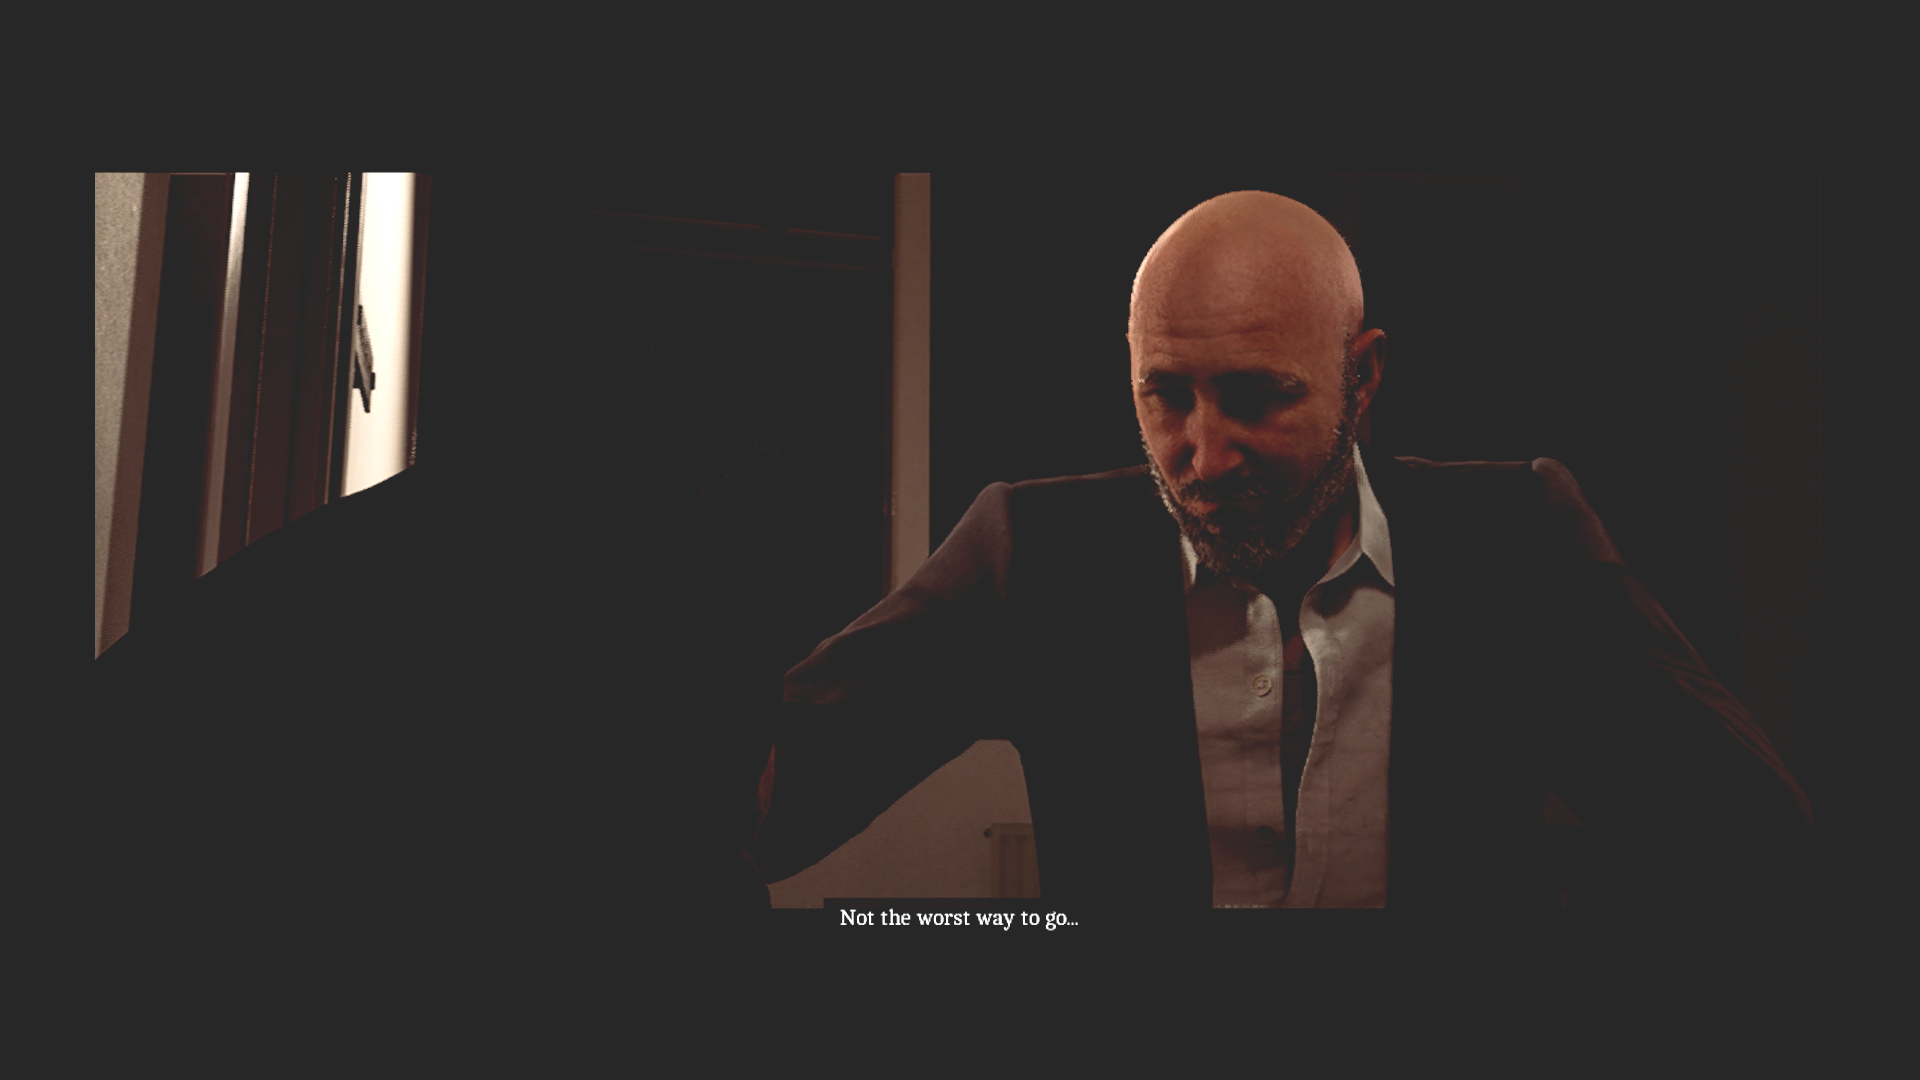
Richard. (Credit: Konami, Screen Burn Interactive)
Richard is the third playable character and the point where the game shifts tones a bit. Rather than running and hiding, Richard takes on the monsters head on with his trusty shotgun. He has no monster-detection device, so it’s easier for him to be ambushed. He also gets the most item drops, which is achieved in an interesting way. More on that way later.
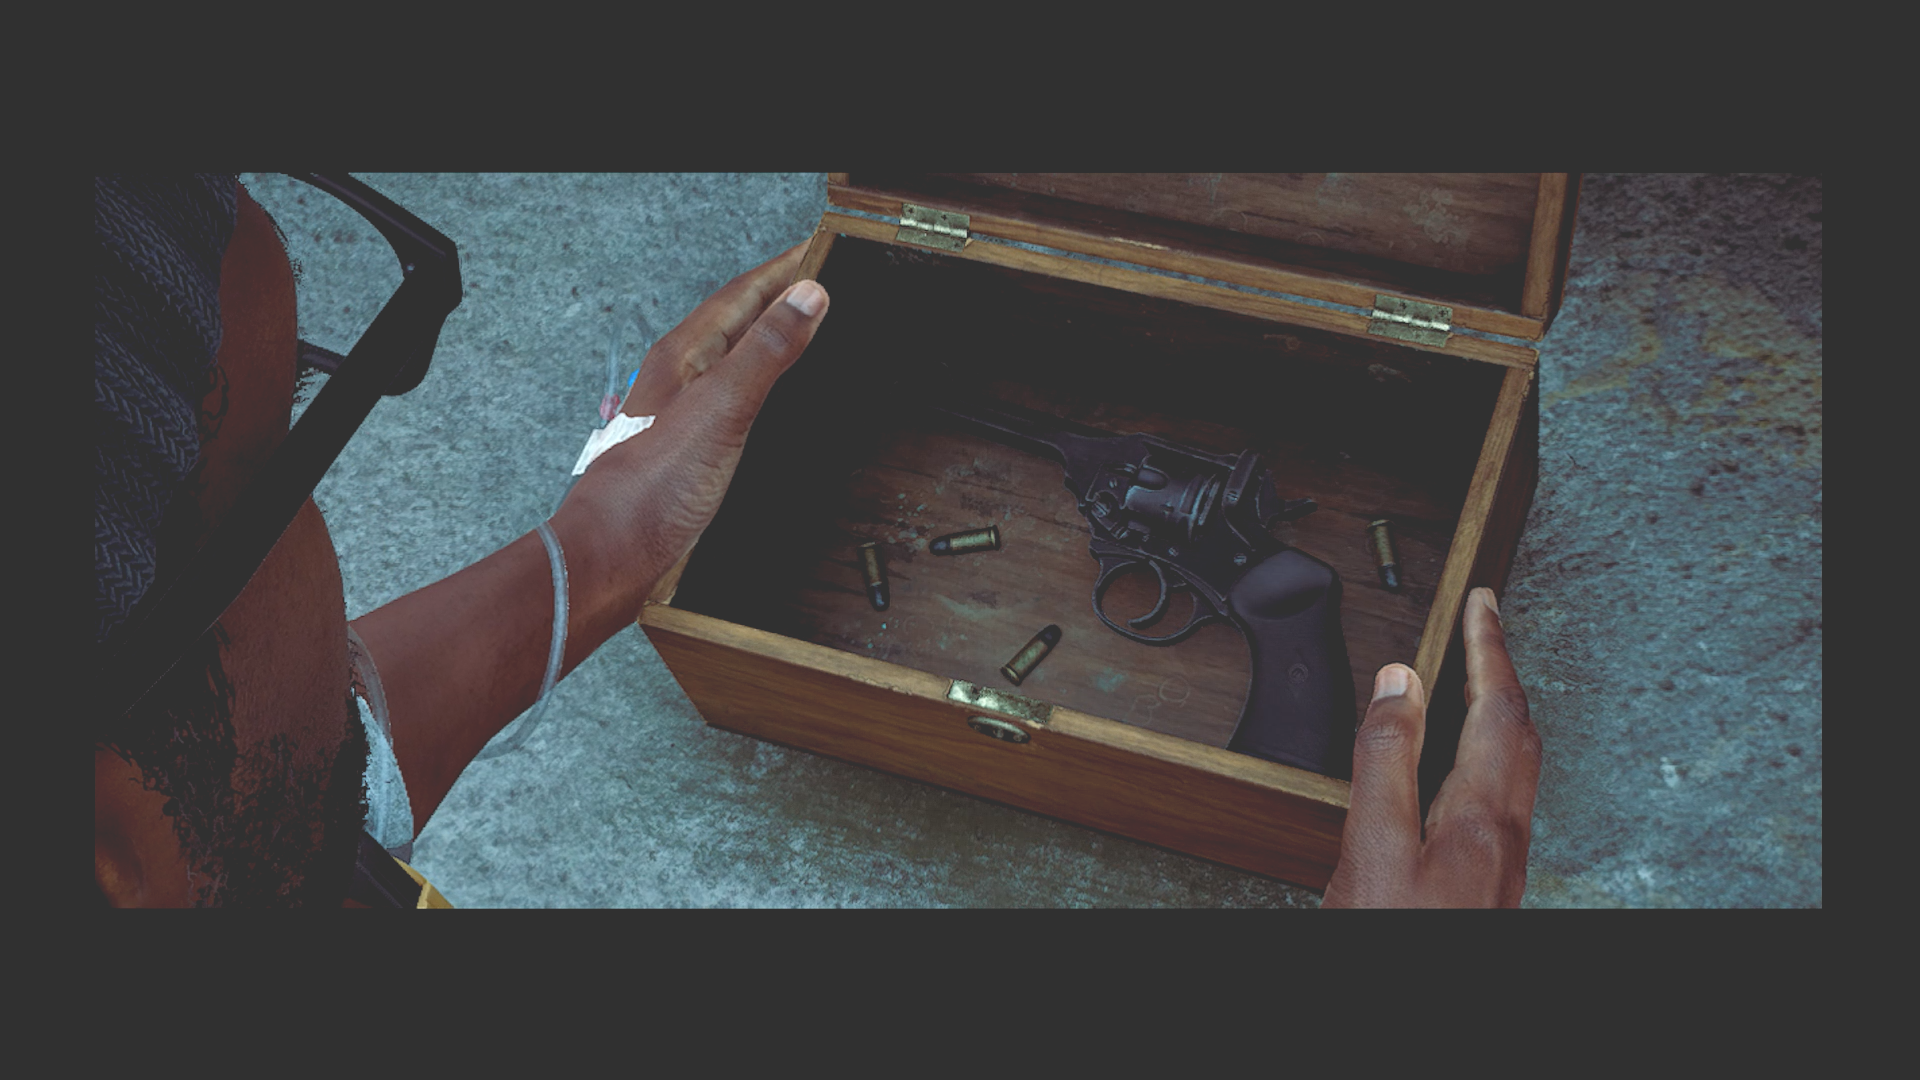
Simon’s got a gun. (Credit: Konami, Screen Burn Interactive)
So, yeah, it’s not all about sneaking. There are weapons in the game. You can get a board, a pipe or an axe, all standards for Silent Hill games. (The axe is a New Game+ weapon.) This game does include weapon durability and you’re limited to one melee weapon at a time. Unlike in Silent Hill f, you cannot repair your weapons, but you can swap them when you find a new one. The axe, from what I understand, is indestructible. With the melee weapons, you can attack or block. Blocking doesn’t eliminate all damage, but it reduces it and allows you to attack again while the enemy is readying another attack. If an enemy gets close enough, they can grapple you, causing damage. To escape, you have to rapidly press a button to push it away, stunning it very briefly.
You can also find ranged weapons such as a handgun, a flare gun, and a shotgun. Ammo is not found in packs but rather individually lying around. The shotgun is very powerful but only holds two shells at a time with a slow reload speed. The flare gun can instantly kill the normal enemies, but is more imprecise. Only one flare can be loaded at a time.
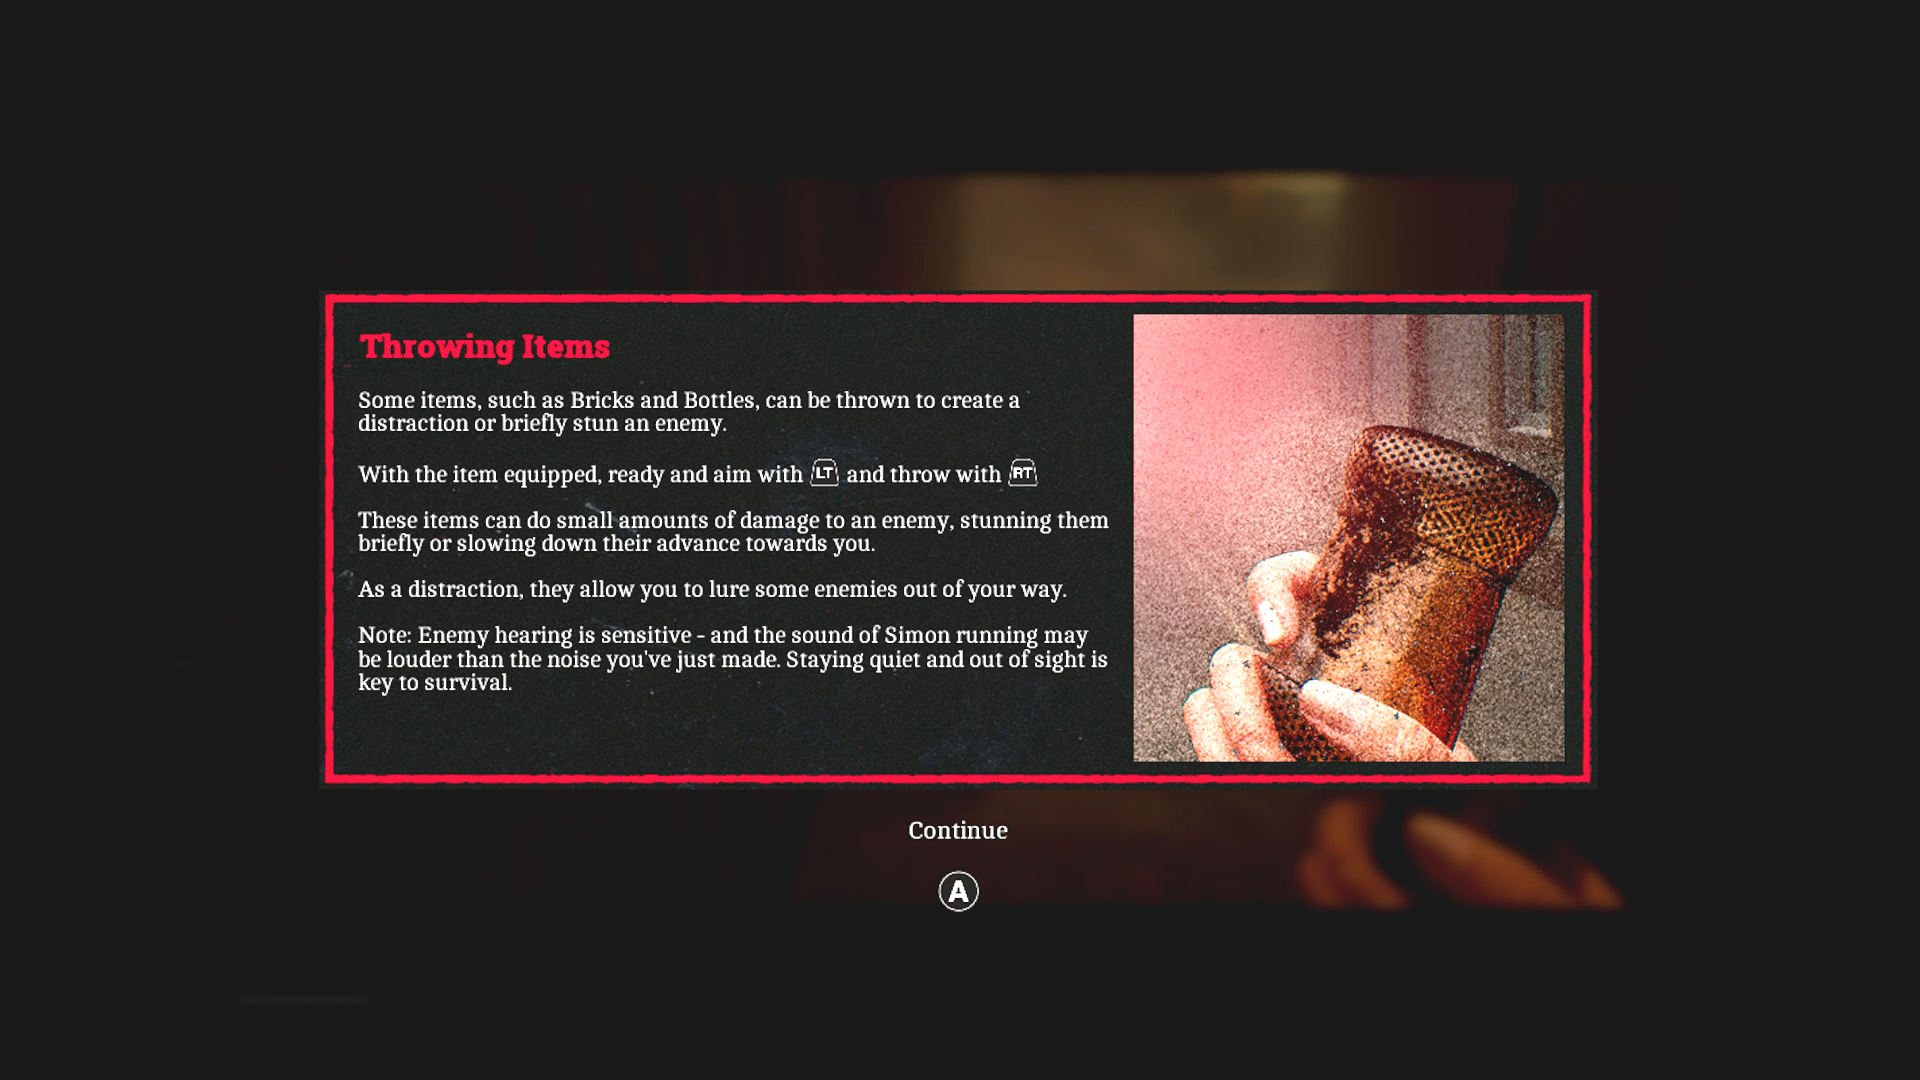
The trusty bottle. (Credit: Konami, Screen Burn Interactive)
Along with weapons, you can find throwables. These take the form of bottles and bricks. You can only carry one of each at a time, but they’re useful. You can toss them to distract and draw away enemies, set off car alarms, or throw them right at an enemy to temporarily stun them.
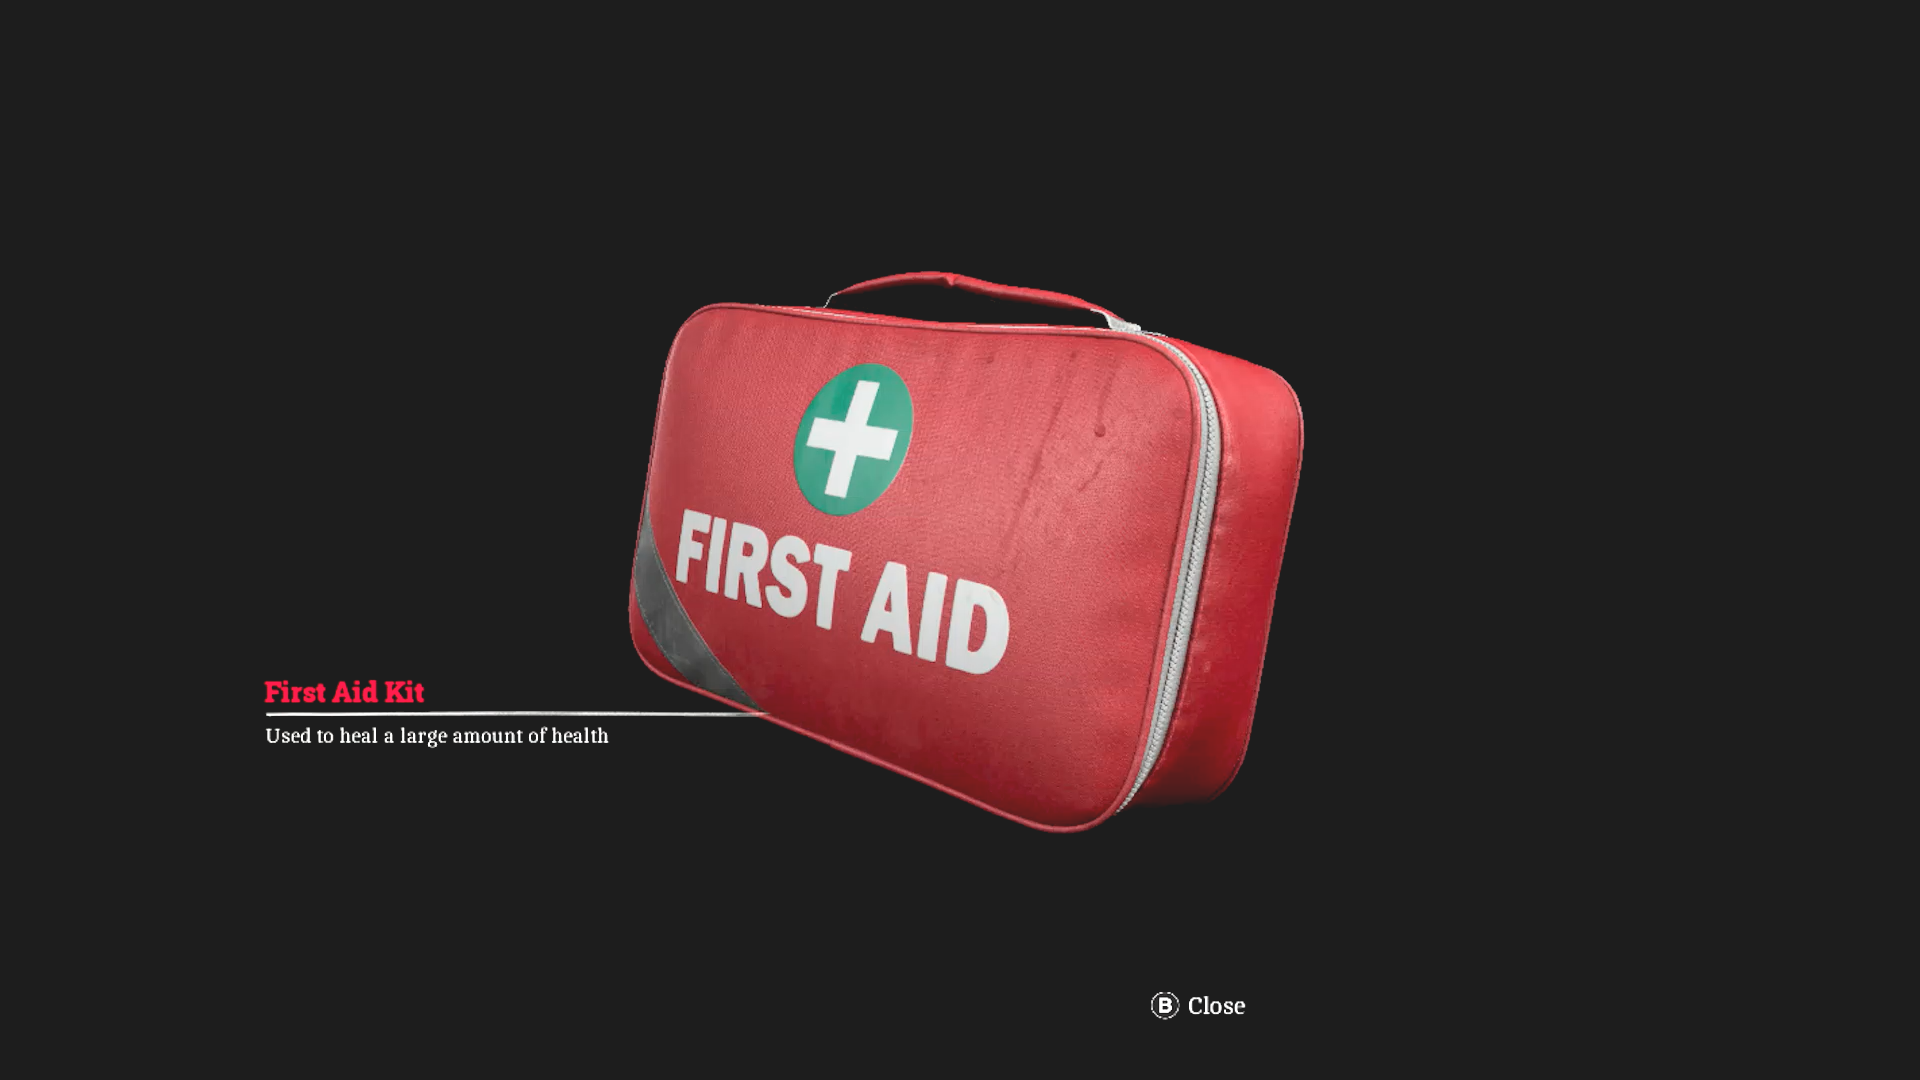
Yes, first aid kits return! (Credit: Konami, Screen Burn Interactive)
Aside from the weapons and throwables, there are also consumable and key items. You have to find keys for doors, lock boxes, and disk cases. You have to find cassette tapes and computer disks to solve puzzles, along with several other puzzle-related items. While there are no health drinks, the gauze from Silent Hill f returns, along with first aid kits. I miss the health drinks.
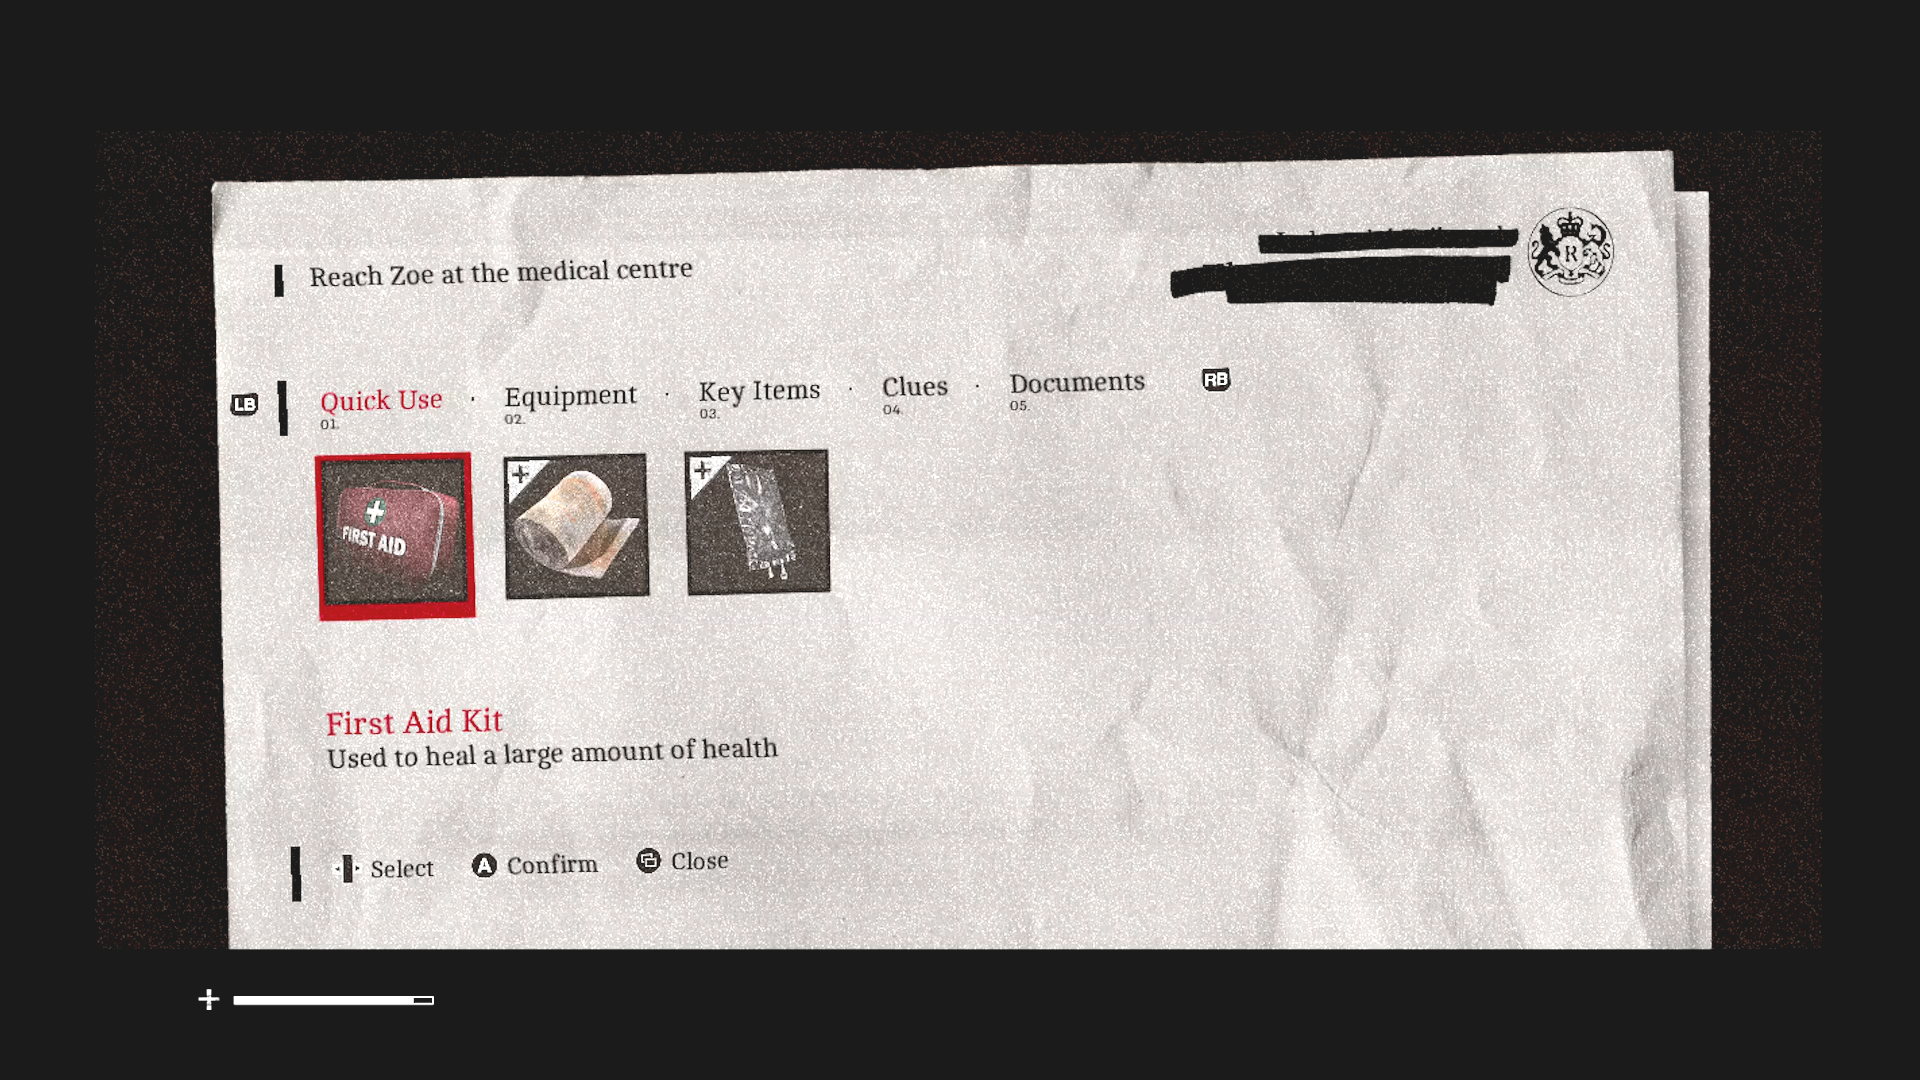
Menu. (Credit: Konami, Screen Burn Interactive)
In your menu you can combine your items, use healing items, check your documents and clues, and view key items.
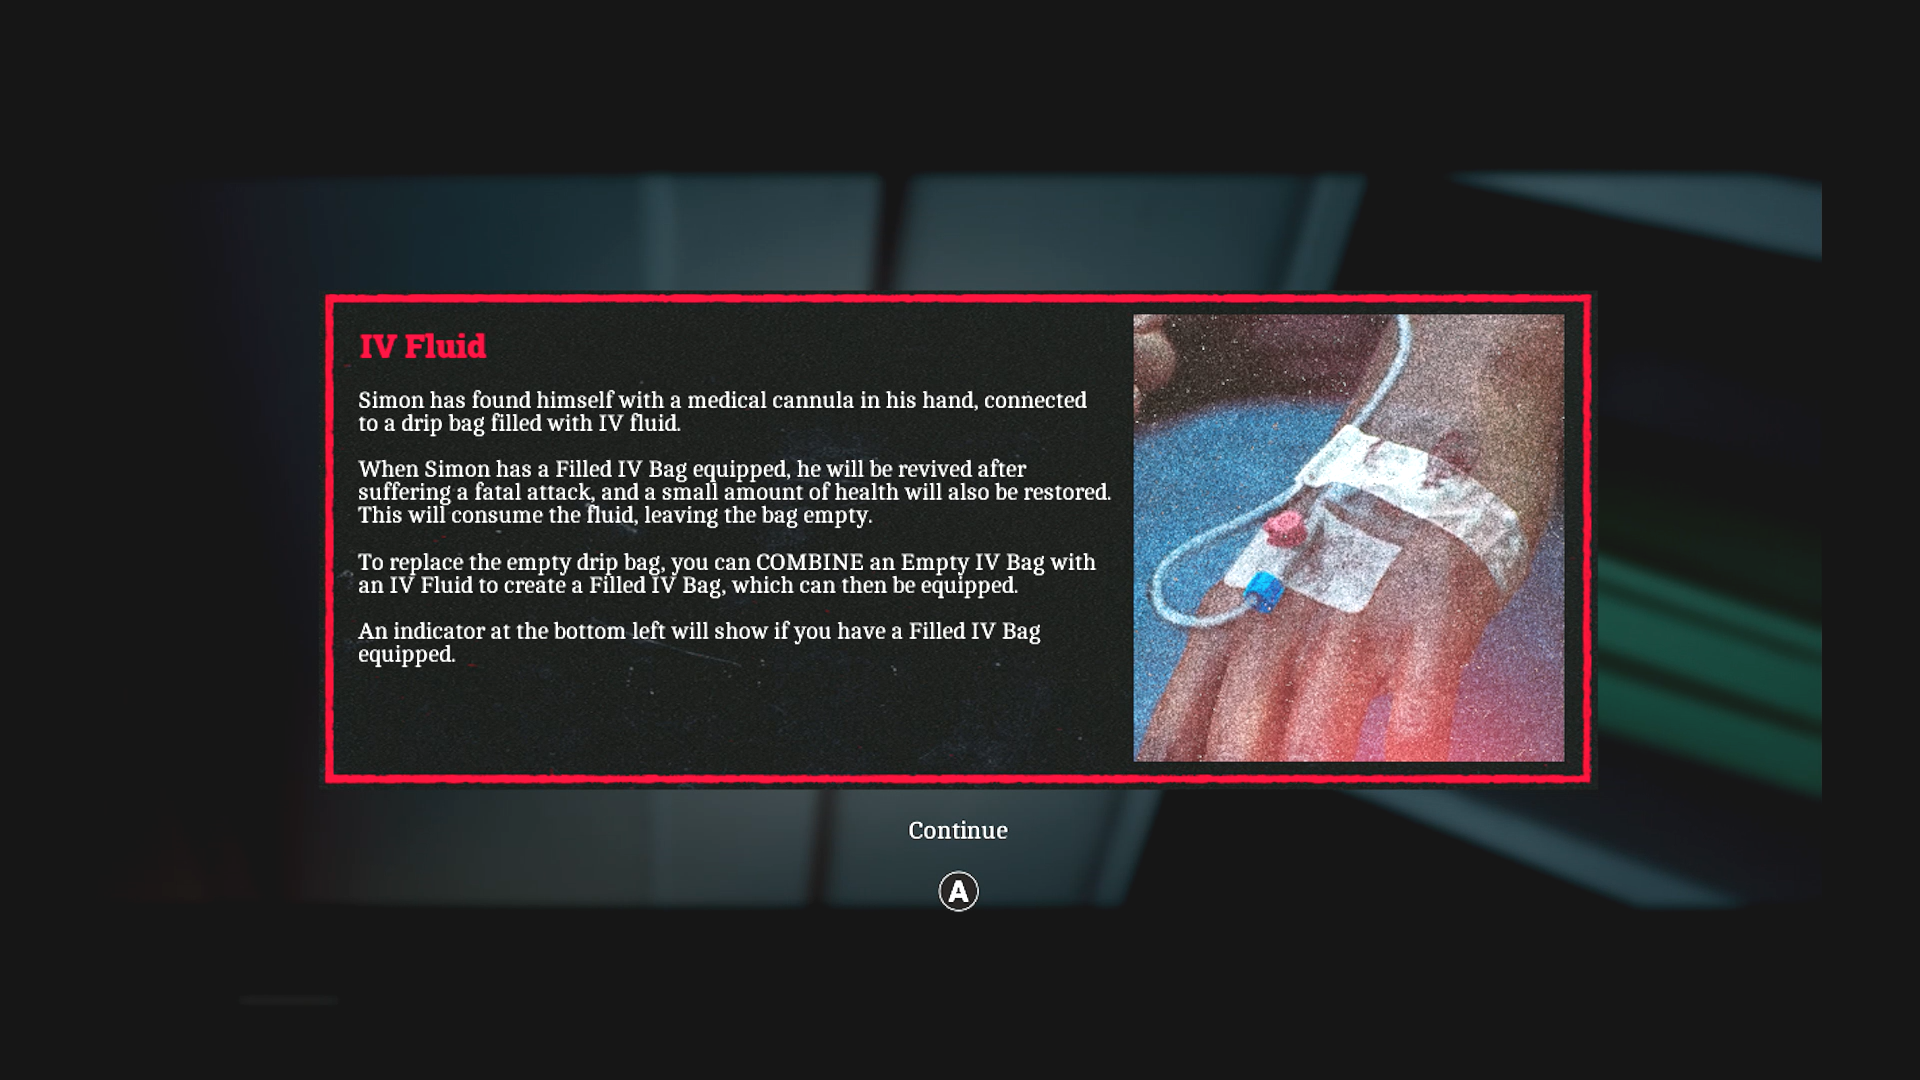
IV tutorial. (Credit: Konami, Screen Burn Interactive)
Wait, did I say you can combine items? Yes. In previous games this was utilized for puzzles. While that appears here too, in this game, you mostly combine things for utility. You can combine alcohol and gauze to make sterilized gauze, which improves the amount of healing. One of the more useful combinations is the IV fluid and empty IV bag. Weirdly enough, Simon starts the game with a cannula in his hand. Later you learn this is so you can hook an IV bag to yourself which resurrects you one time after you take enough damage to die. It does not, however, heal much of your health. Once used, you have to find another empty bag and fluid. This is handy because many enemies wander off after you fall, giving you the chance to sneak or run away. You can also find antibiotics to combine with a full IV bag. This makes the bag heal you all the way.
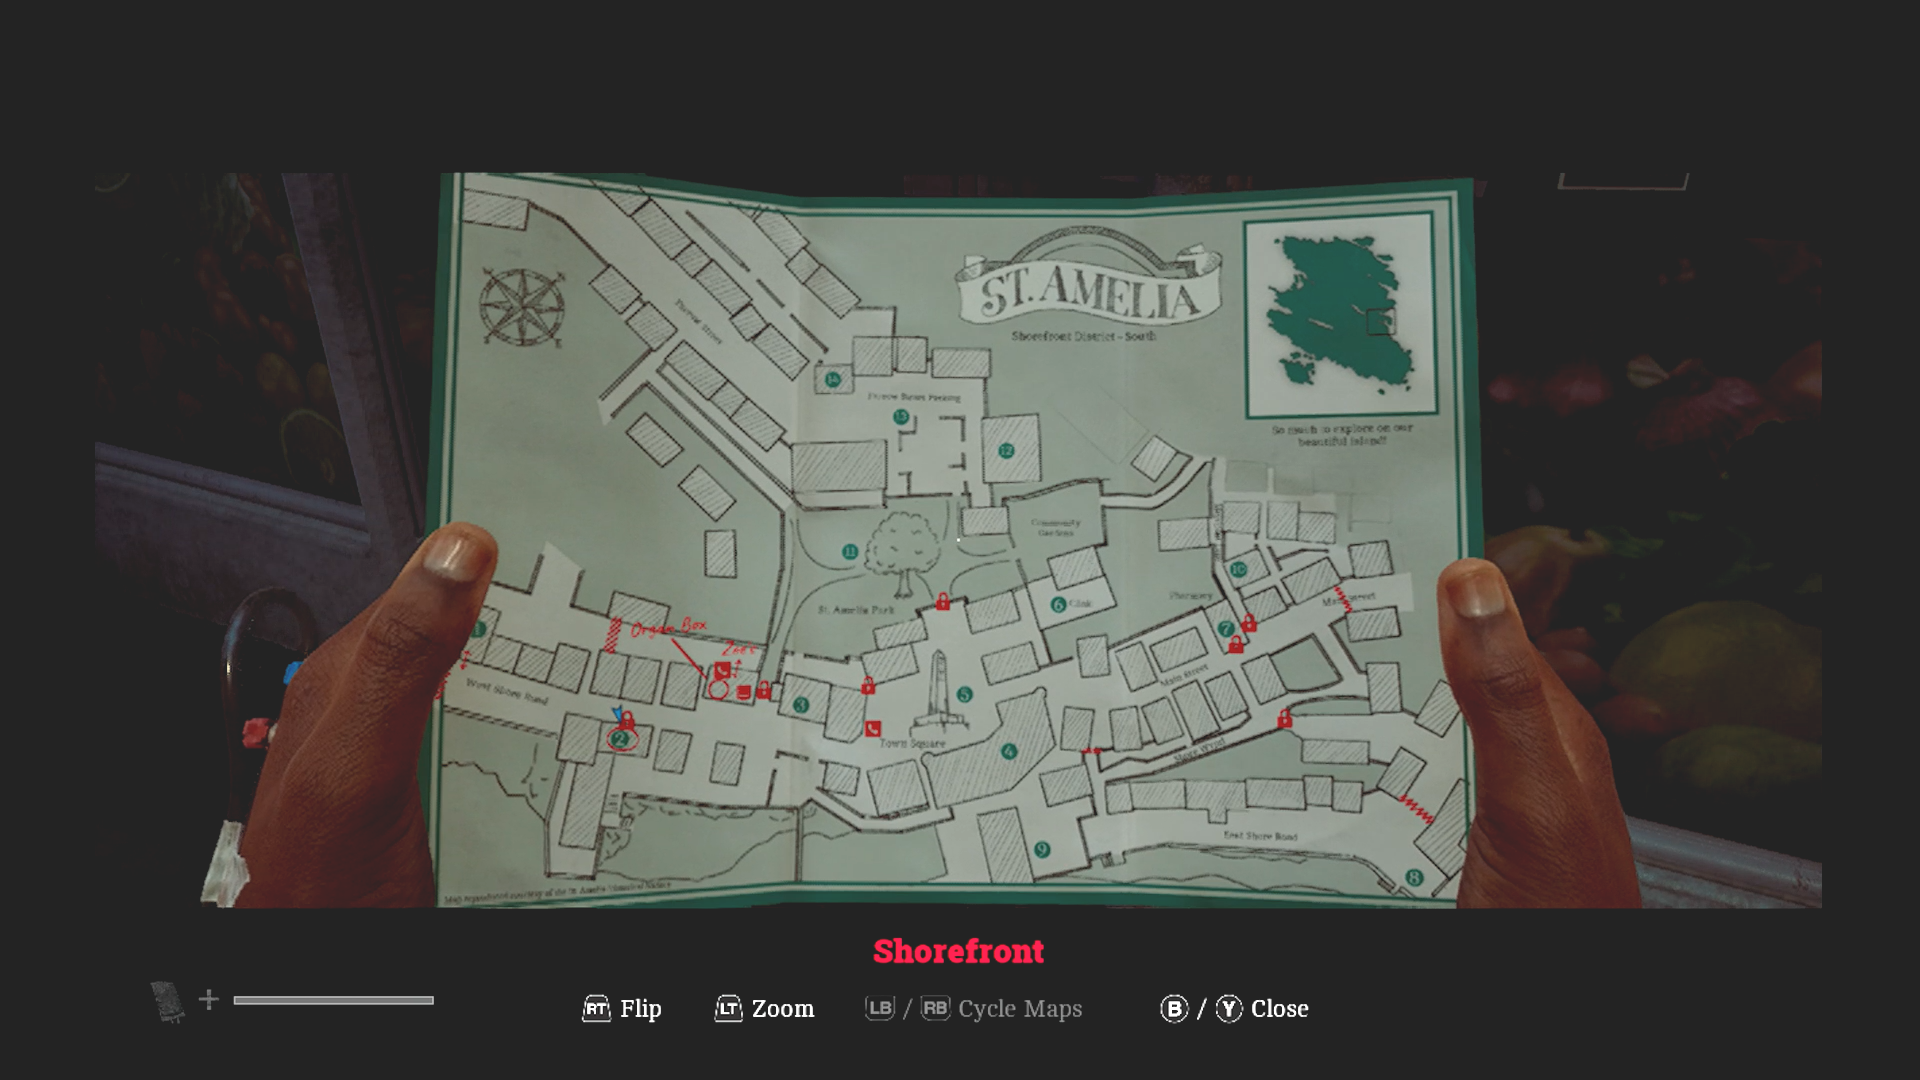
Of course there’s a map. (Credit: Konami, Screen Burn Interactive)
One of the most enduring features of the Silent Hill series is the map. As you explore, parts are highlighted, scratched out, arrows drawn, clues written in. It can be a little harder to utilize the map in this one since you need light and there are many times when it’s not safe to leave your flashlight on.
Some of the later areas don’t have maps, and there is one section near the end where Simon draws his own, like James did in Silent Hill 2.
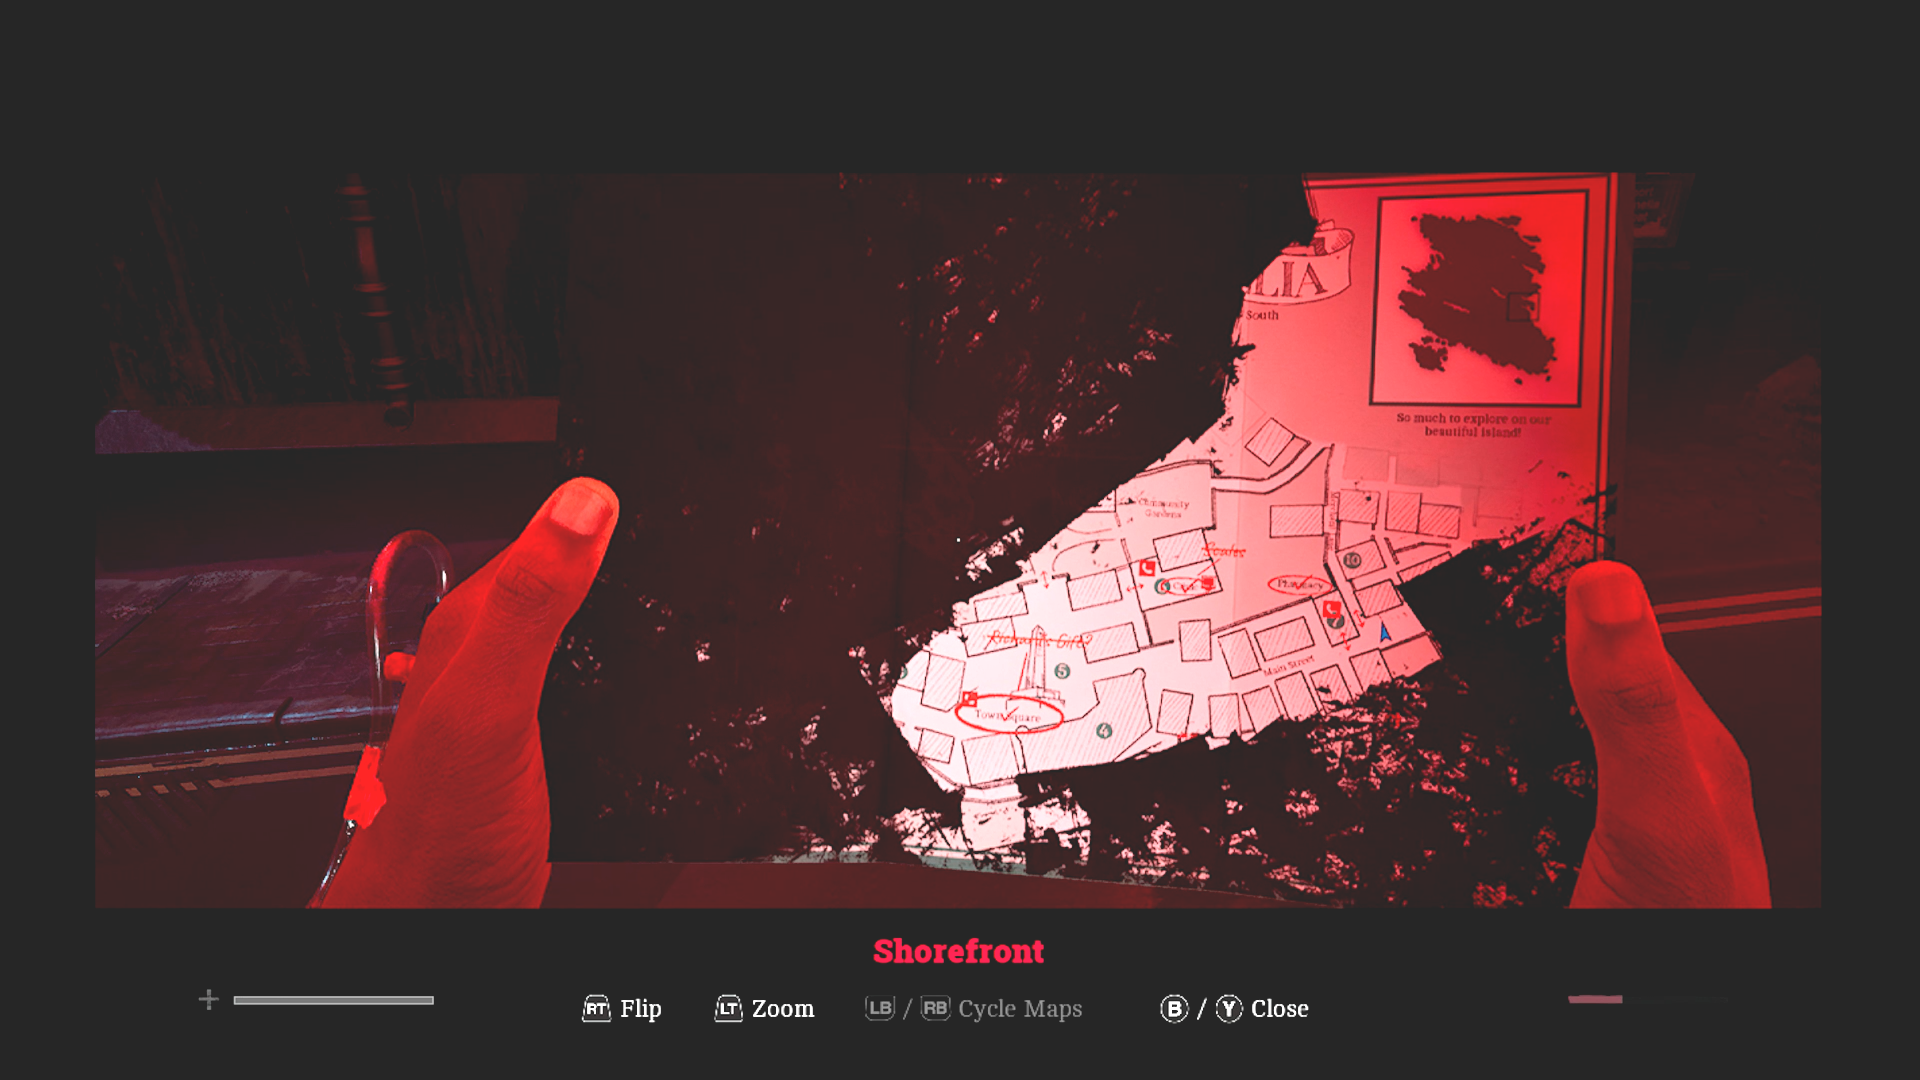
This seems unnecessary. (Credit: Konami, Screen Burn Interactive)
In Otherworld, some areas are blocked off with pipes. This is displayed on your map by the whole area becoming blacked out to show it’s impassable.
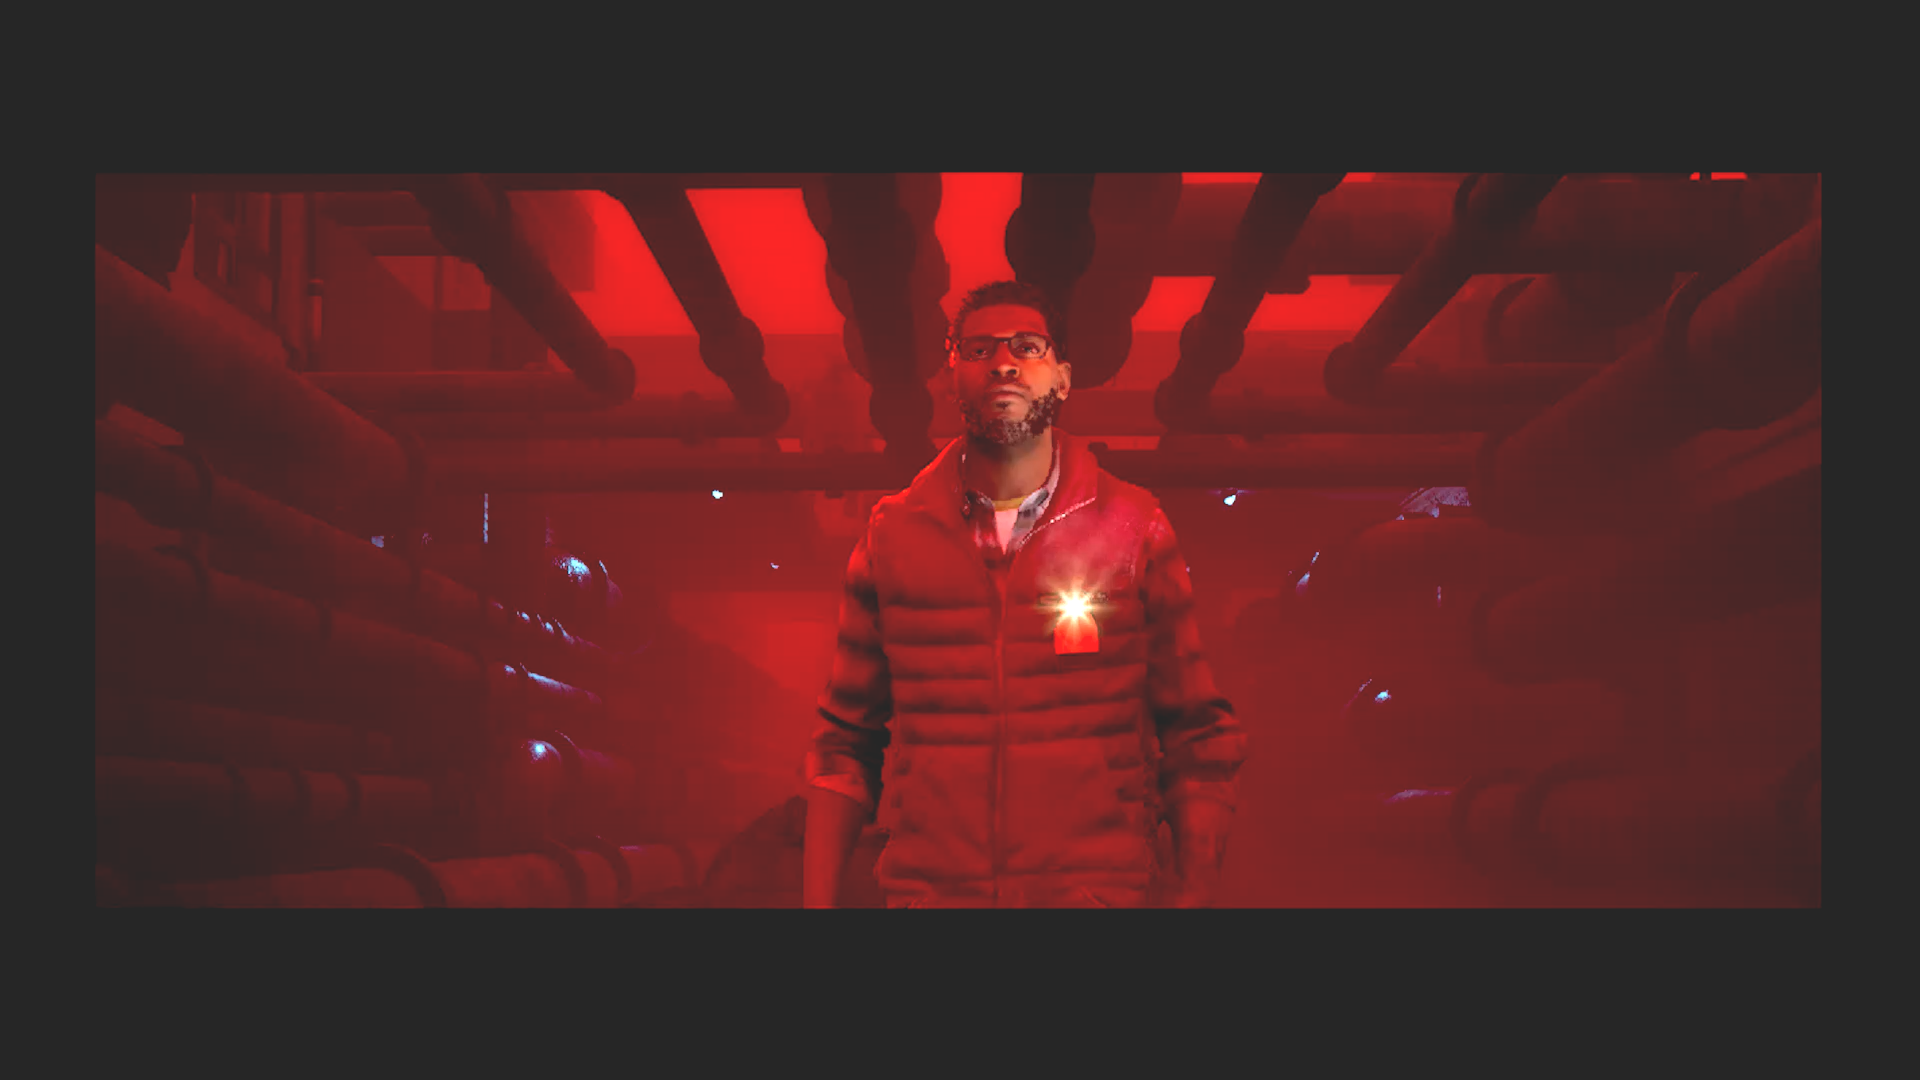
Of course Otherworld is in this game. There is no Silent Hill without the twisted flipside of Otherworld. Townfall’s Otherworld has an eerie red glow that permeates it.
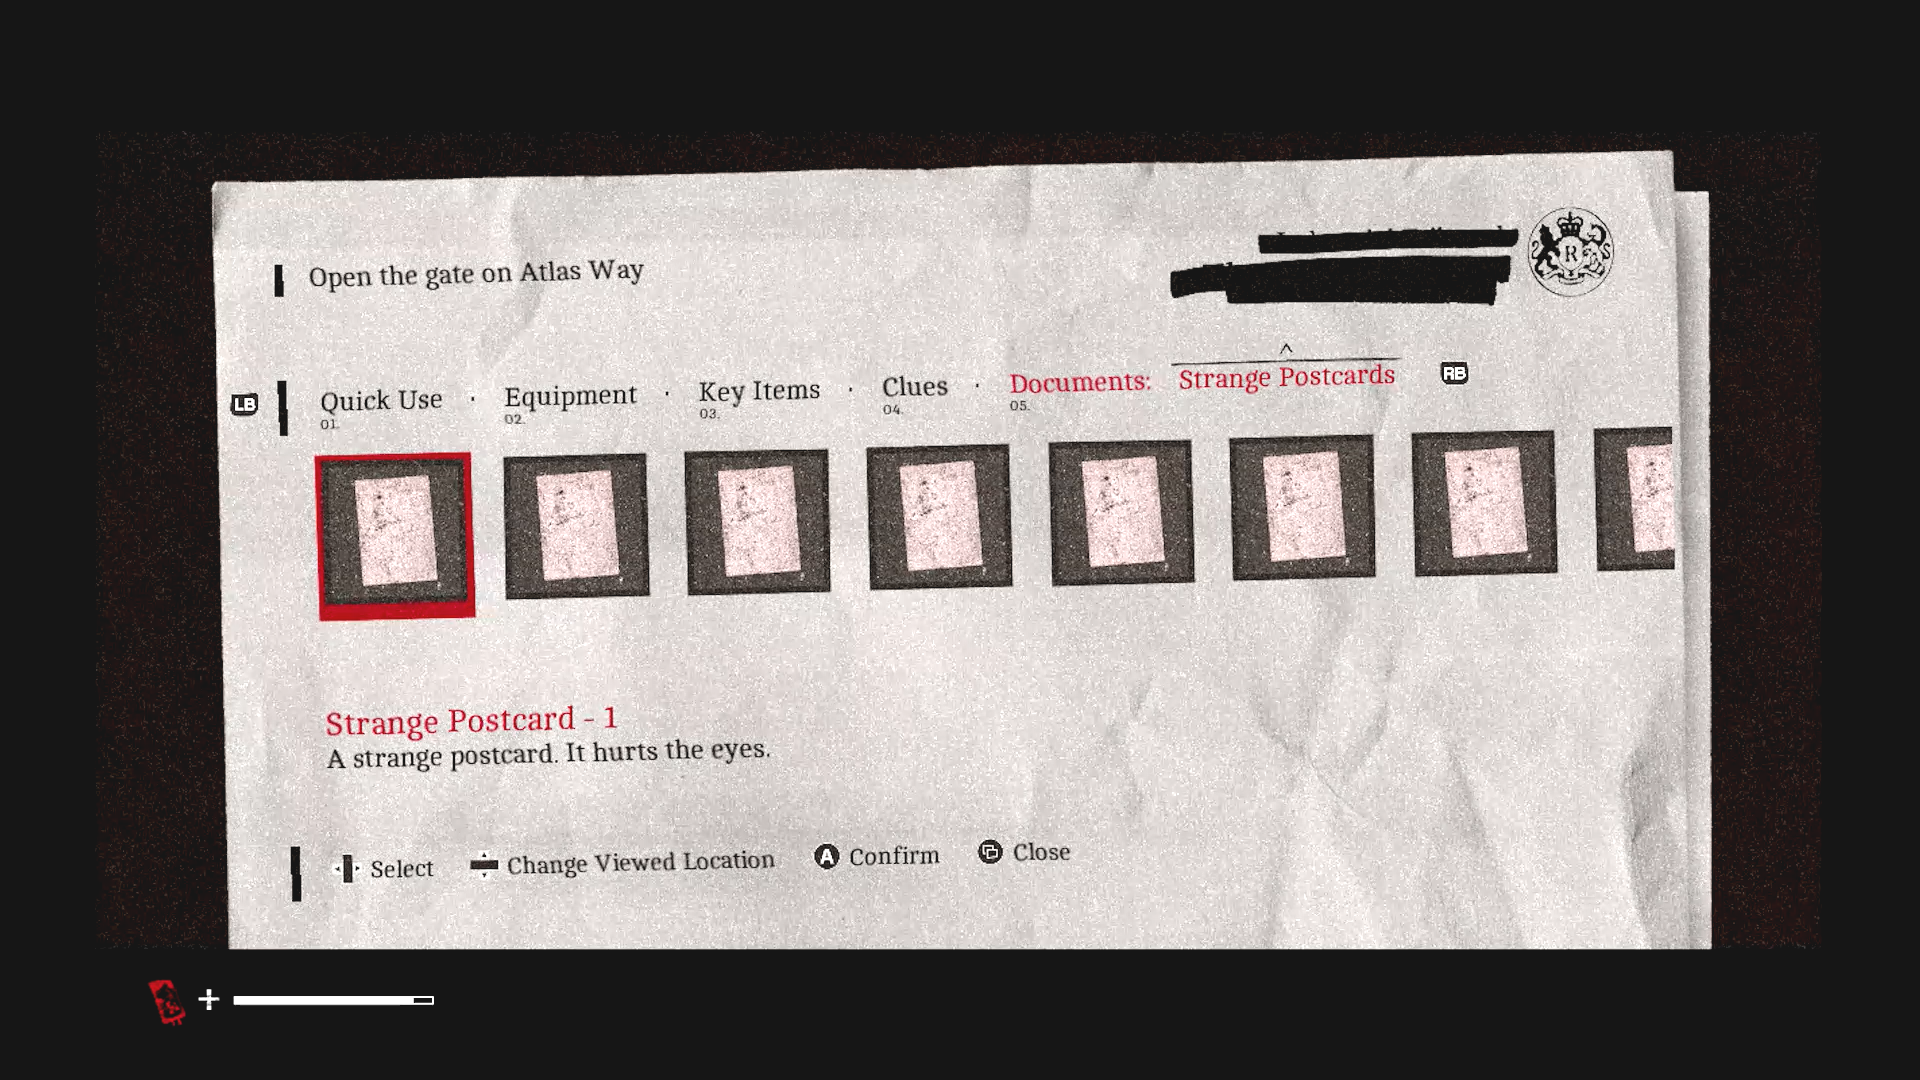
Collectibles. (Credit: Konami, Screen Burn Interactive)
And what would a Silent Hill game be without inexplicable collectibles? This time around they’re Strange Postcards, which have odd designs on them. I haven’t figured out what they do, if anything, but I assume they just give you a trophy. No wait, they’re called achievements on Steam. I have to stop calling them trophies. I clearly missed one or two of them since I didn’t get an achievement related to them.
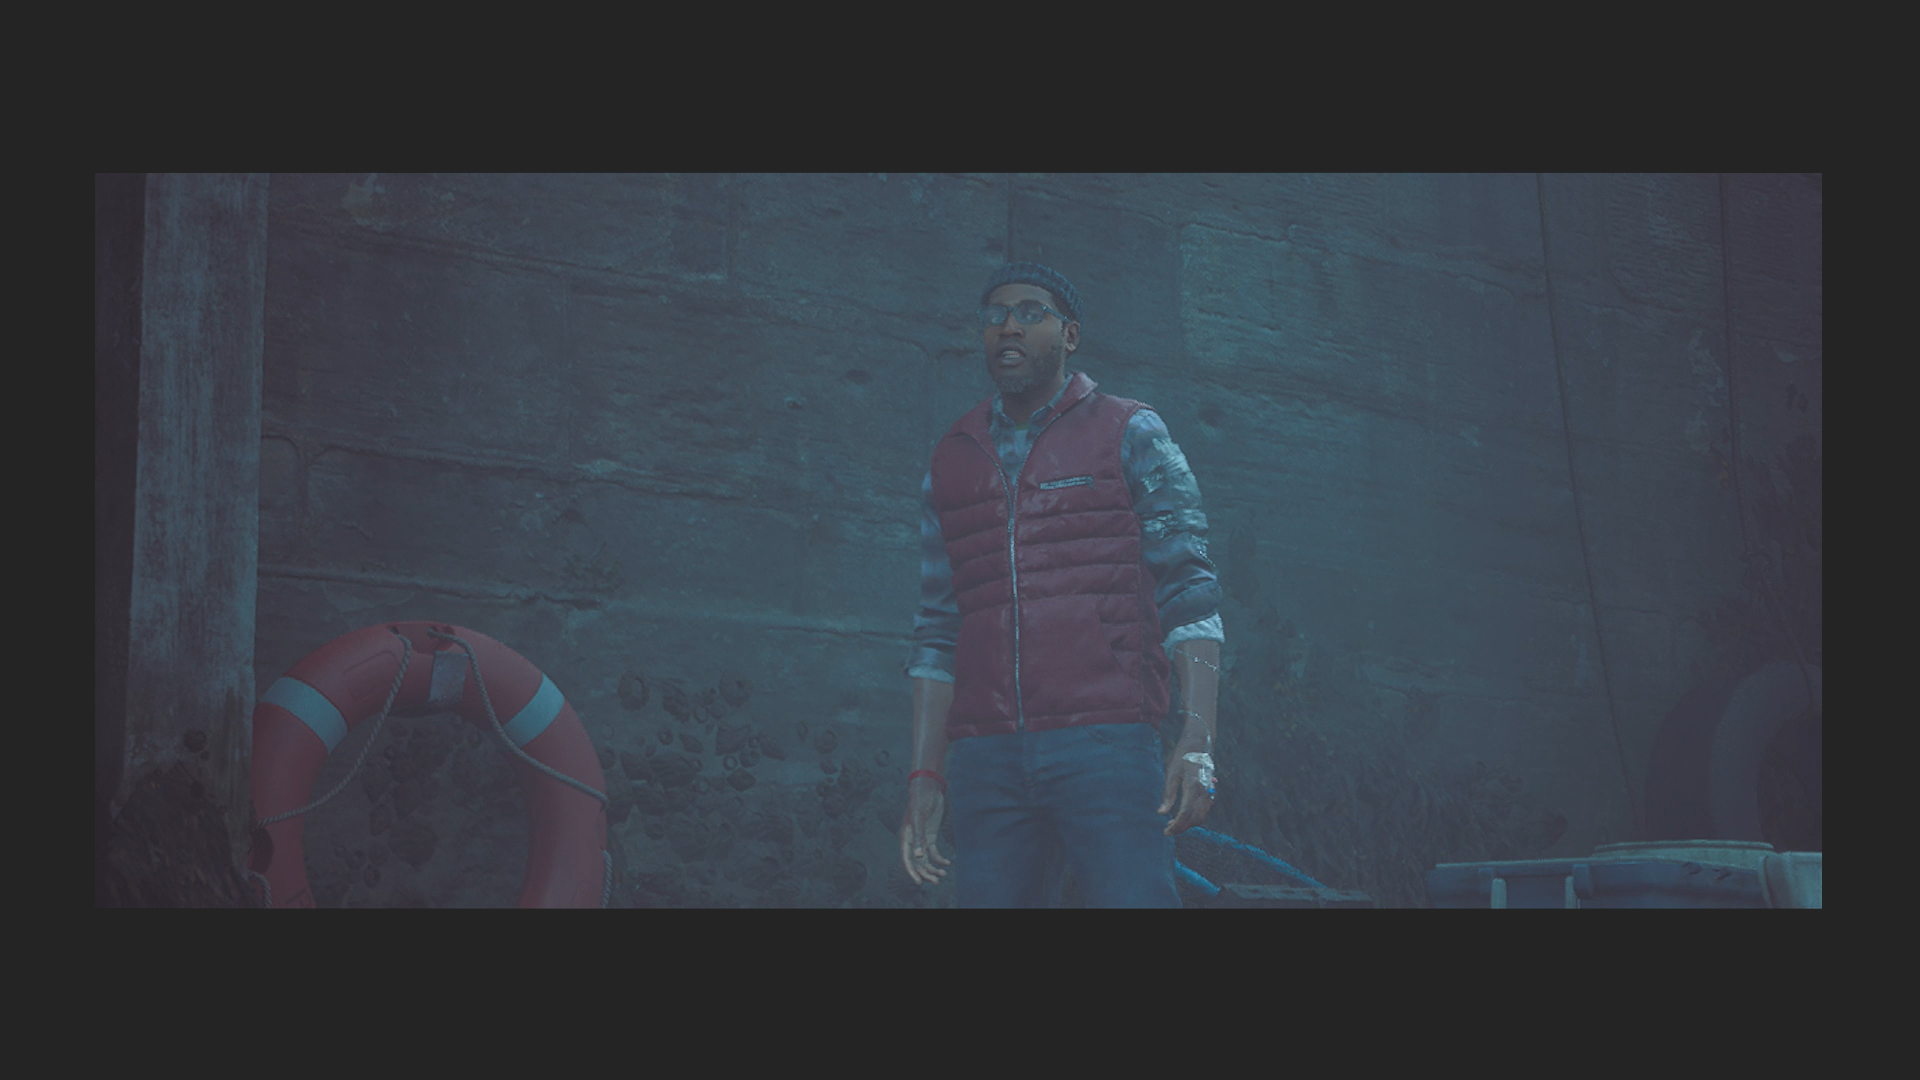
Simon arrives in town. (Credit: Konami, Screen Burn Interactive)
Okay, so that’s the basics. Let’s get through the plot and my gameplay experience. As the game opens, the main character, Simon Ordell, gets a phone call from a mysterious man, calling him back to the town. He’s told to set things to rest. The man says it may be a difficult request, but it’s important for the town. Simon then emerges from the water with no memory of how he got there. He’s got a medical bracelet on and an IV cannula in his hand. He gets a sudden splitting headache that incapacitates him for a moment.
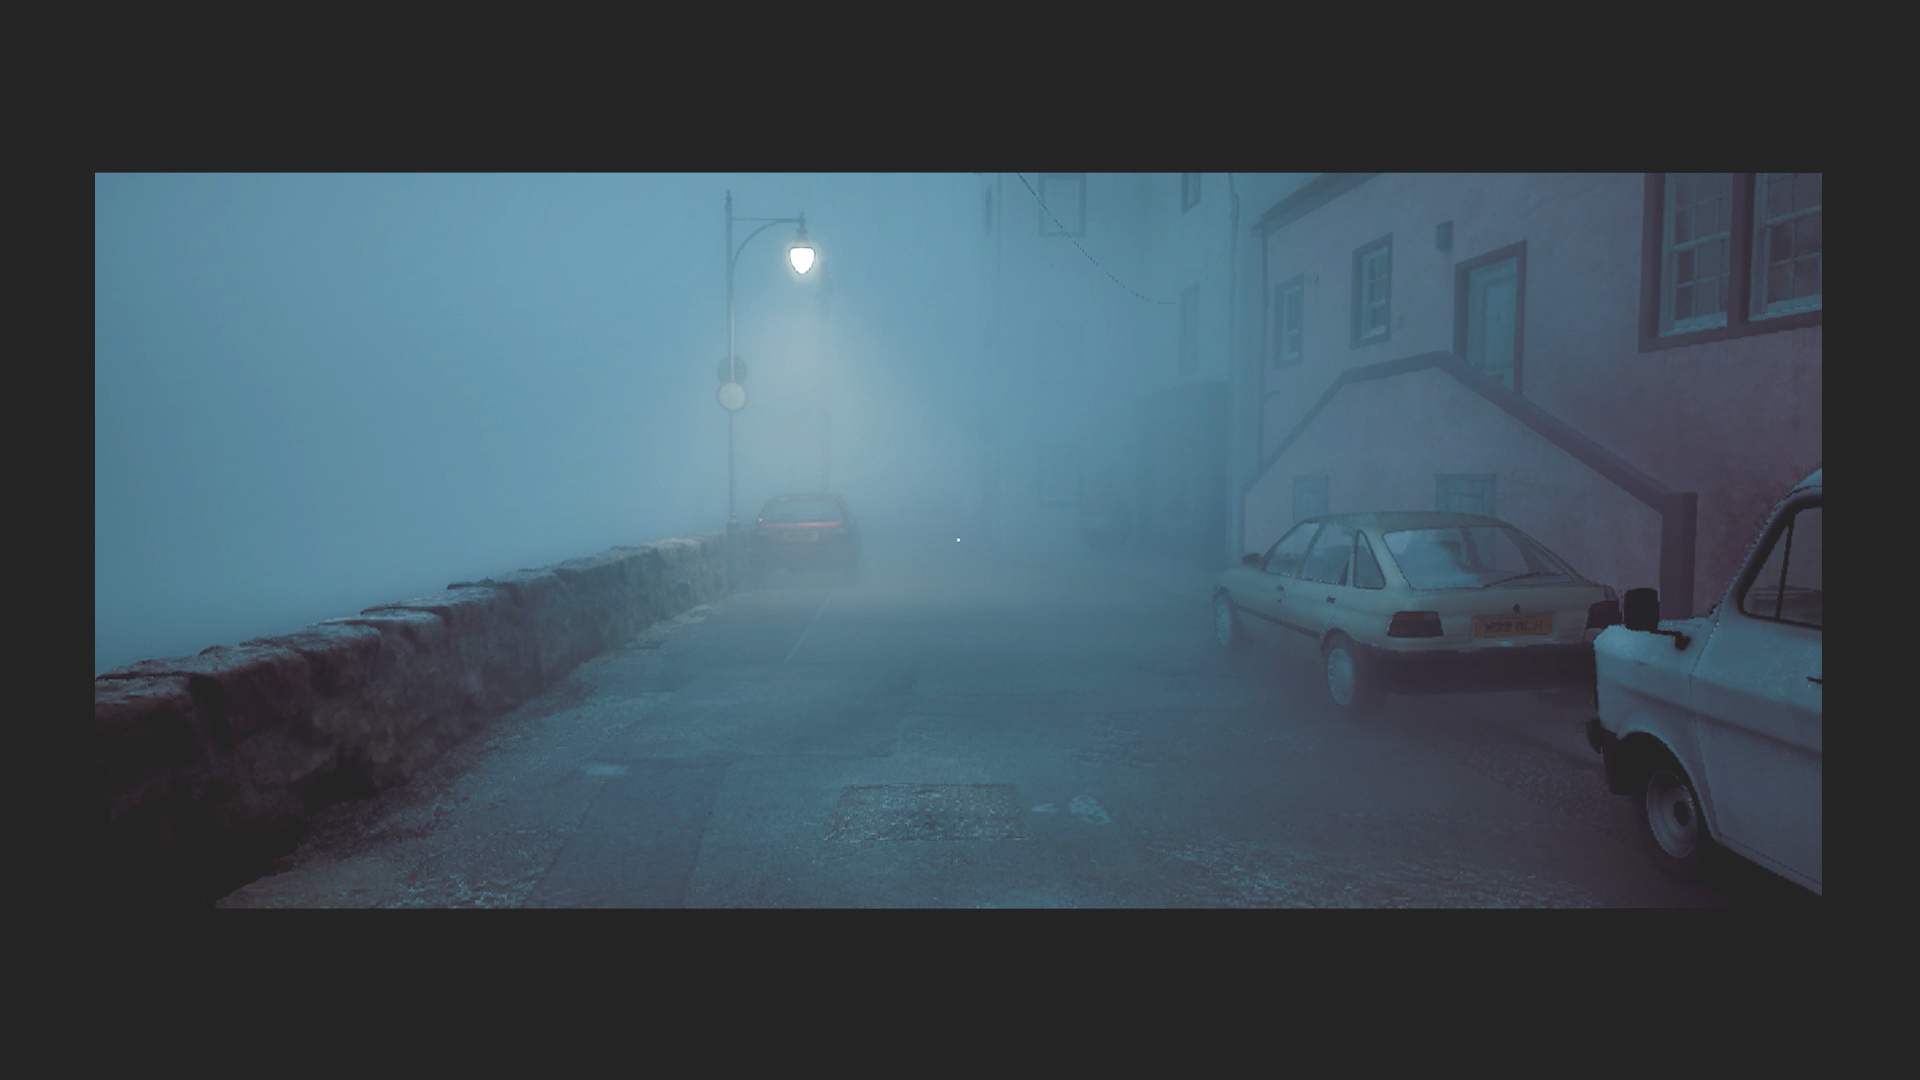
Seems like a nice place. (Credit: Konami, Screen Burn Interactive)
After wandering the fog-shrouded empty wharf, Simon makes his way into town, where we learn the game is set in 1996.
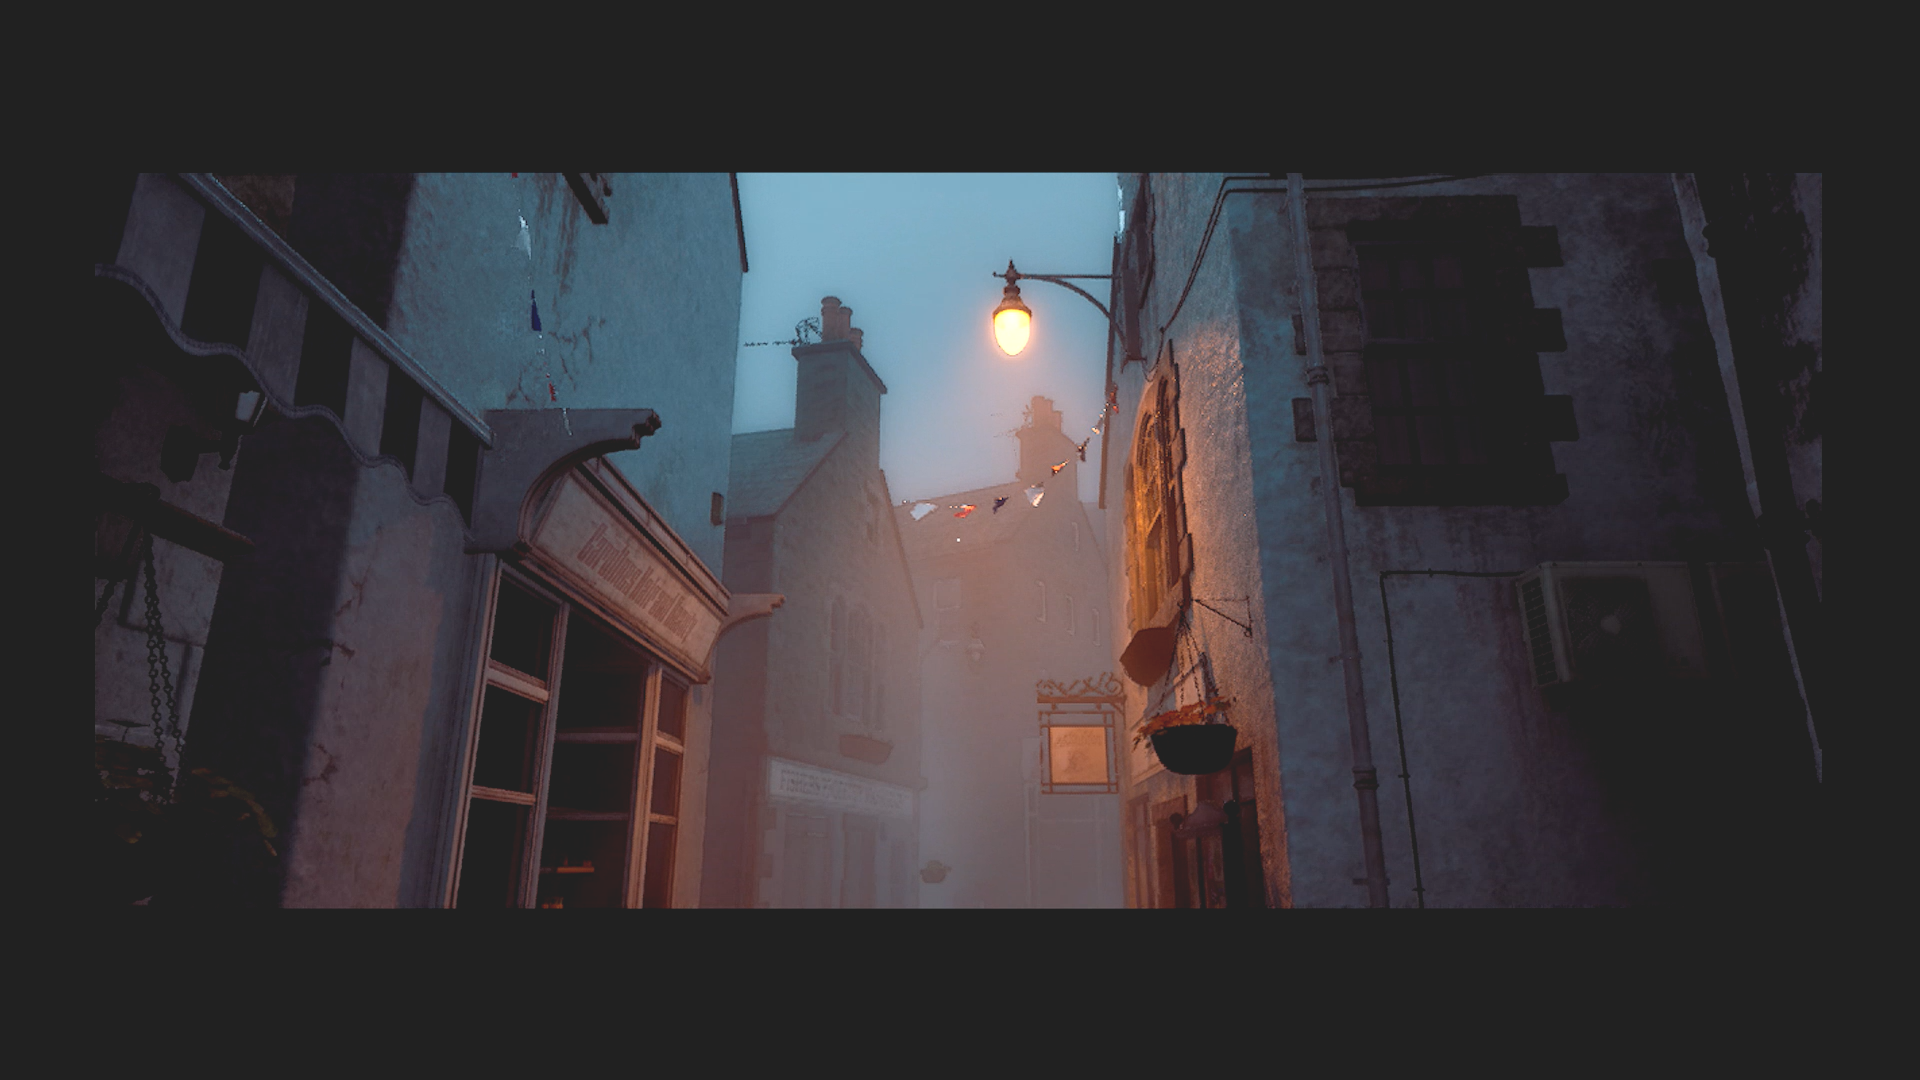
I’m sure nothing bad will happen here… (Credit: Konami, Screen Burn Interactive)
Simon makes his way into St Amelia, where he sees a shadowy figure walking in the distance. We all know where this is going. You see a shadowy figure in a Silent Hill game, you just know it’s going to turn out to be a monster.
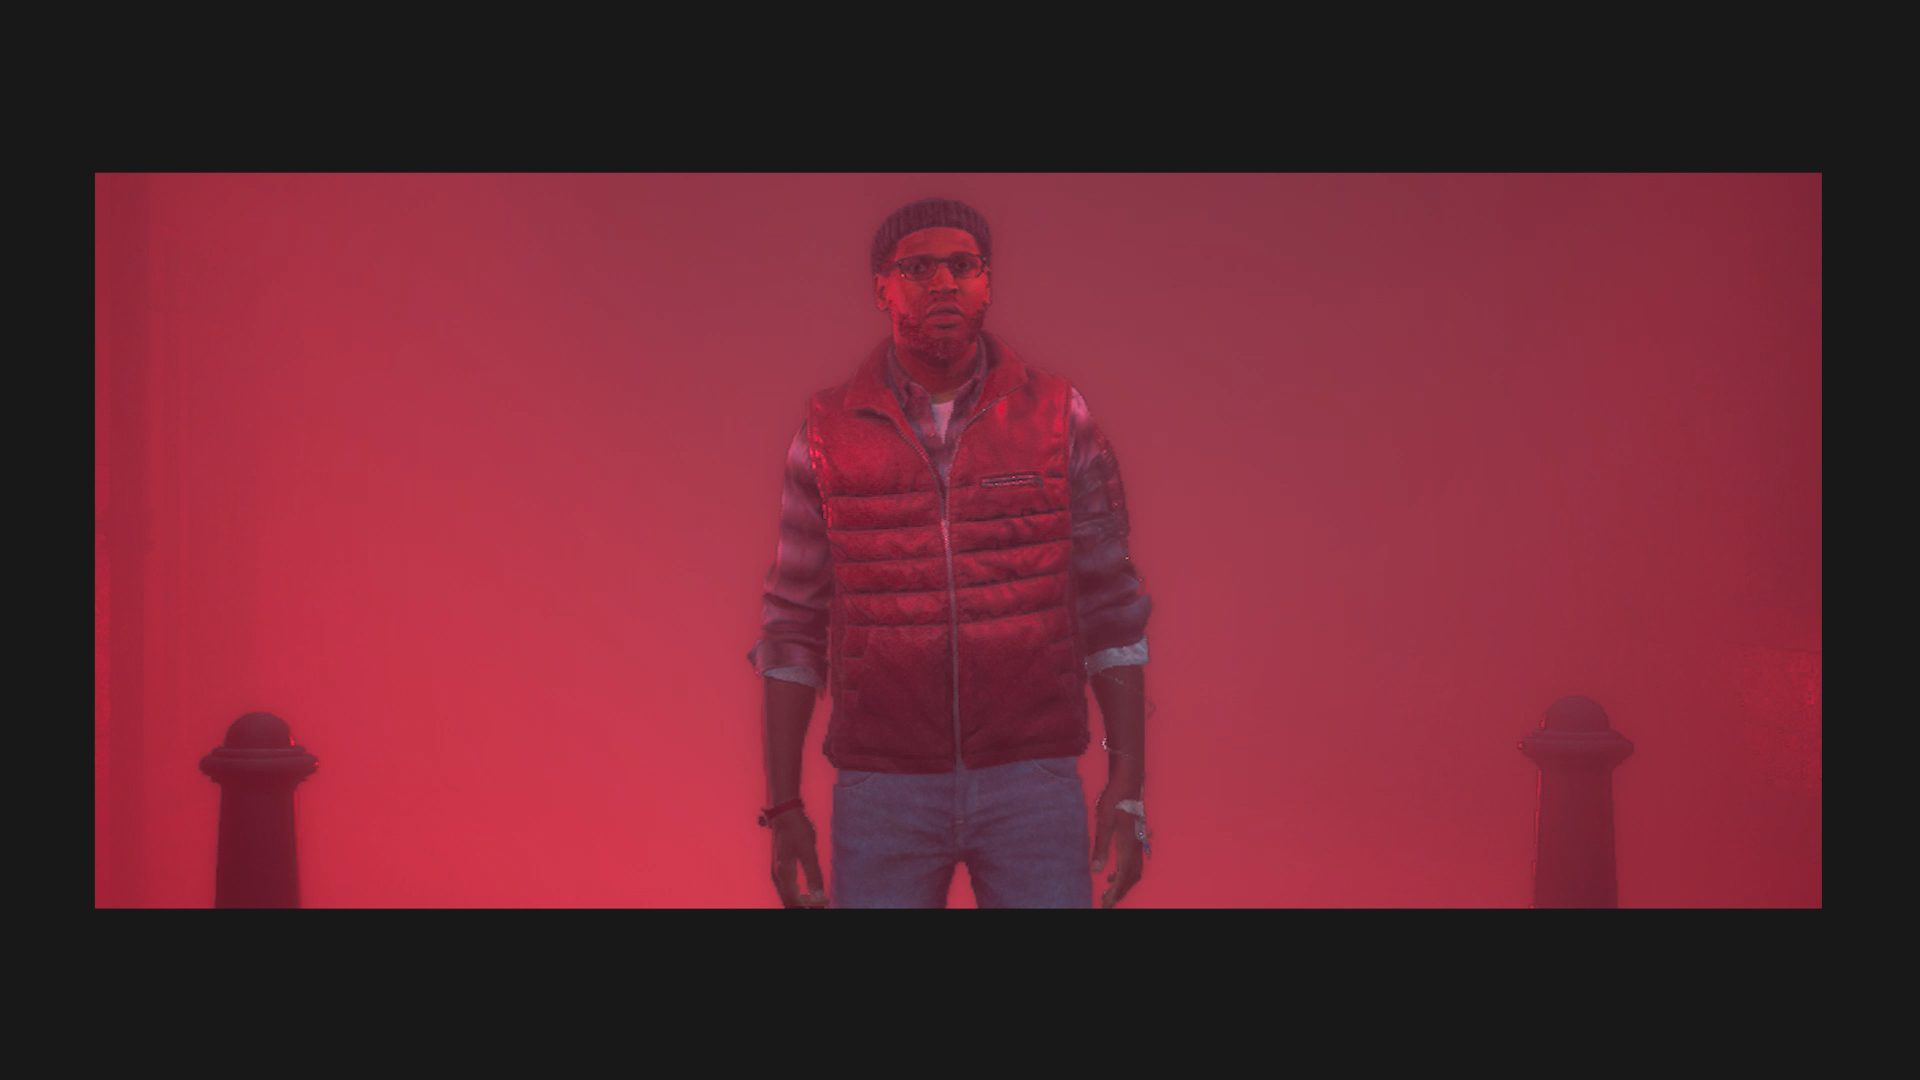
Uh oh. It got all red. (Credit: Konami, Screen Burn Interactive)
Suddenly Simon is surrounded by a scary red glow. There are distorted voices that sound like they’re coming over a loudspeaker. He passes a lot of For Sale signs posted about and some plot-related signs. One references a protest on March 10th. Another says “Nothing we can do until help arrives. Please stay safe.”
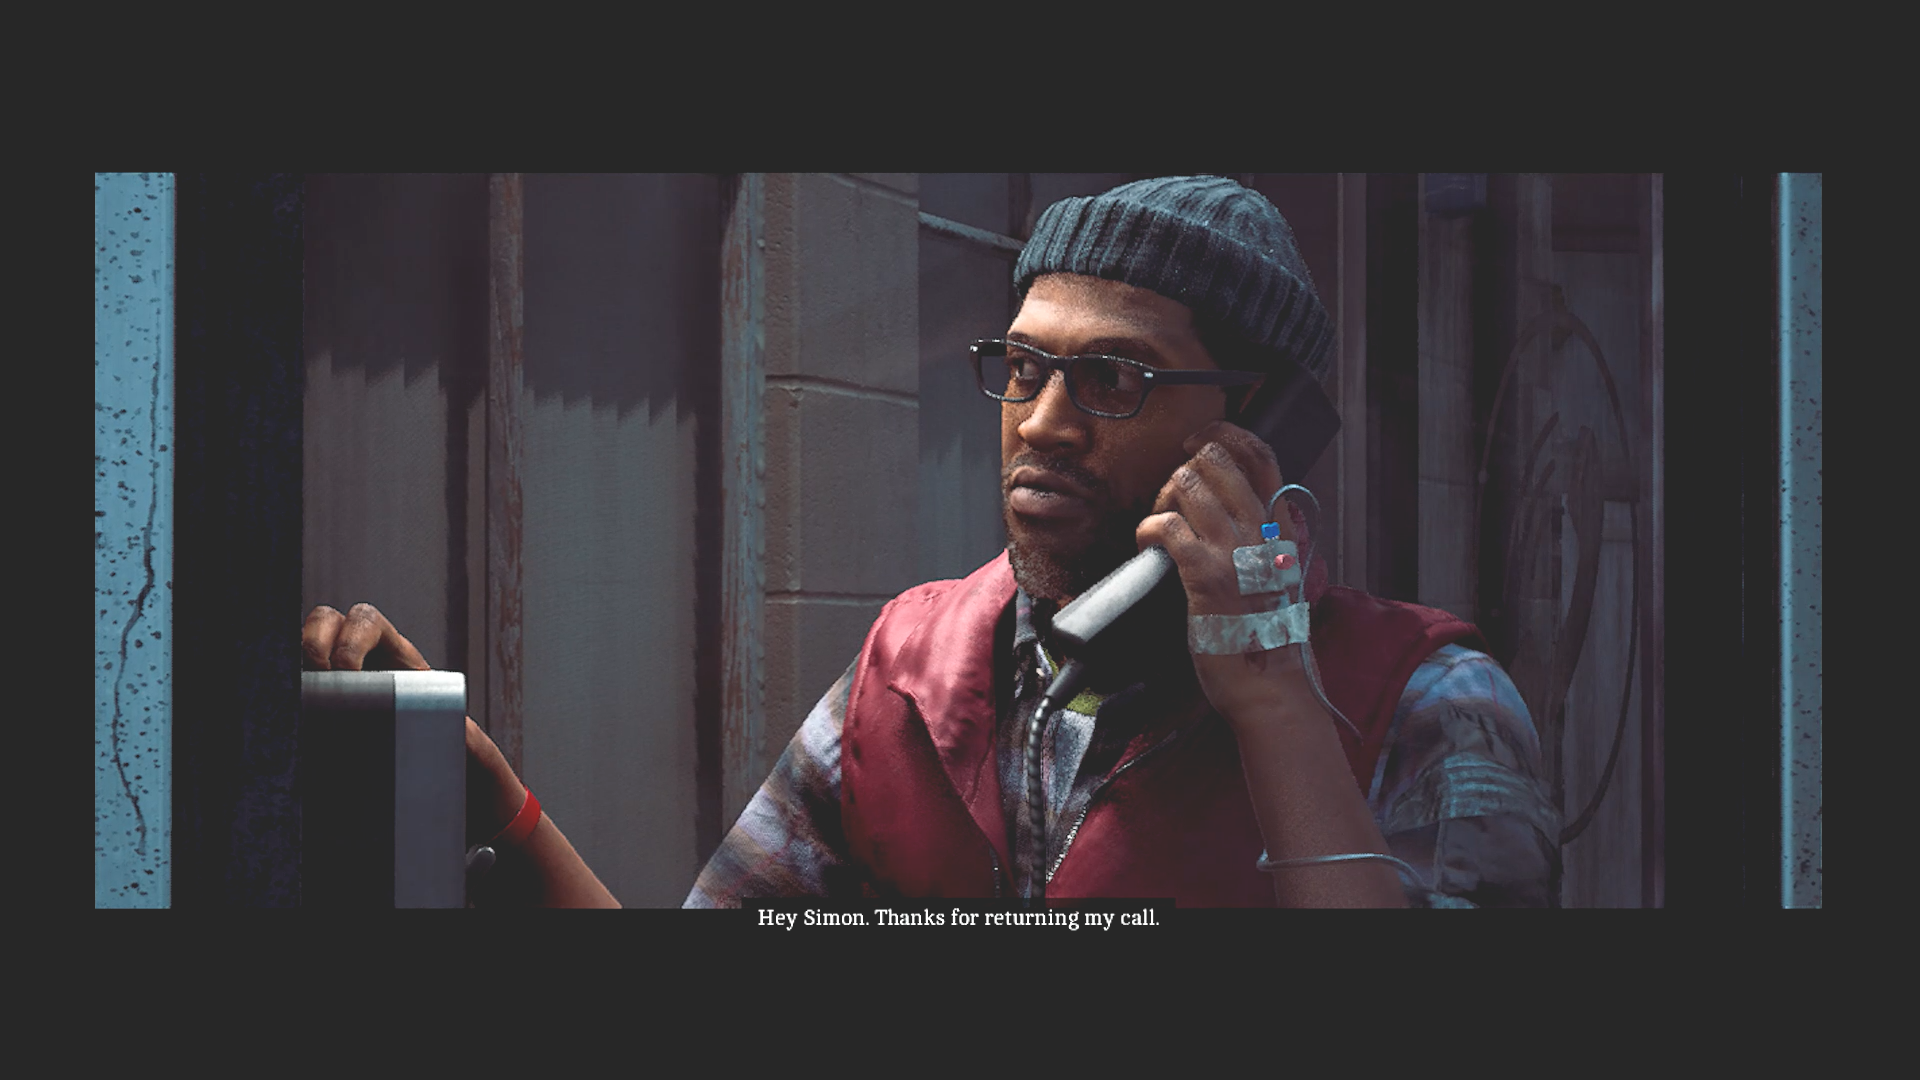
Richard seems like a nice guy. (Credit: Konami, Screen Burn Interactive)
A payphone rings but no one is on the other line. The emergency services and operator are dead. The only number that works is labelled 100: Save Yourself. It’s the voice from earlier saying that he’ll try to protect Simon. He asks Simon for help. The headache returns and the words “the flooding of things” flashes on the screen.
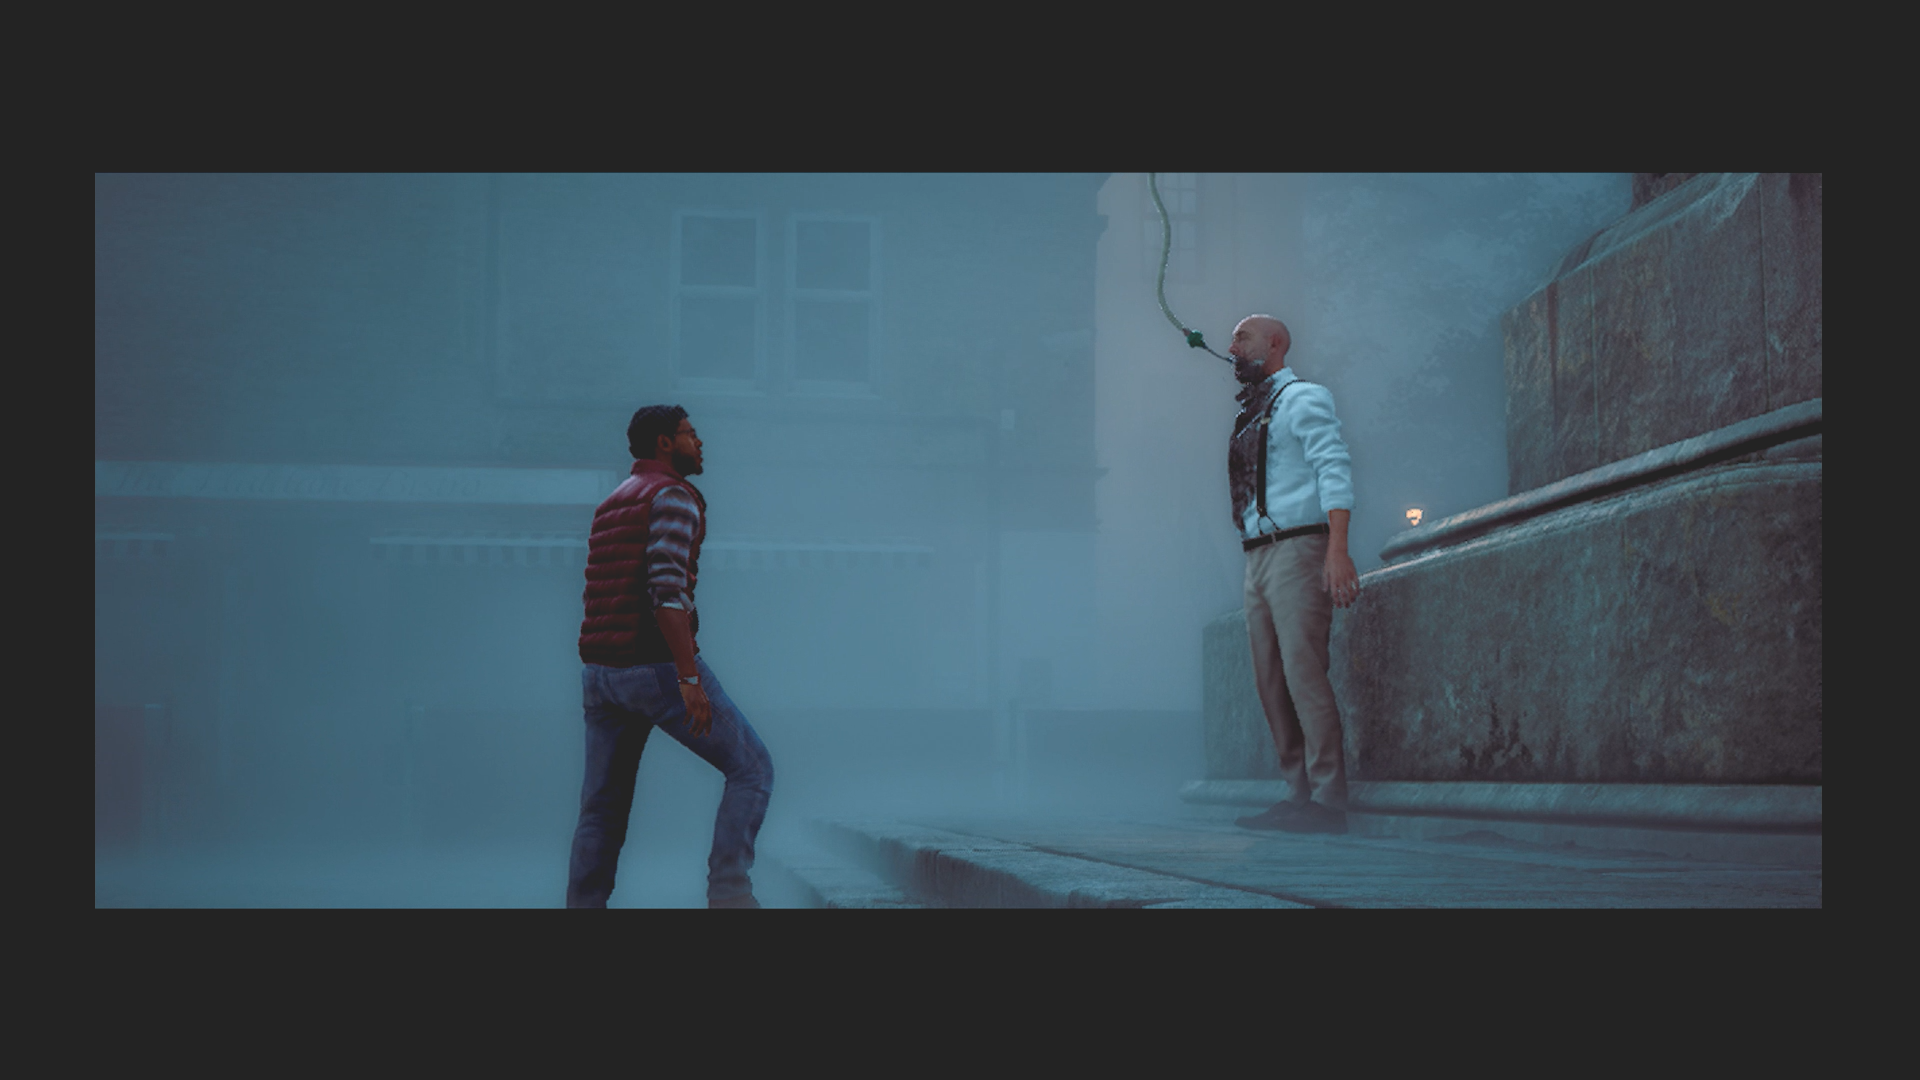
This is messed up. (Credit: Konami, Screen Burn Interactive)
When Simon exits the phone booth, he finds a man is now standing in the square, with a tube crammed down his throat. Simon removes it and the tube rises into the sky. The man— Richard, the same one from the phone calls— says “We can fix this” and “Find her.” It suddenly gets very dark.
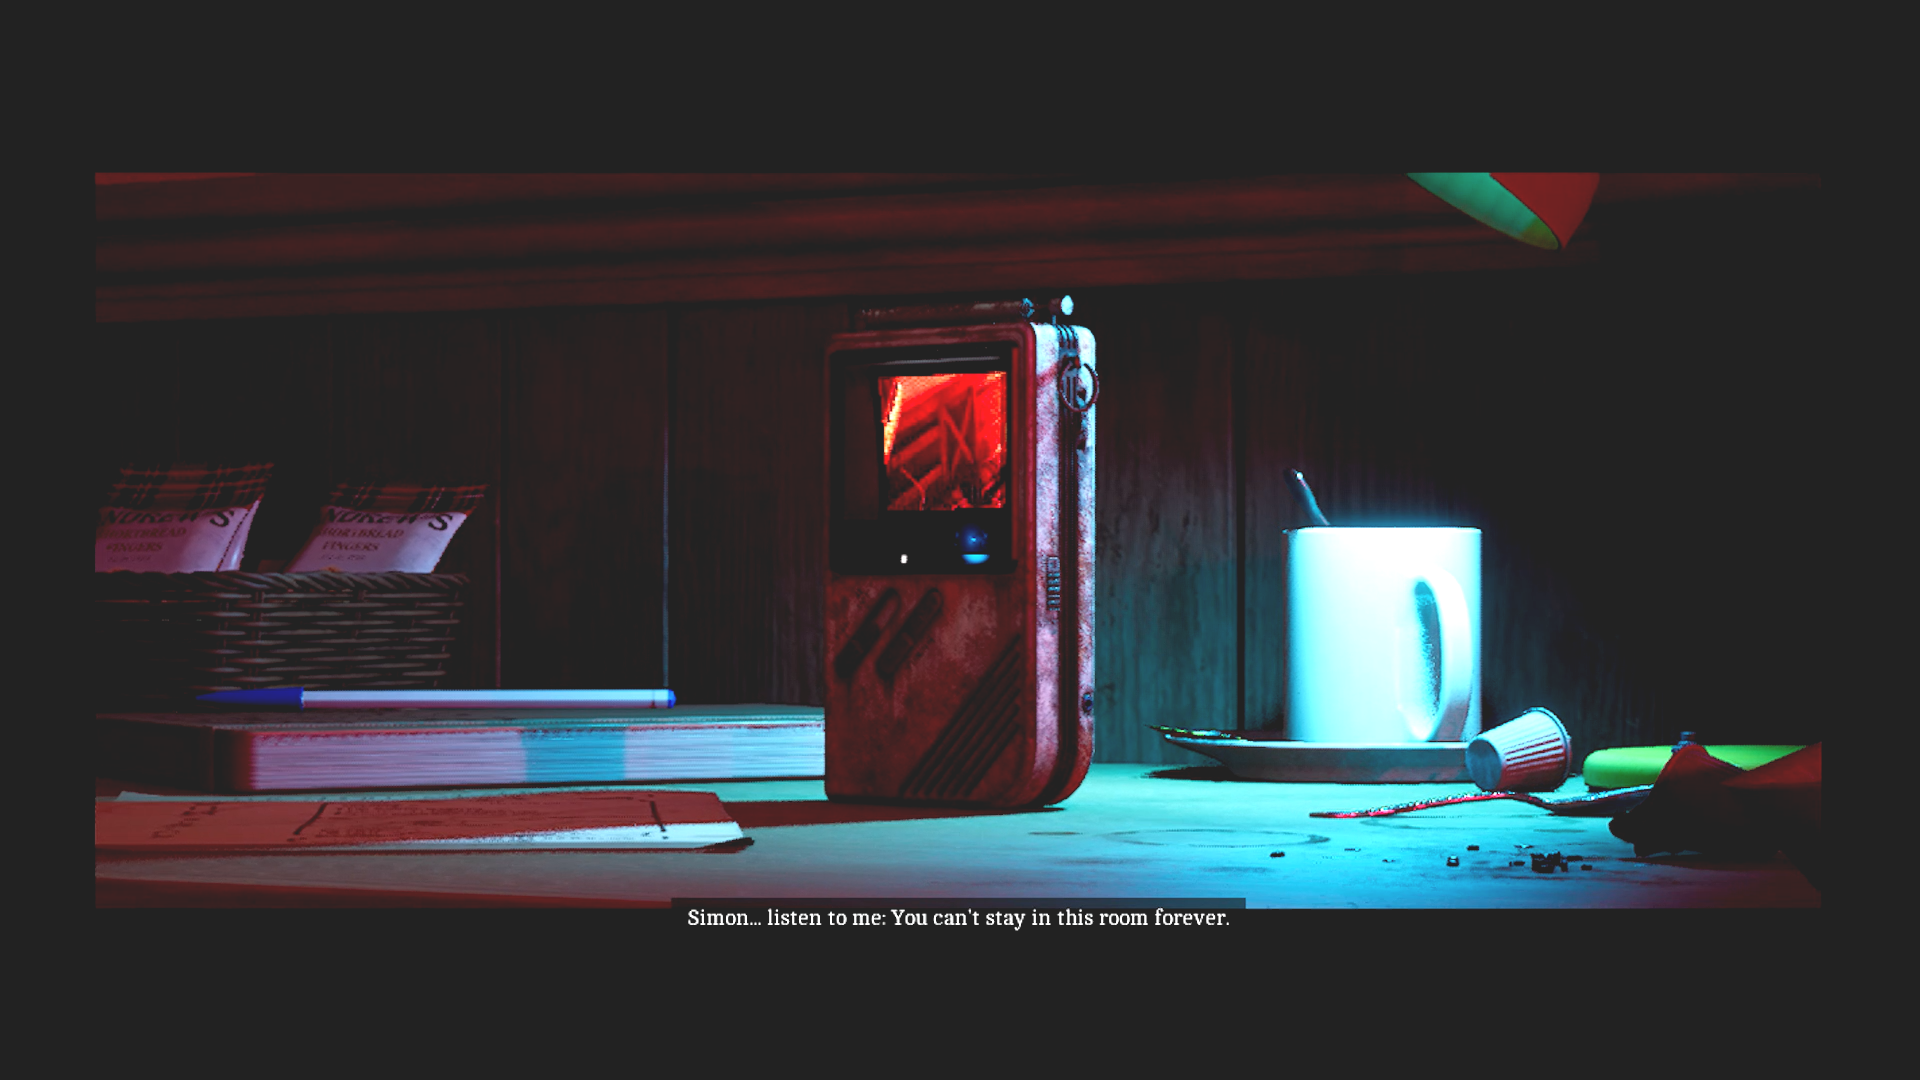
Simon finds his TV. (Credit: Konami, Screen Burn Interactive)
Simon finds himself in an underground area in front of a metal door covered in hash marks. This leads to a long, narrow tunnel and eventually to a hotel room. Room 204. In this room a woman talks from a small CRTV. She tells Simon he has to leave the room sometime because he has important work to do.
The first puzzle in the game is a simple combination lock based off a date you get from the CRTV.
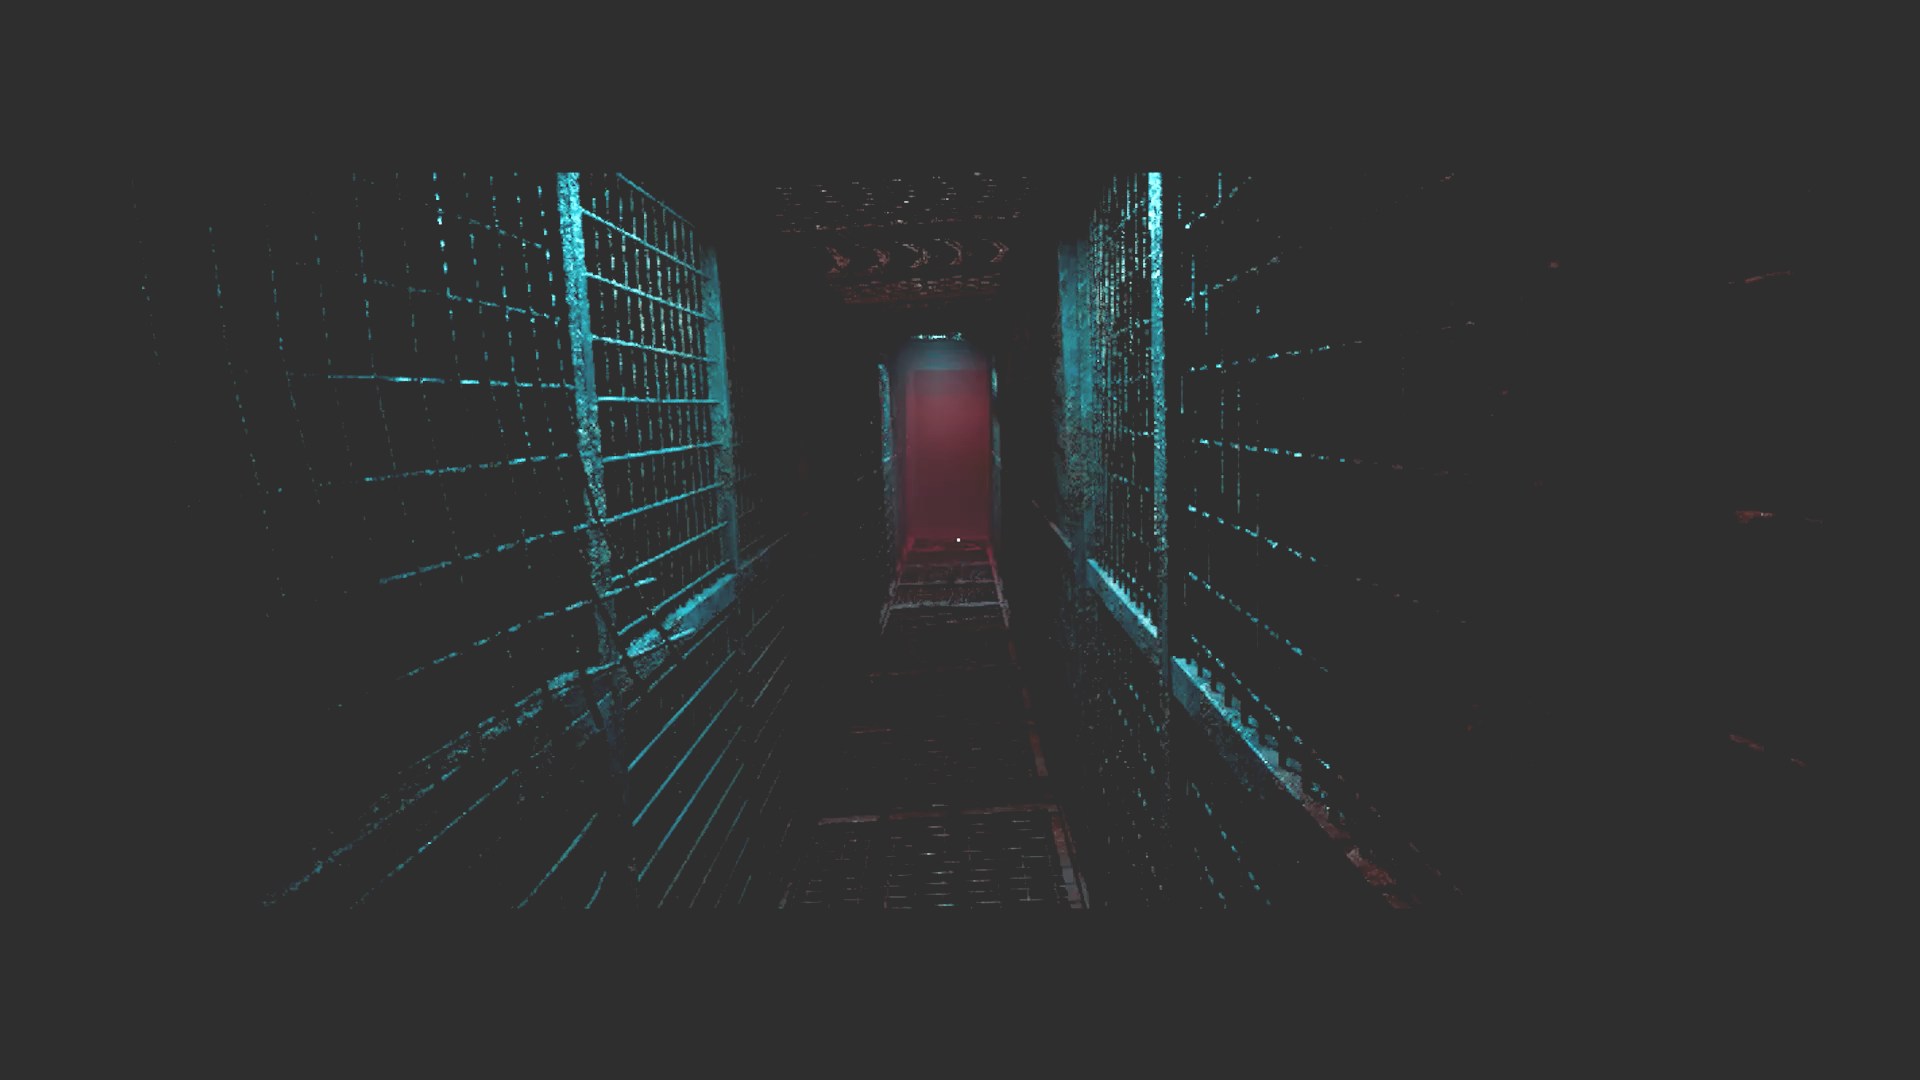
Creepy. (Credit: Konami, Screen Burn Interactive)
Outside the room the first monsters appear and you get a tutorial on how to stealth and use the CRTV. A big lumbering monster appears and Simon has to rush to a slow-ass elevator to escape. At the top is a chill hotel where everything seems normal.
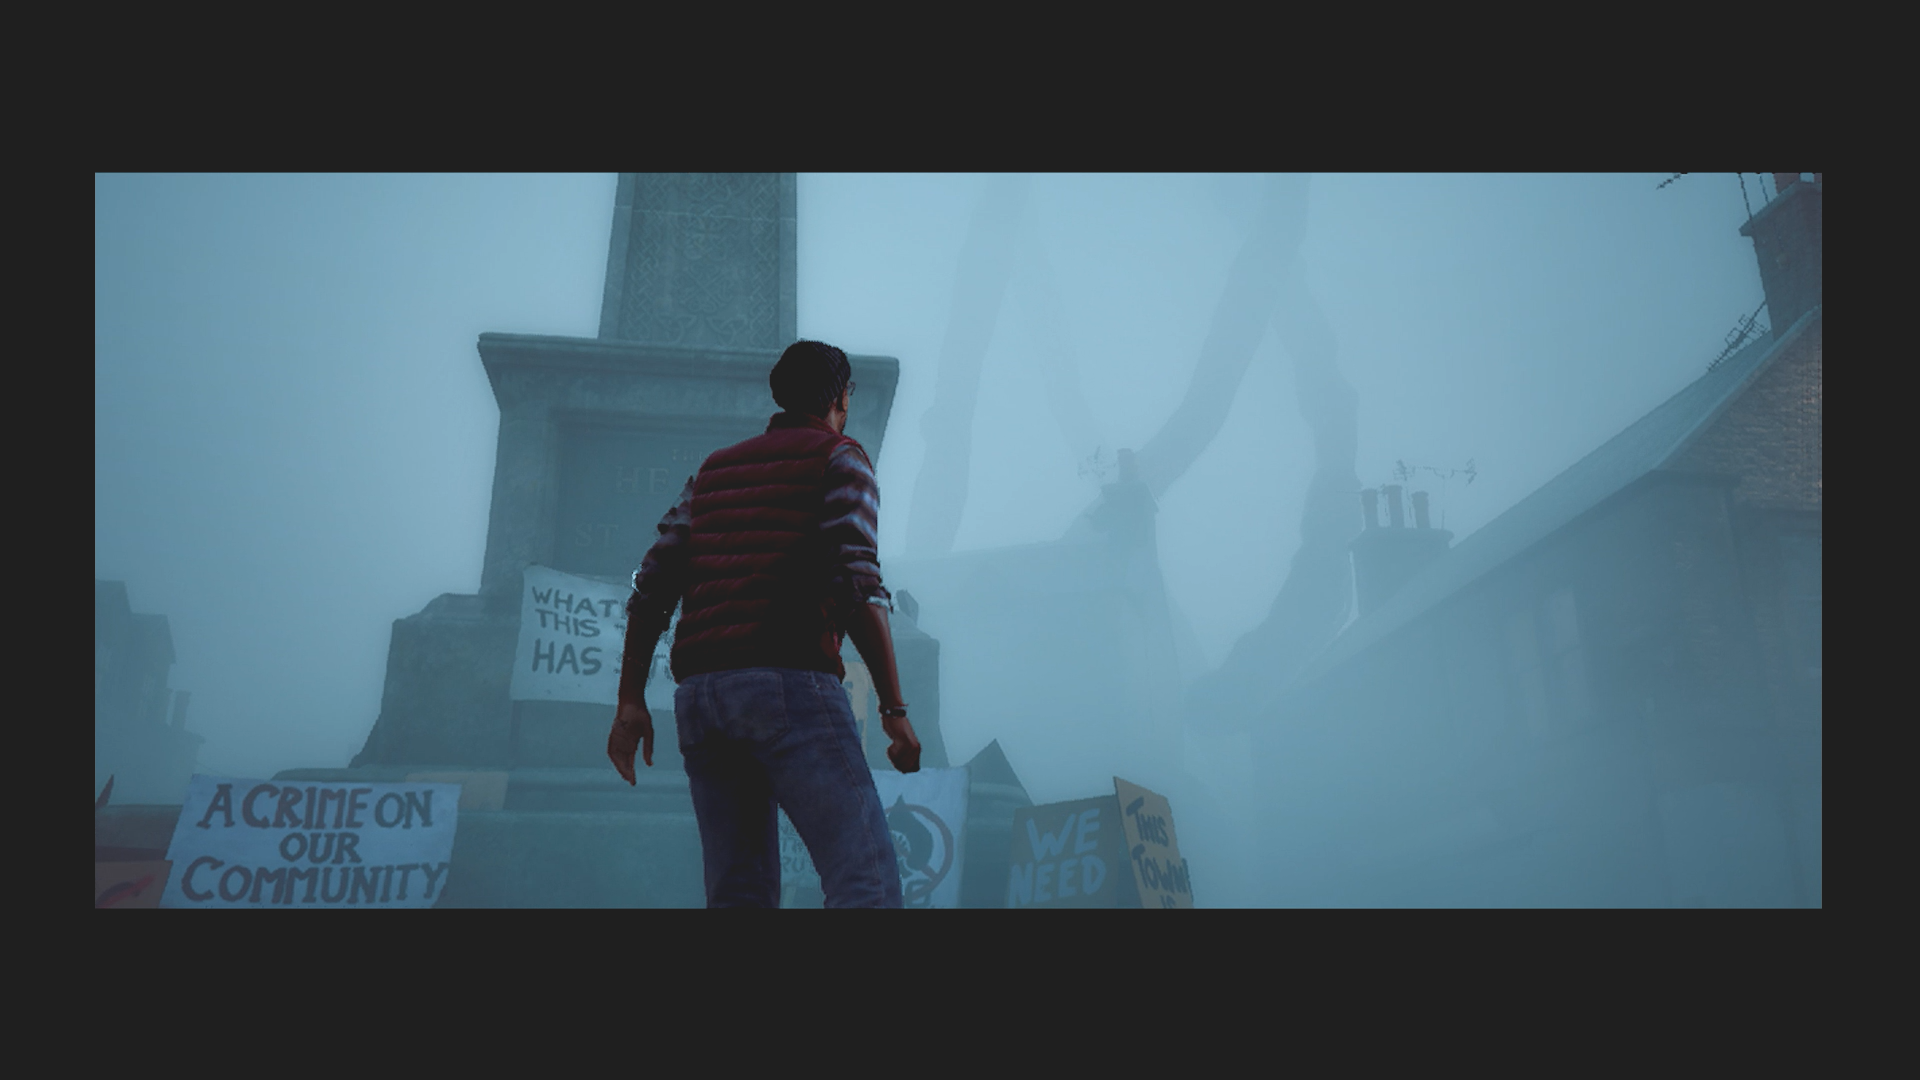
What’s this thing now? (Credit: Konami, Screen Burn Interactive)
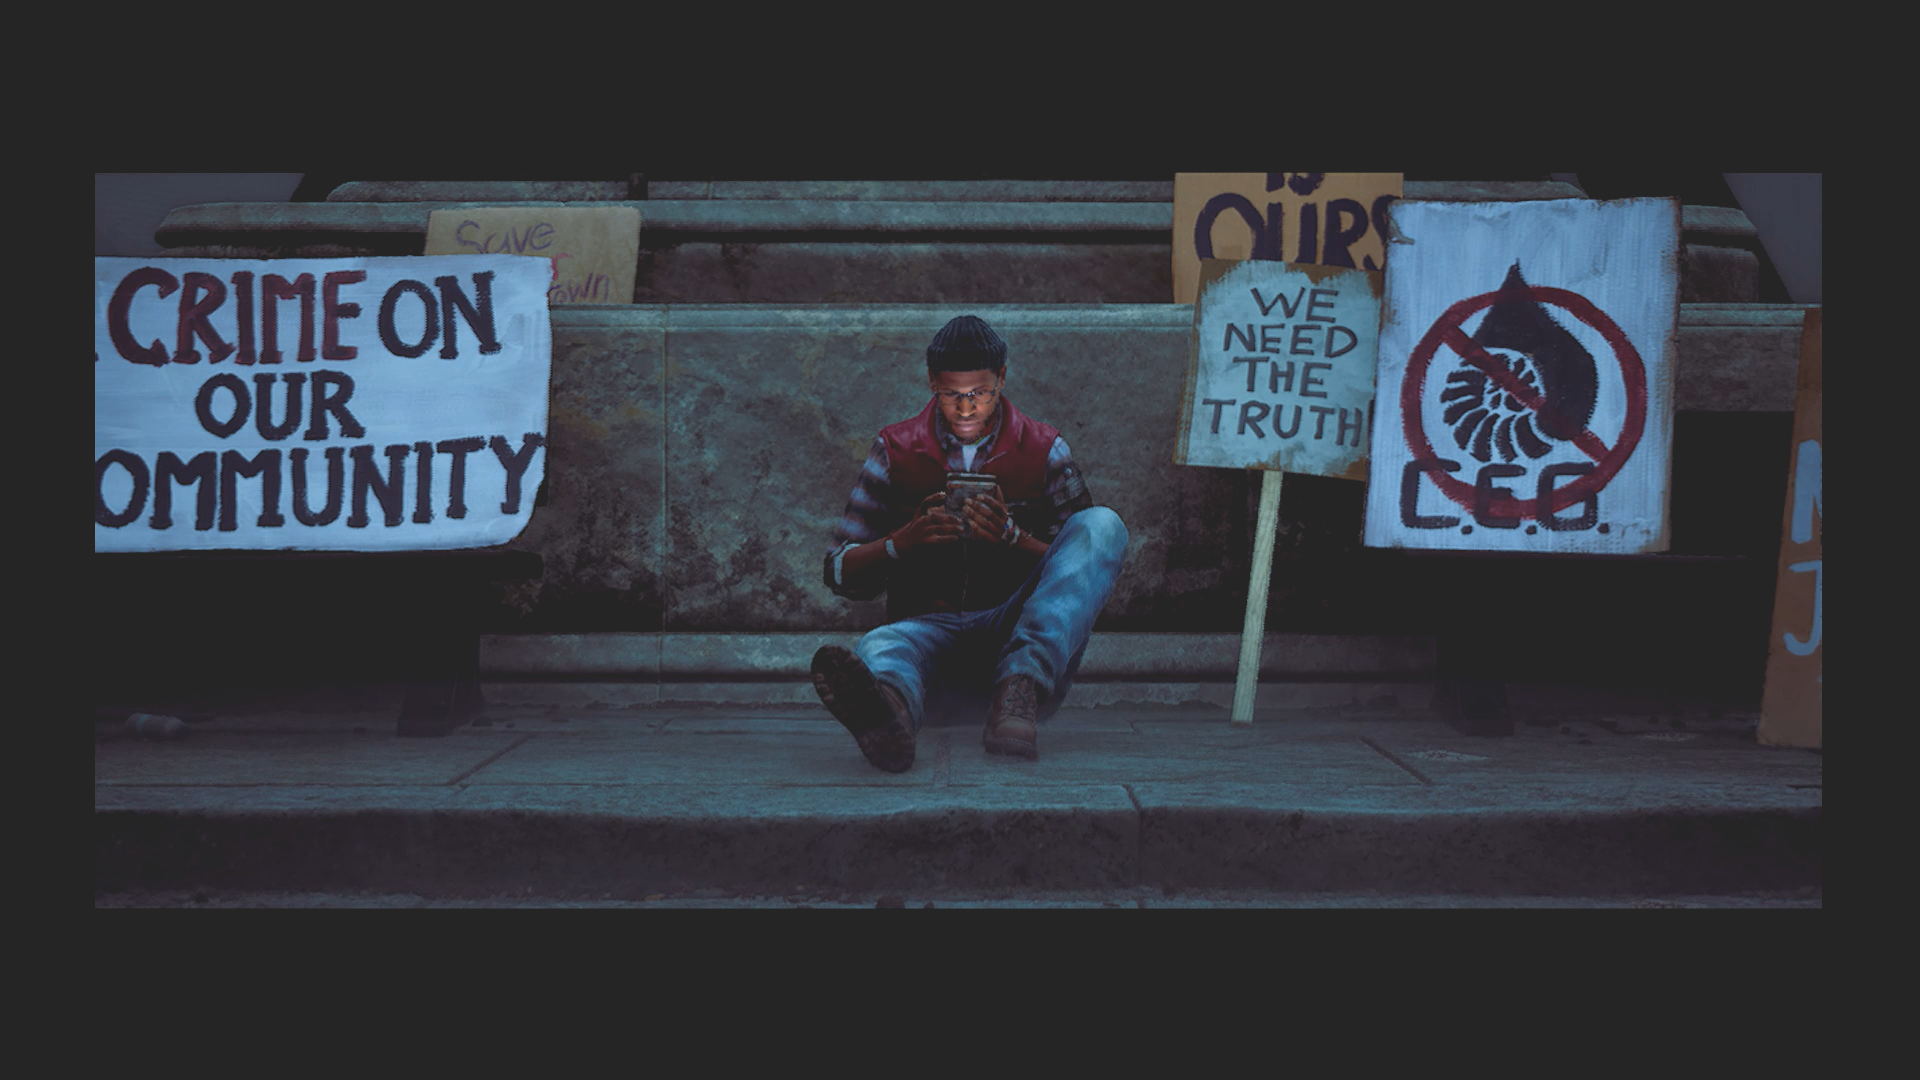
Outside Simon is back in the square where there are signs posted everywhere relating to something called CEG and CEG widows. The signs demand justice for some disaster. A foghorn sounds and big smoke-like tendrils pass by. It’s not clear at first, but they appear to be dangling from something out of sight, or are possibly legs. (This creature is called The Collapse, by the way and Simon will be seeing a lot more of it.)
After this unsettling sight, the opening credits finally play.
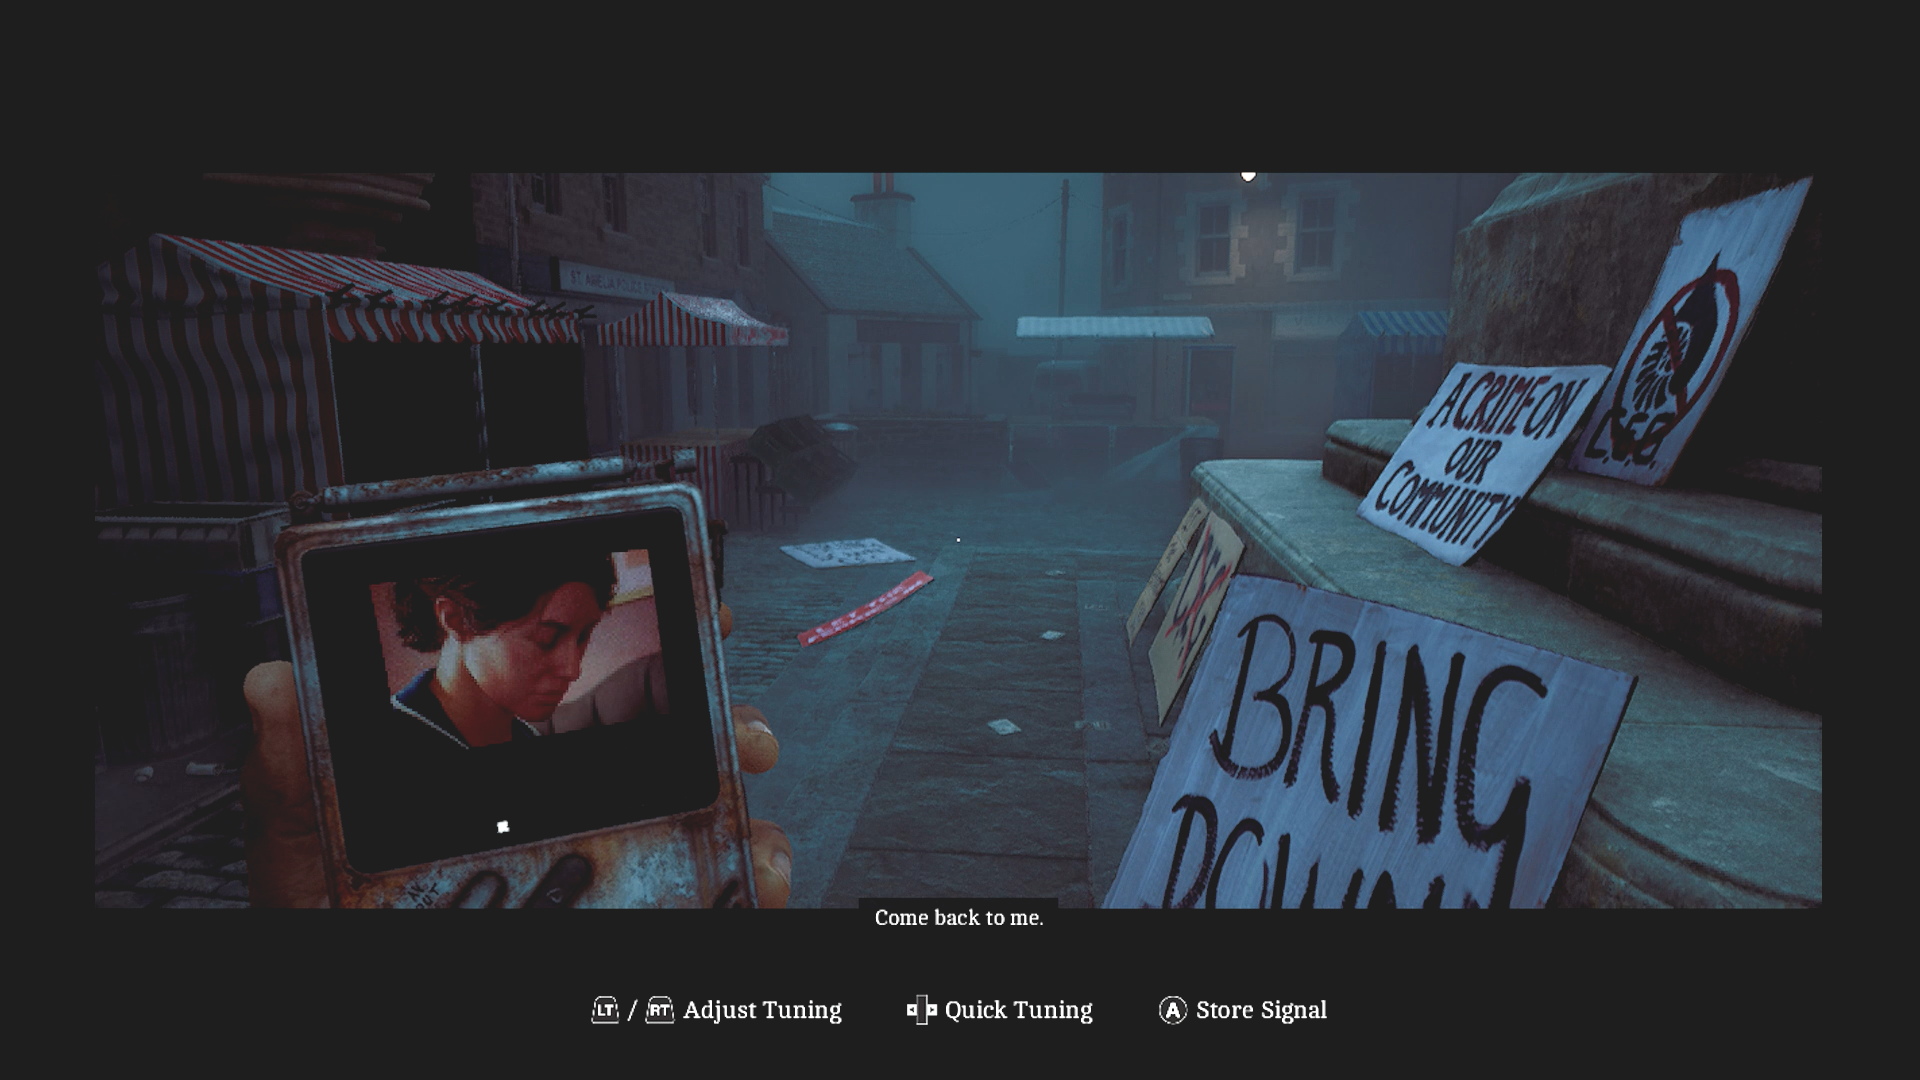
Simon heads off to find Zoe. (Credit: Konami, Screen Burn Interactive)
After the credits, there is a new signal on the CRTV leading Simon to look for Zoe’s house. (She is the woman from the earlier signal, and the one Richard told him to find.) There are more references to CEG and their negligence. We also learn that St Amelia was a prosperous fishing town in the past that has become more modest in recent years. Now there is contaminated water, an overtaxed hospital, and dwindling supplies from the mainland.
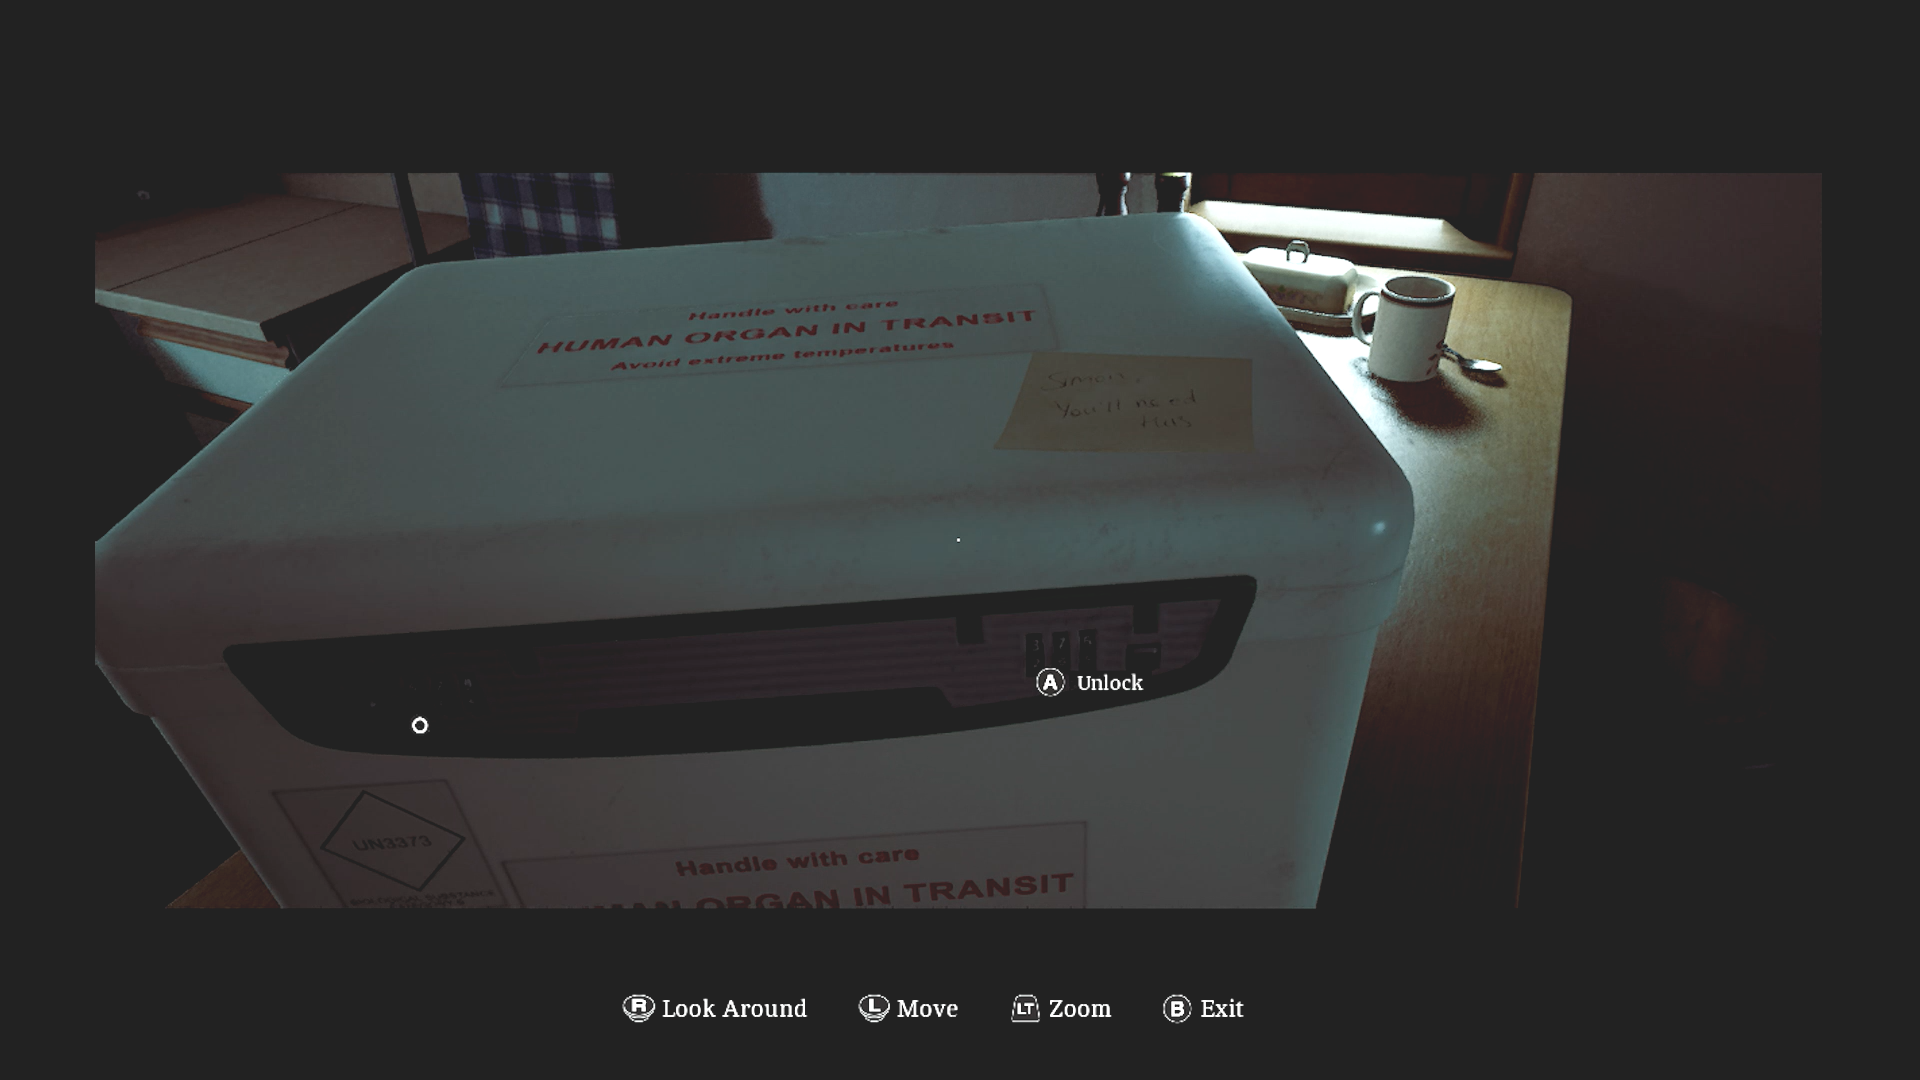
Uh, I don’t think you should have this, Zoe. (Credit: Konami, Screen Burn Interactive)
In this house we get some more hints. There are letters addressed to Zoe Ellis, mostly legal notices. There is a voicemail from someone checking on her and a letter from someone who is angry about what happened to Joe— saying that Zoe was inexperienced and out of her depth. Zoe appears to be a nurse. Simon finds his flashlight here and a photo of himself, which really confuses him. There is also a human organ box just lying out on the counter. (“I guess she isn’t a very good nurse,” I commented to Cocoashade, who was watching me play.) The organ box is locked. Yes, it’s the next puzzle.
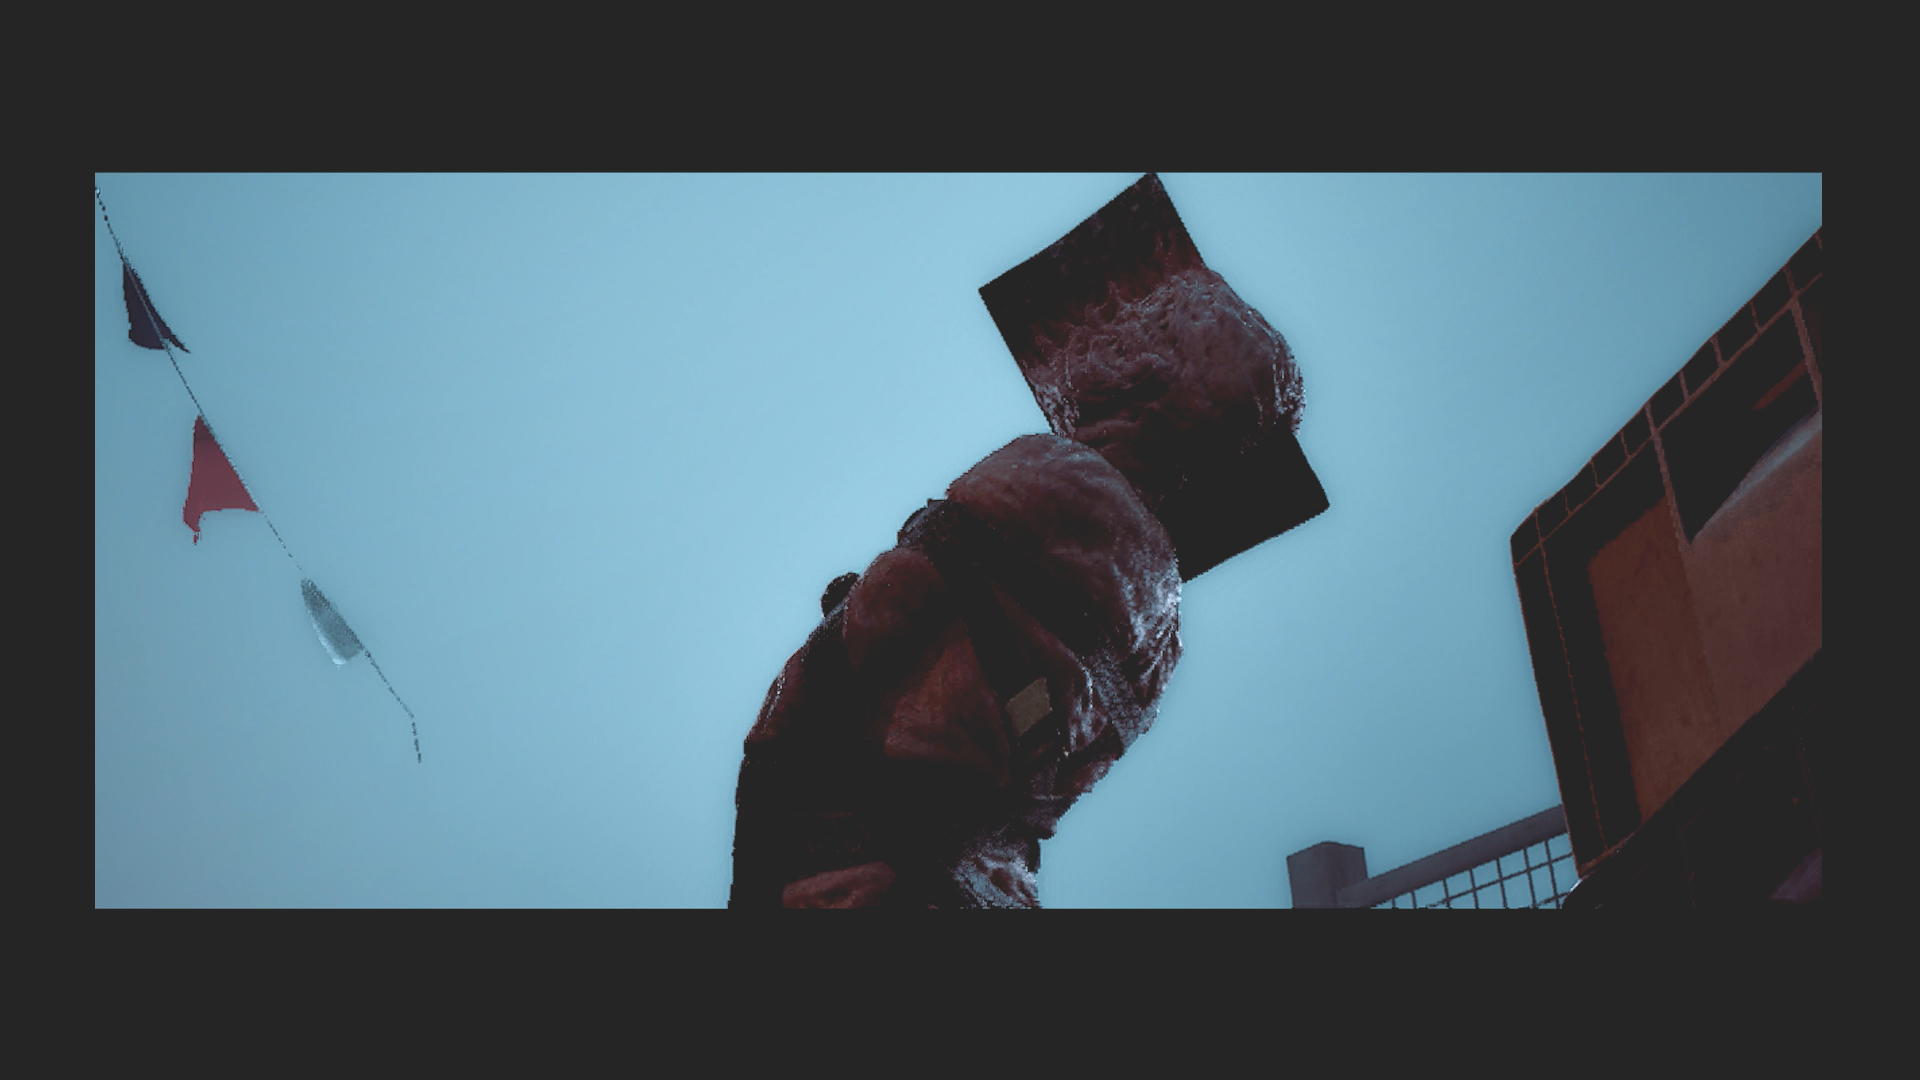
Hatchet head. (Credit: Konami, Screen Burn Interactive)
Going outside to work on the puzzle, new monsters appear, called Lungers. They look like they have axe blades imbedded in their heads and are very aggressive. I couldn’t figure out a good way to avoid one of them, so I had to battle it with my board and very nearly died. I later realized that the only thing that saved me was the IV bag that you start with. I had no idea that it resurrected me until I found another one.
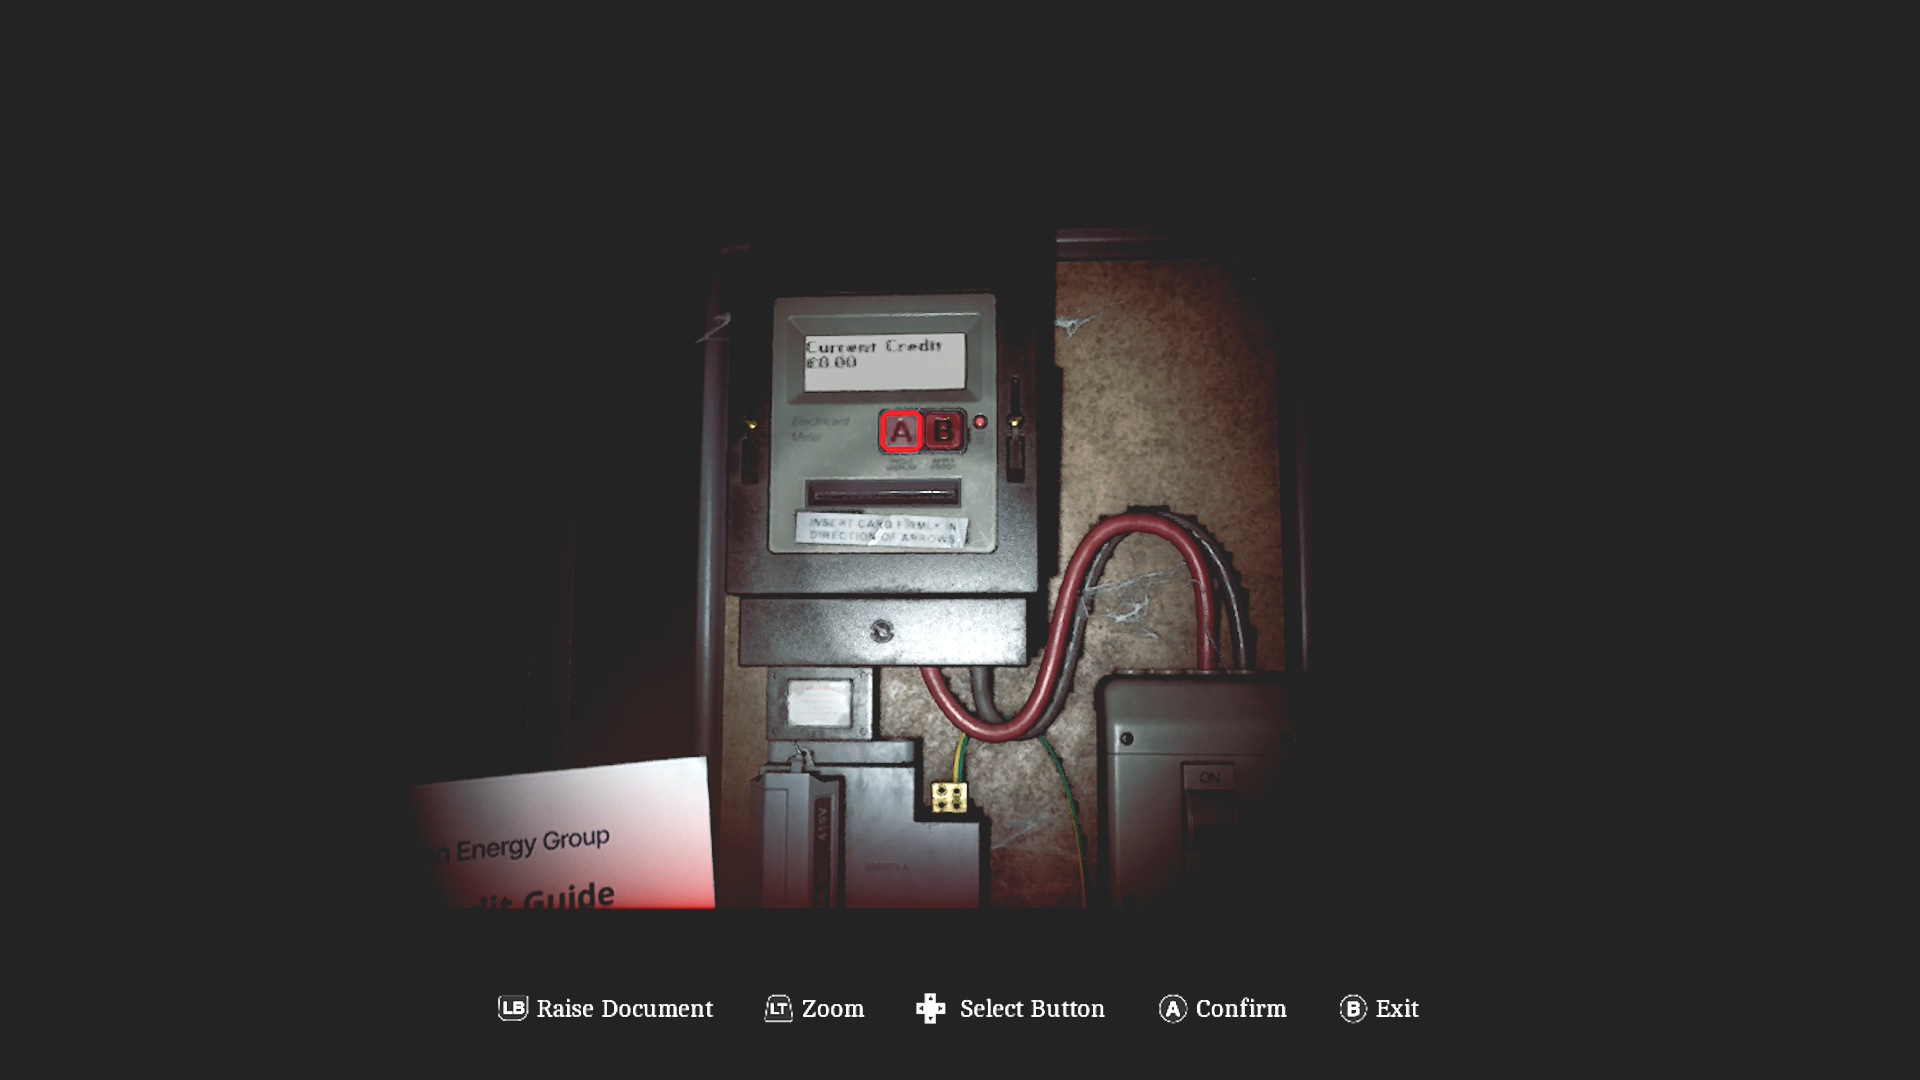
What an odd puzzle. (Credit: Konami, Screen Burn Interactive)
The puzzle is to pay your electric bill. I’m not even kidding. You have to find the news agent to get an electrical card in order to restore the power to Zoe’s house. This allows you to access an ancient computer to get the code for the organ box. We also learn what CEG is— Chapman Energy Group, which controls all the power to the island.
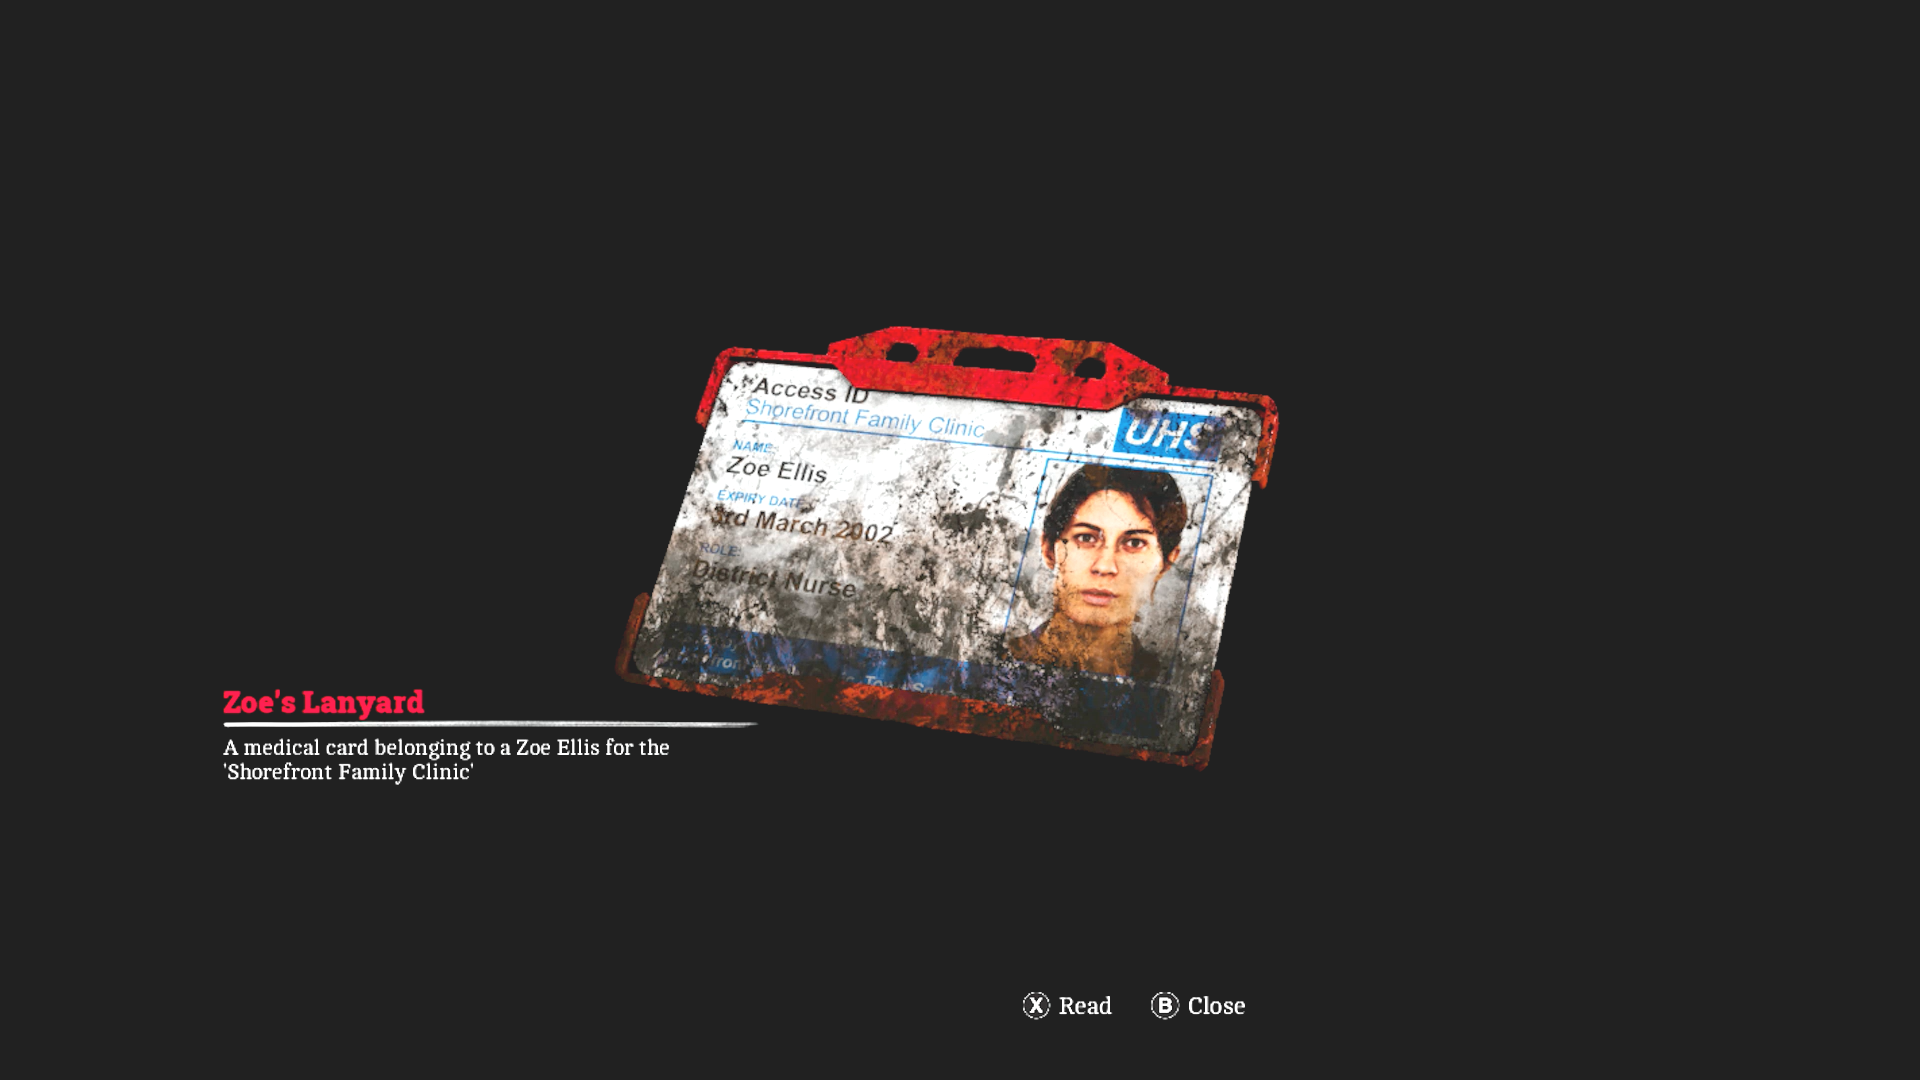
Zoe needs a new badge. (Credit: Konami, Screen Burn Interactive)
Inside the box is Zoe’s ID card. She exits the house right behind Simon. His next task is to get to the shuttered family clinic where Zoe used to work. Of course it’s not an easy path. You have to sneak past a monster using the market stalls as cover. The security door at the clinic is slower to open than the elevator and loud as shit, so this is where I died for the first (of many) times. On my second try I triggered the door and ran to hide until the monster wandered off again.
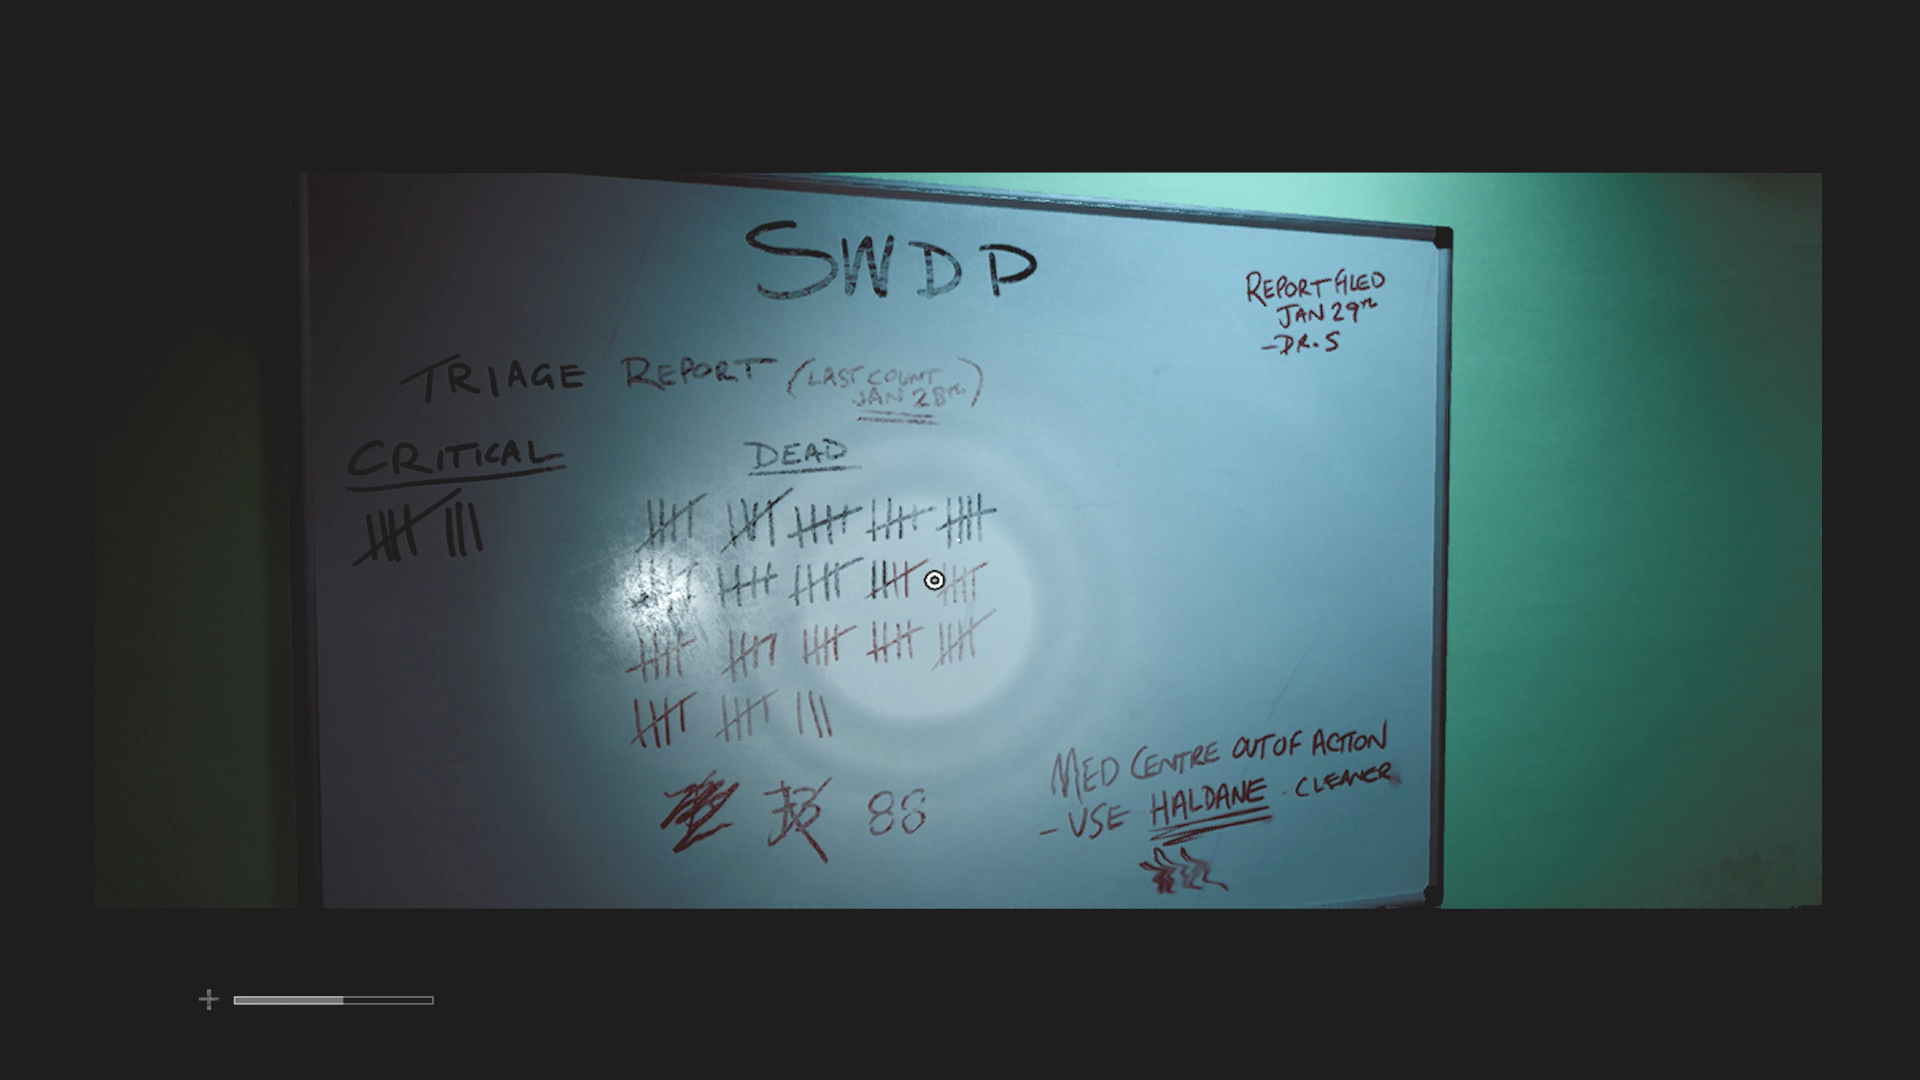
That’s a lot of bodies. (Credit: Konami, Screen Burn Interactive)
In the clinic we learn the meaning of the hash marks on the metal door earlier. They’re the number of dead from the still-unspecified disaster. Many are missing and 88 confirmed dead as of January 28th. The tally is marked with SWDP, which we later find out stands for Southwell Drilling Platform. We also find a resignation letter from Zoe saying that she couldn’t focus and made mistakes. There is a voice message from the pharmacy where they think Zoe prescribed too high a dose of medicine. So that’s the next stop.
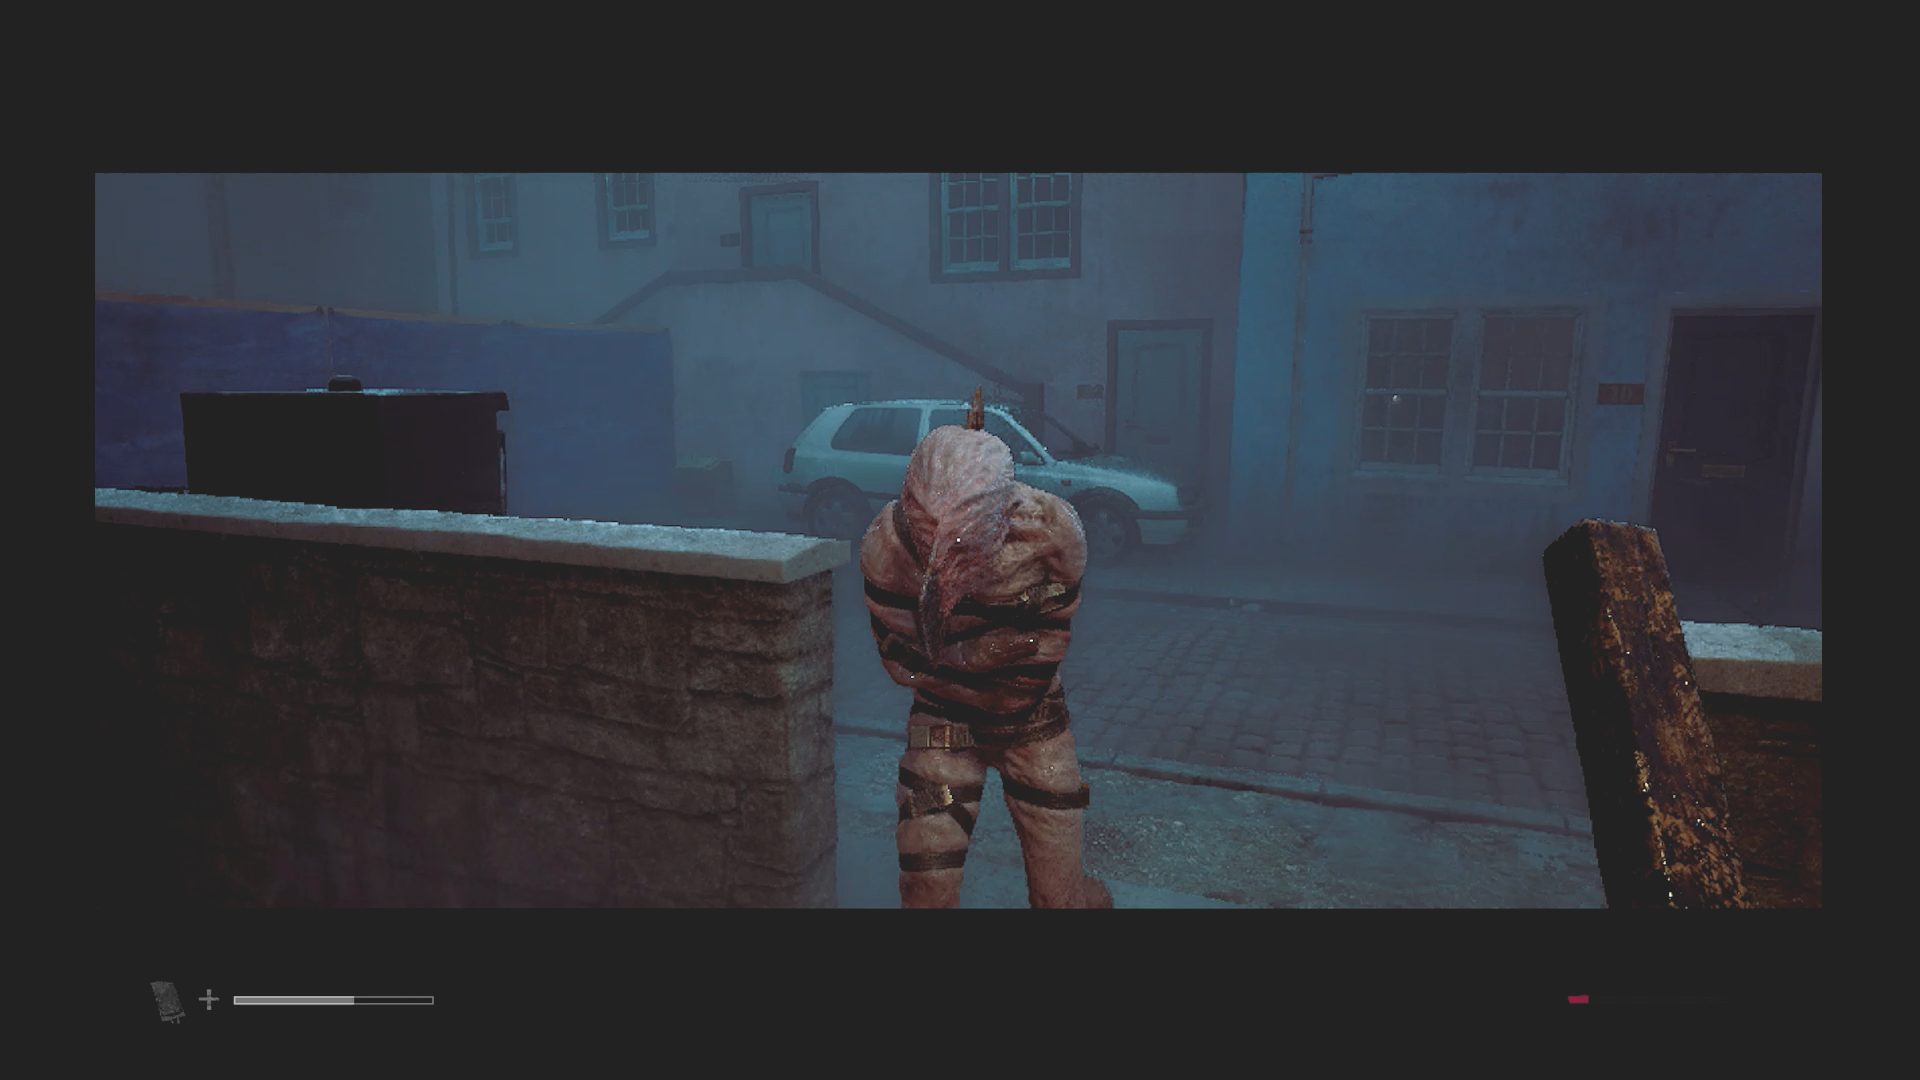
A new friend! (Credit: Konami, Screen Burn Interactive)
On the way there are more monsters. There are still Lurkers but also new ones called the Sorrowful. These attack with IV lines that fly out like stingers. The pharmacy is opened by using a scalpel to cut into a square of flesh. (This is a recurring type of door in the game.) There is a new puzzle in the pharmacy to open a bloody locker which contains a prescription bag. This puzzle took me and Cocoa awhile to solve and involved locating pictures from the CRTV and matching them to posters to suss out the locker combination.
The next stop was to Jess’s house to find Zoe’s medical bag. It took me several tries to get there as the monsters were patrolling the neighborhood and the front door was locked. On one notable attempt I finally found the path to the back door but was spotted by a monster. Fleeing from it, I blundered into a second one. I blasted past both of them, making a dash for the back entrance only to find a note that the key was somewhere else.
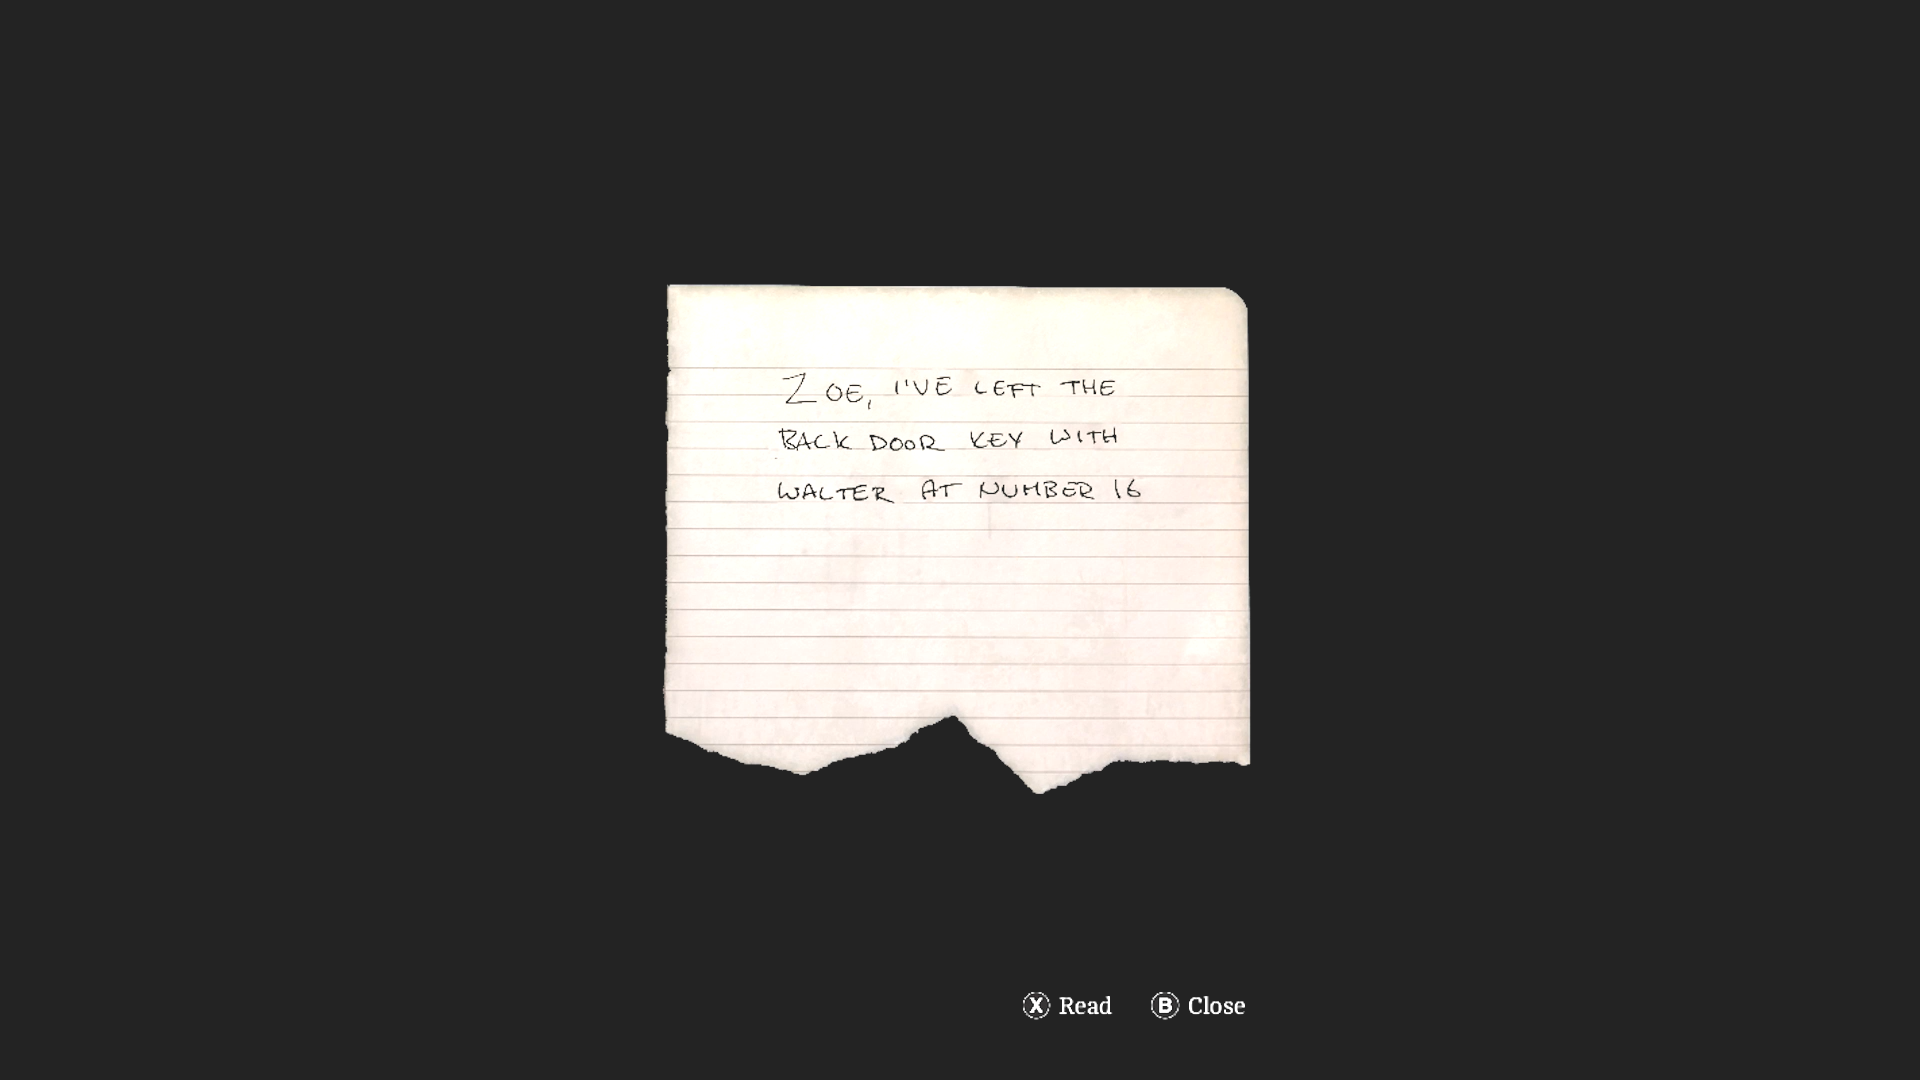
SCREAM! (Credit: Konami, Screen Burn Interactive)
Yeah, I was killed immediately after reading the note. I only included this screenshot to underline how frustrating this part was. It made us laugh, though.
“Your key is in another castle.” —Cocoshade.
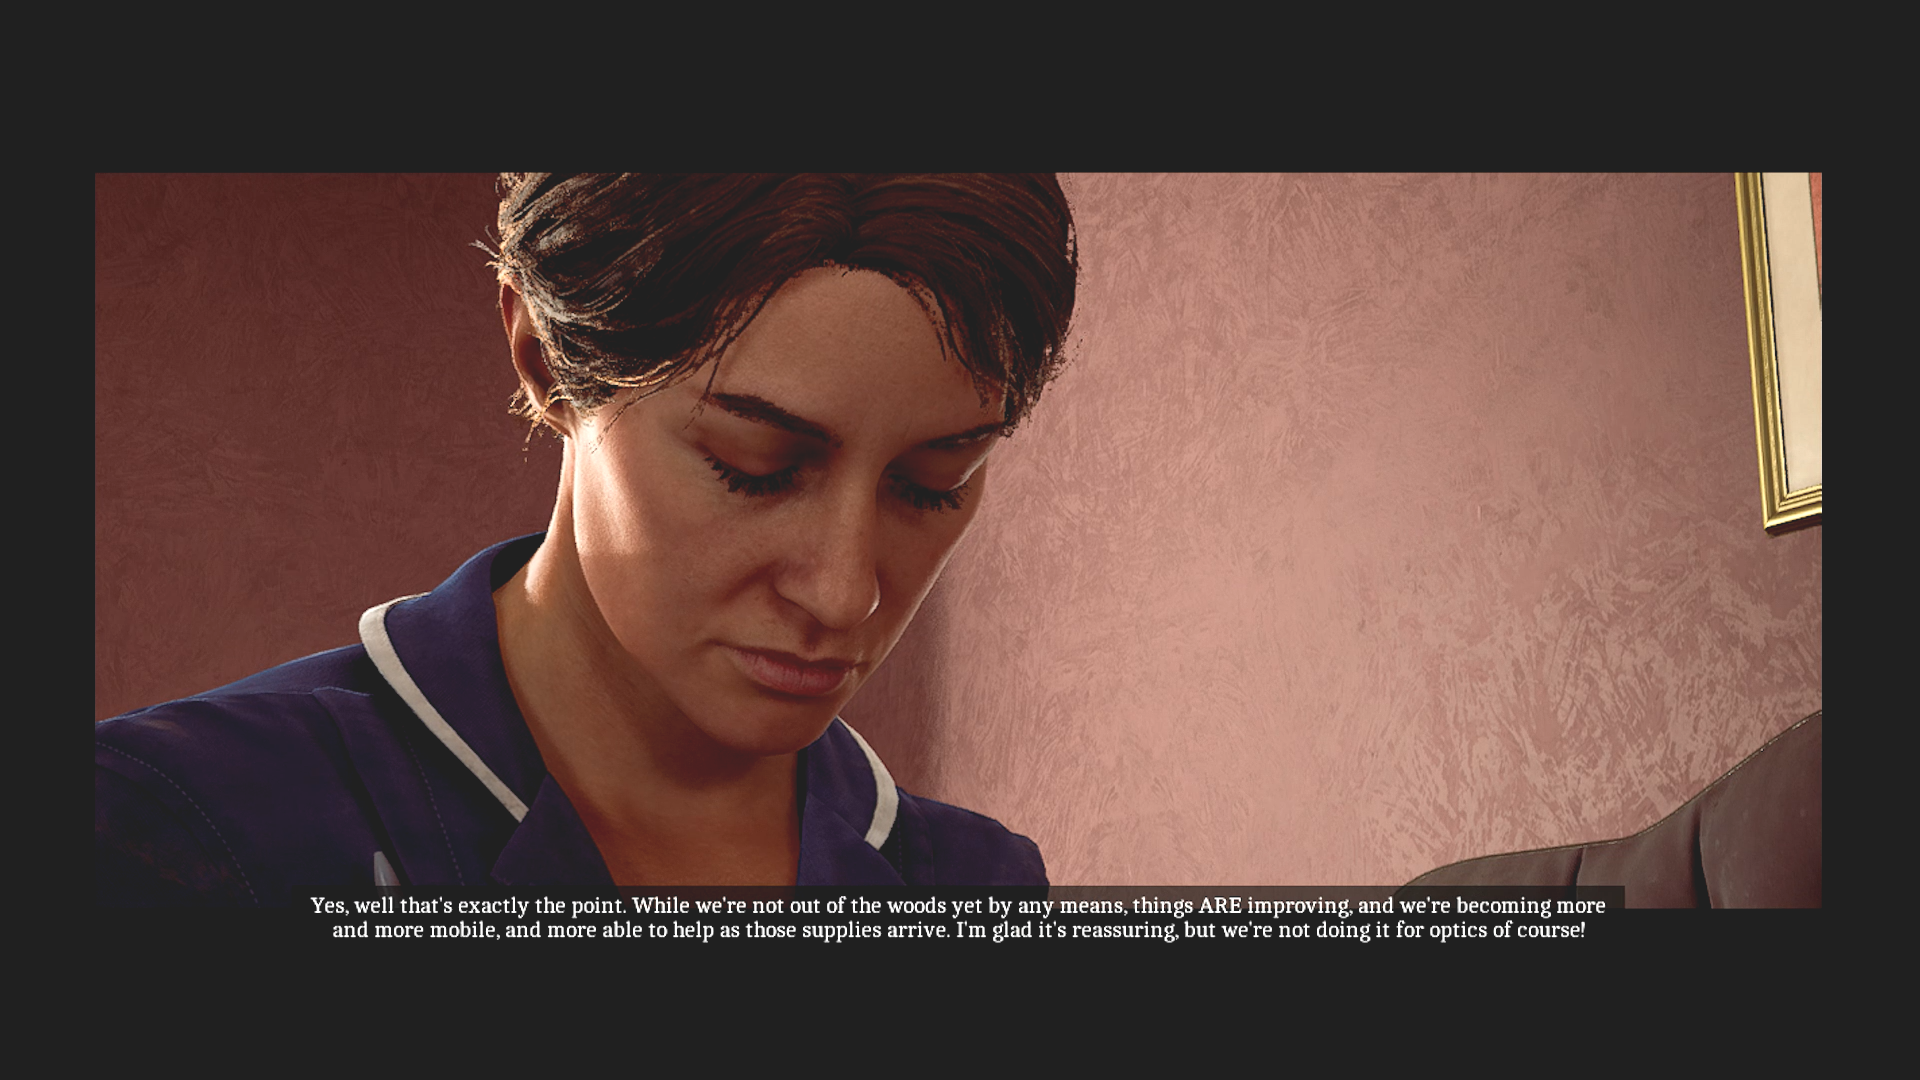
Time to be Zoe. (Credit: Konami, Screen Burn Interactive)
More documents reveal that Zoe went into hiding and a law office was trying to track her down due to her connection with Simon. After some more dicey monster evasion and another IV resurrection, I found my way back to the clinic where I solved a puzzle on the first try that made me feel clever.
This triggers Part 2: Zoe, where you take control of the second playable character. Zoe gets a call that she has to go to a patient’s house. Quickly.
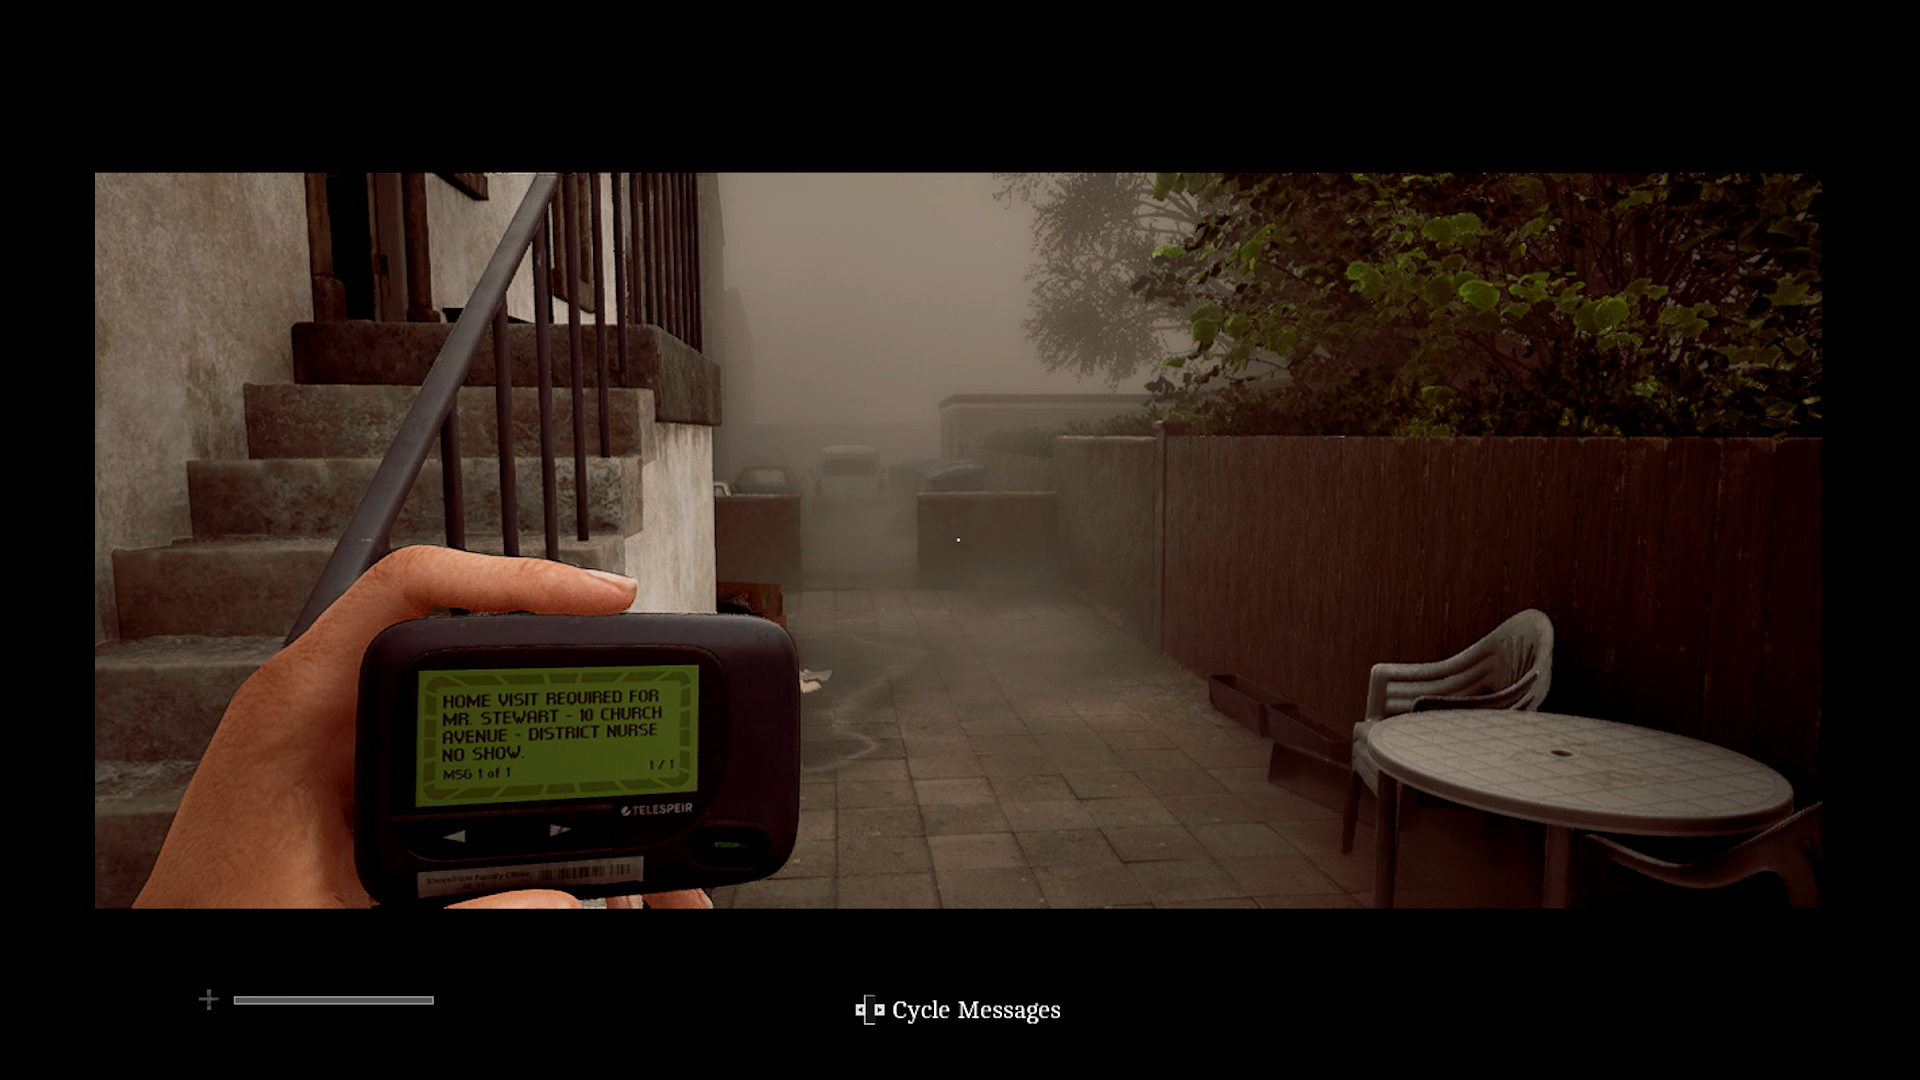
Zoe has a pager. (Credit: Konami, Screen Burn Interactive)
Zoe sets out to do her job. The major difference between how she plays versus Simon is that instead of the CRTV, she has a little pager. This will receive new messages now and then to tell you where to go. There are also guides around the edge to show you where the monsters are. It’s harder to tell their proximity than the CRTV, though.
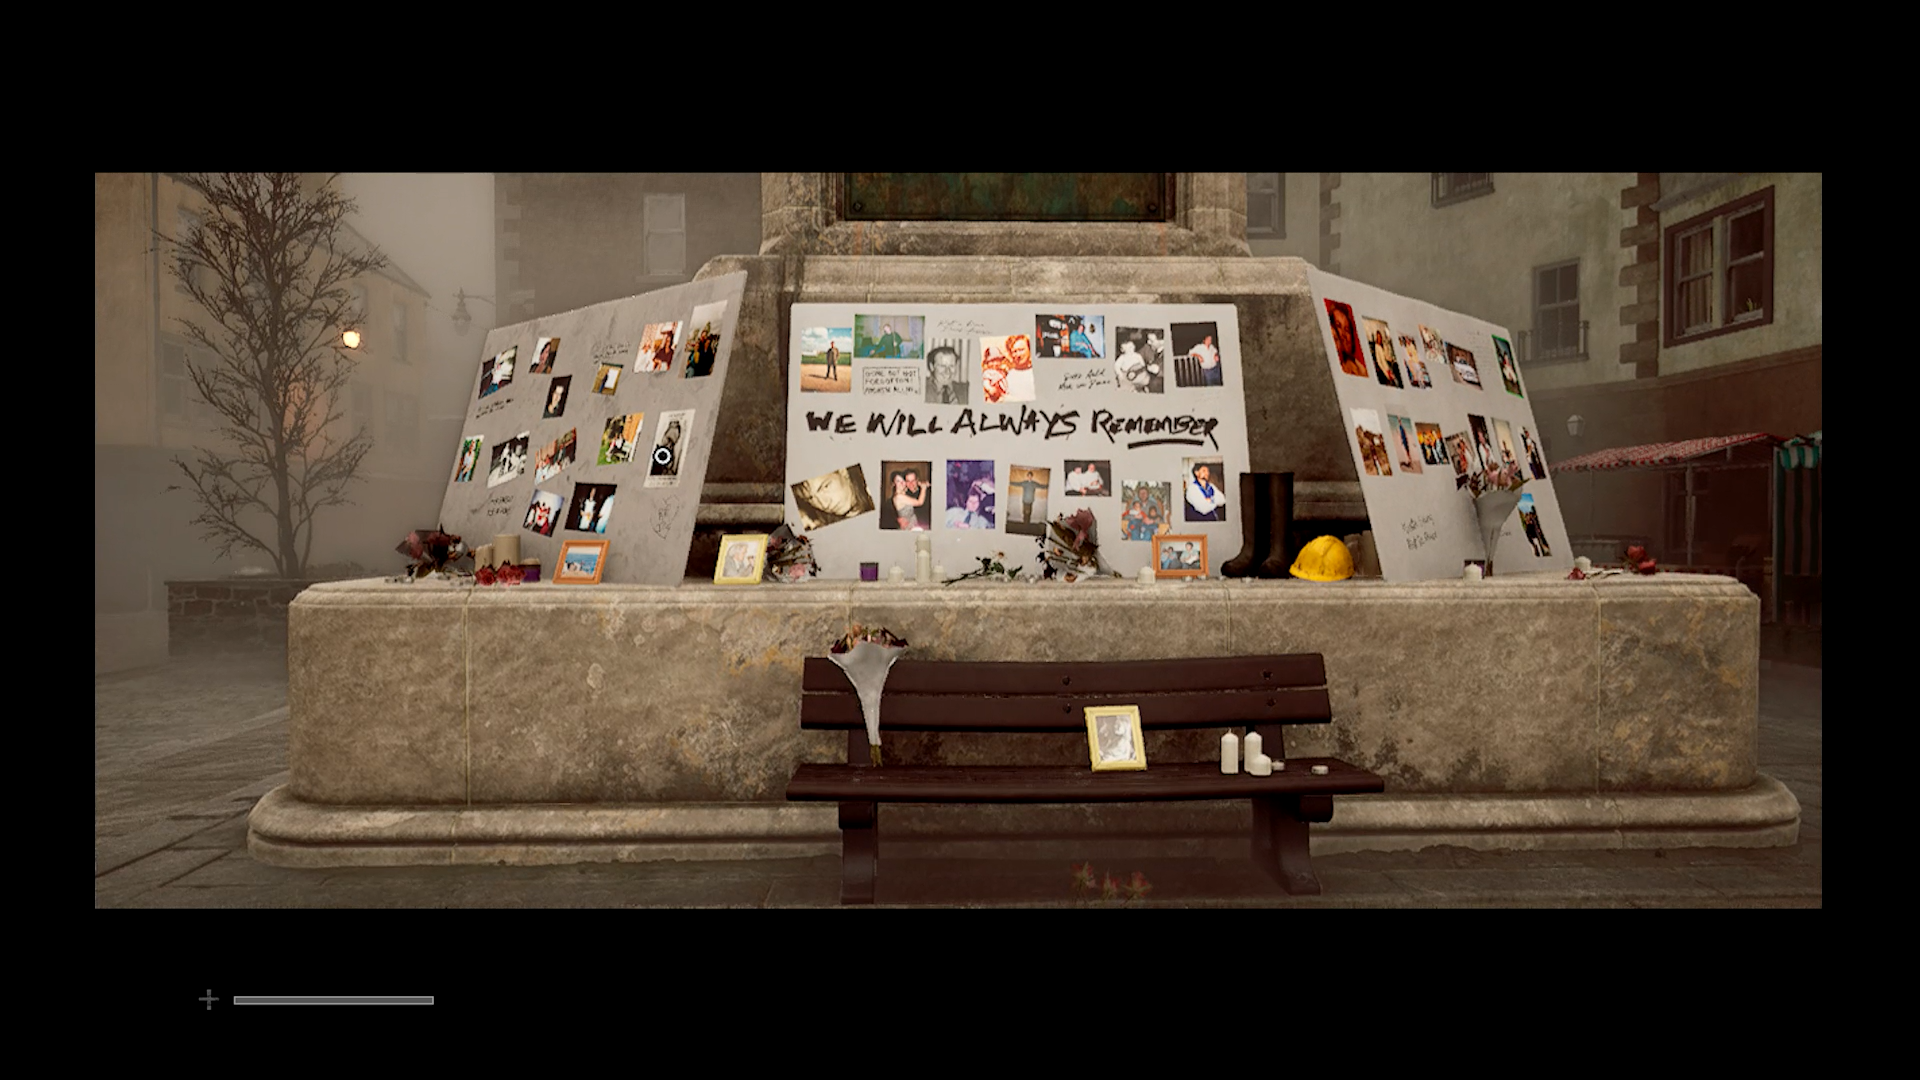
We still don’t know what happened in this town. (Credit: Konami, Screen Burn Interactive)
This is clearly in a different timeframe from Simon’s portion, since instead of the discarded protest signs, the square is filled with photos of the victims. Zoe expresses regret that she couldn’t help some of them.
Her patient, Mr. Stewart, lives in the north area of town. So far we’d just been in the south. To get to her destination there’s a frankly difficult puzzle to open the gate. Actually, it turned out to be pretty easy but there were no clues for it and I ended up making it harder than it was. I made my way to Mr. Stewart’s house and of course the front door was locked, so I had to make my way to the back. Zoe had encountered no monsters by this point and the emptiness of the town was unnerving.
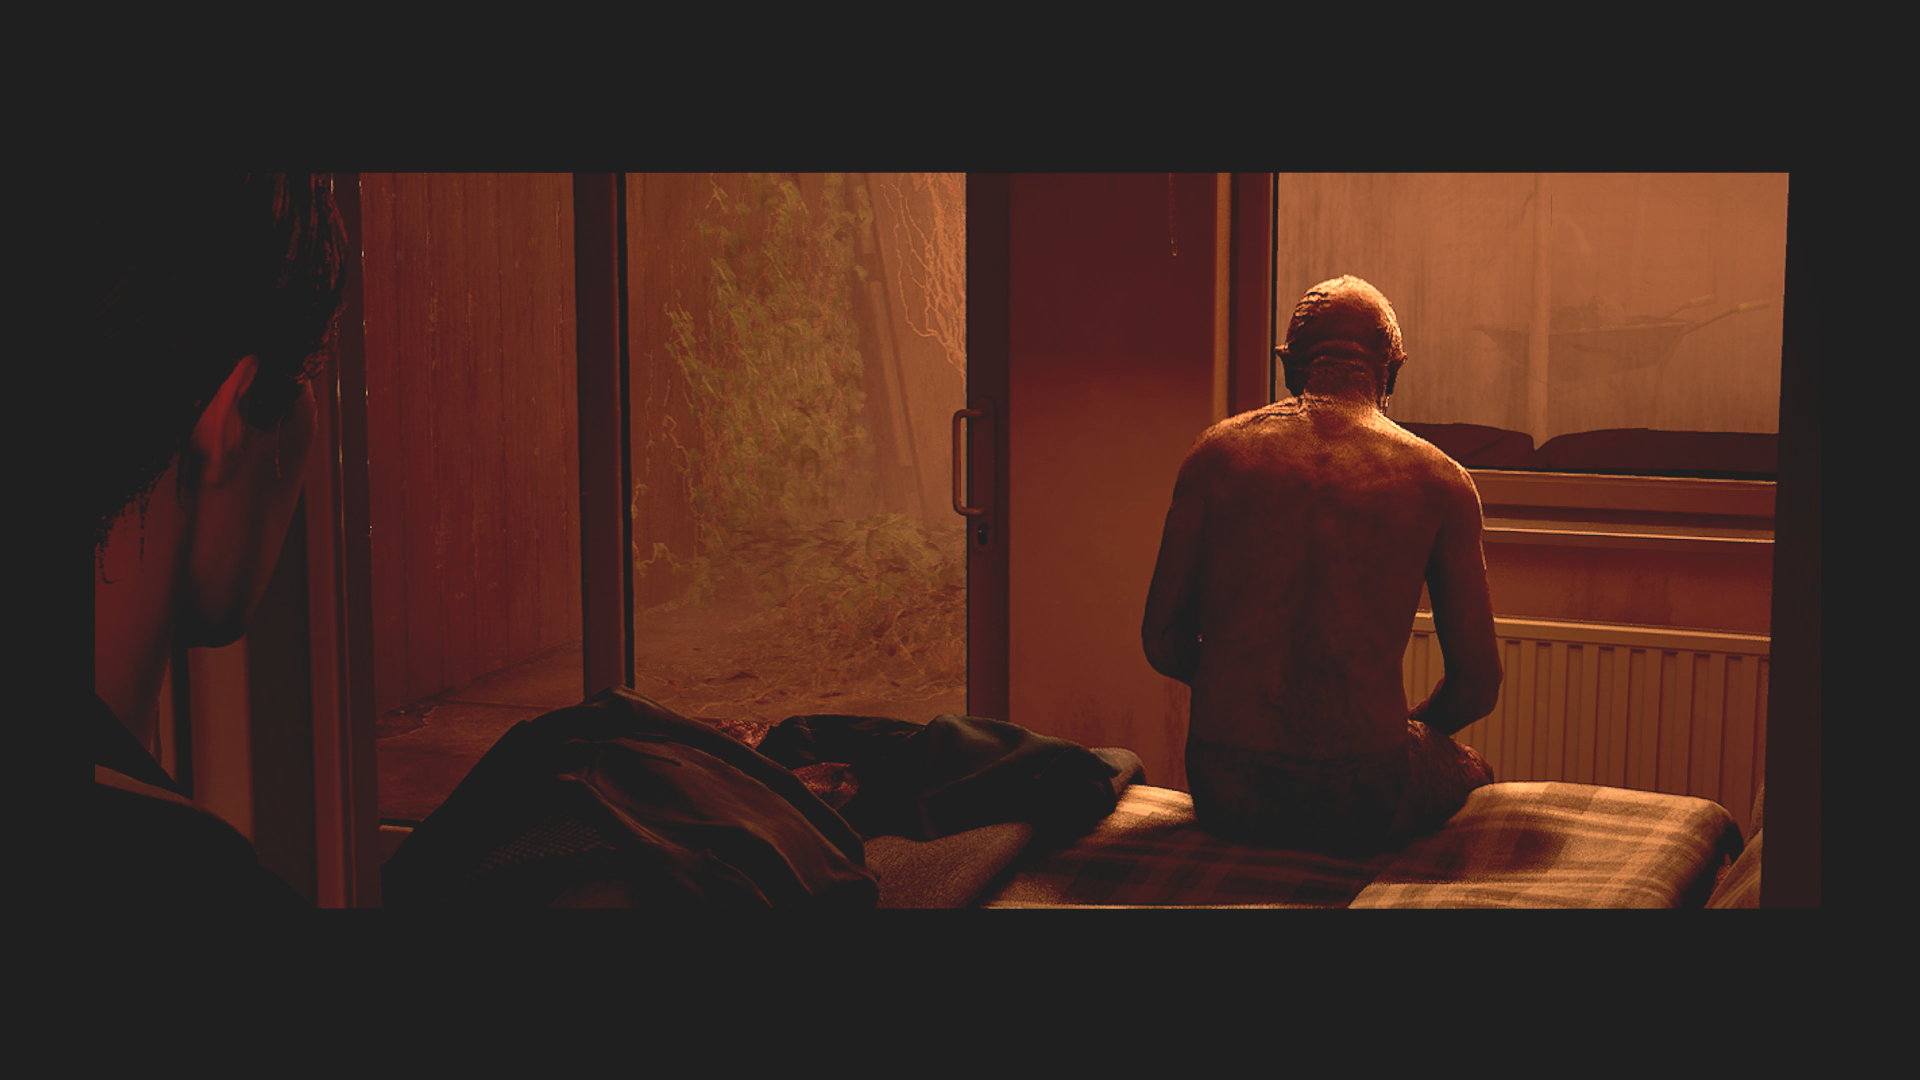
Zoe arrived to her house call too late. (Credit: Konami, Screen Burn Interactive)
As expected, Mr. Stewart has become a monster and to escape him, you have to hide and sneak around to grab the key and get out. Luckily the house has a circular layout and there’s a handy radio in the kitchen to serve as a distraction. It took me two tries to plan my route and escape, but now the town was full of patrolling monsters and I had no idea where to go. Eventually Zoe is informed by her pager that she has to report to the Medical Centre.
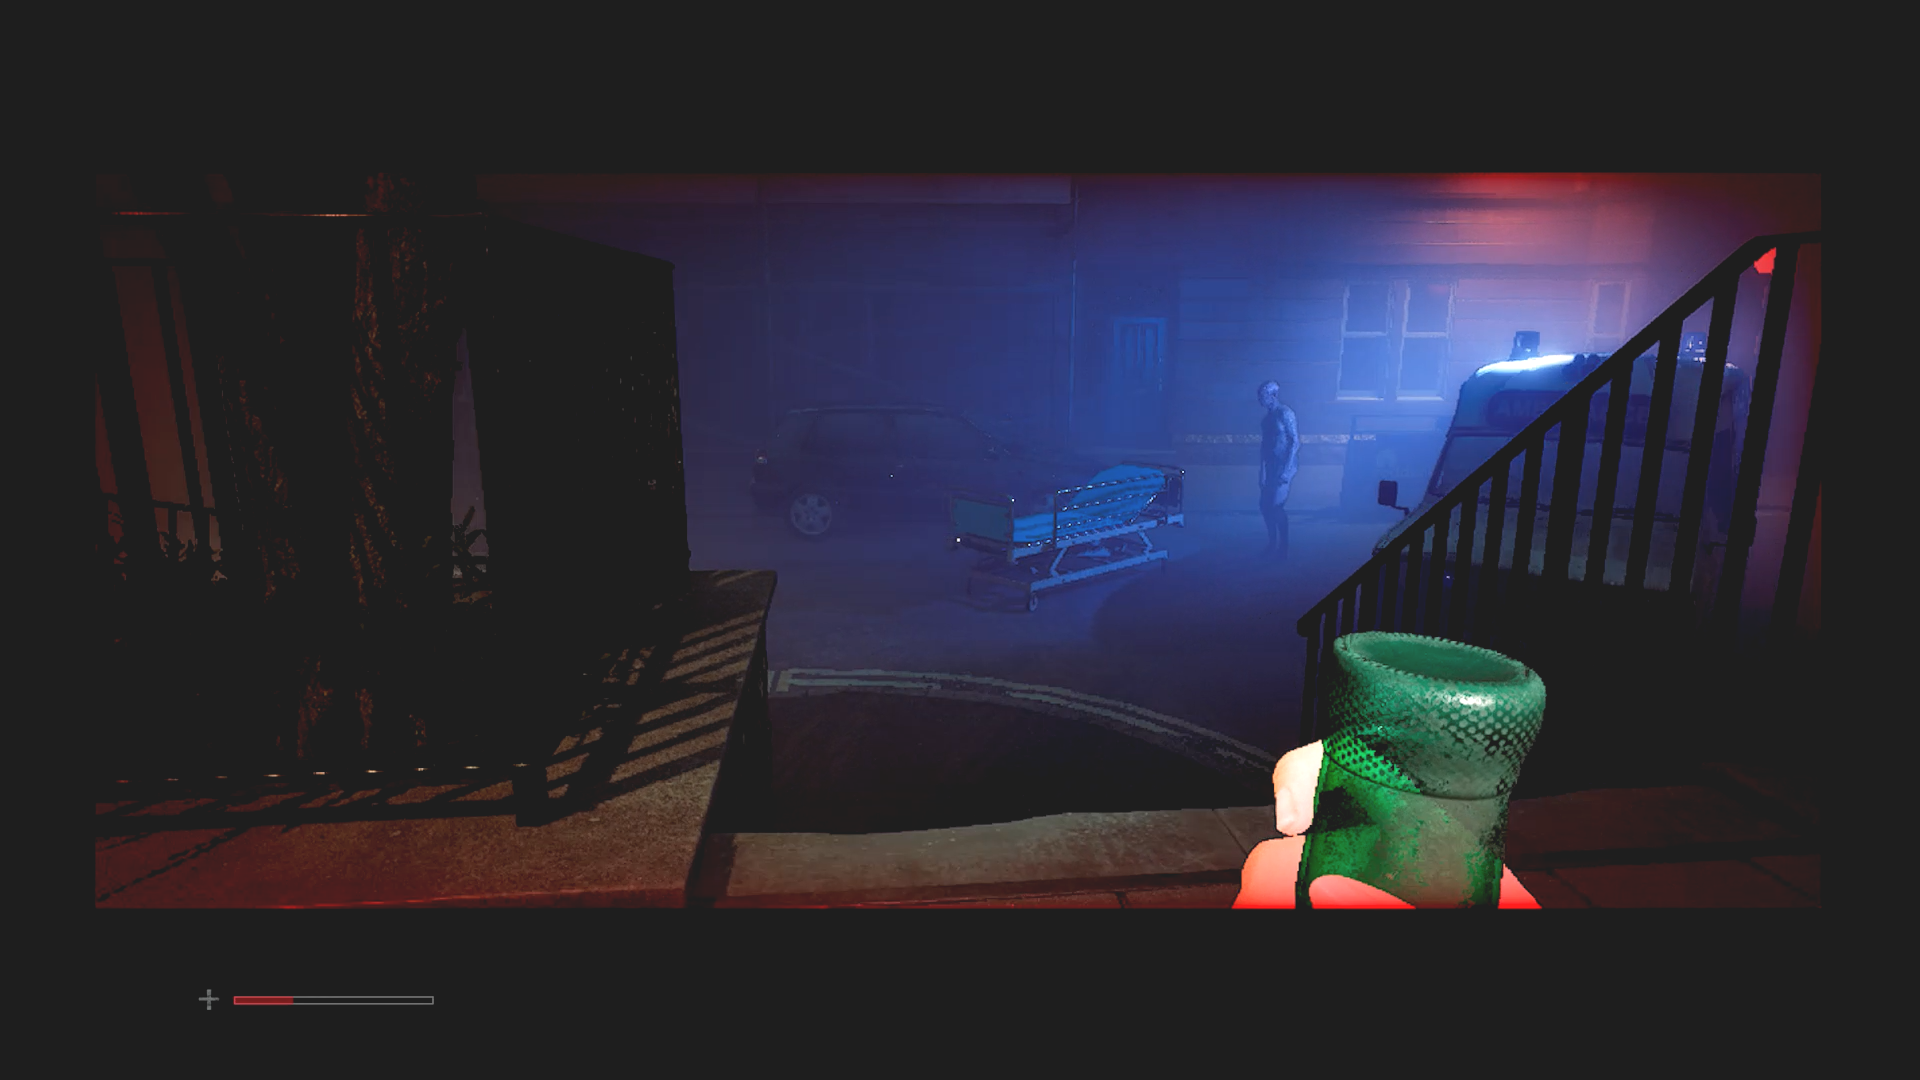
So many monsters roaming around. (Credit: Konami, Screen Burn Interactive)
It’s a very rough road to the Medical Centre, involving a lot of roundabout travel and monster evasion. There’s a triage set up outside the hospital and the bright lights made it even harder to avoid the monsters.
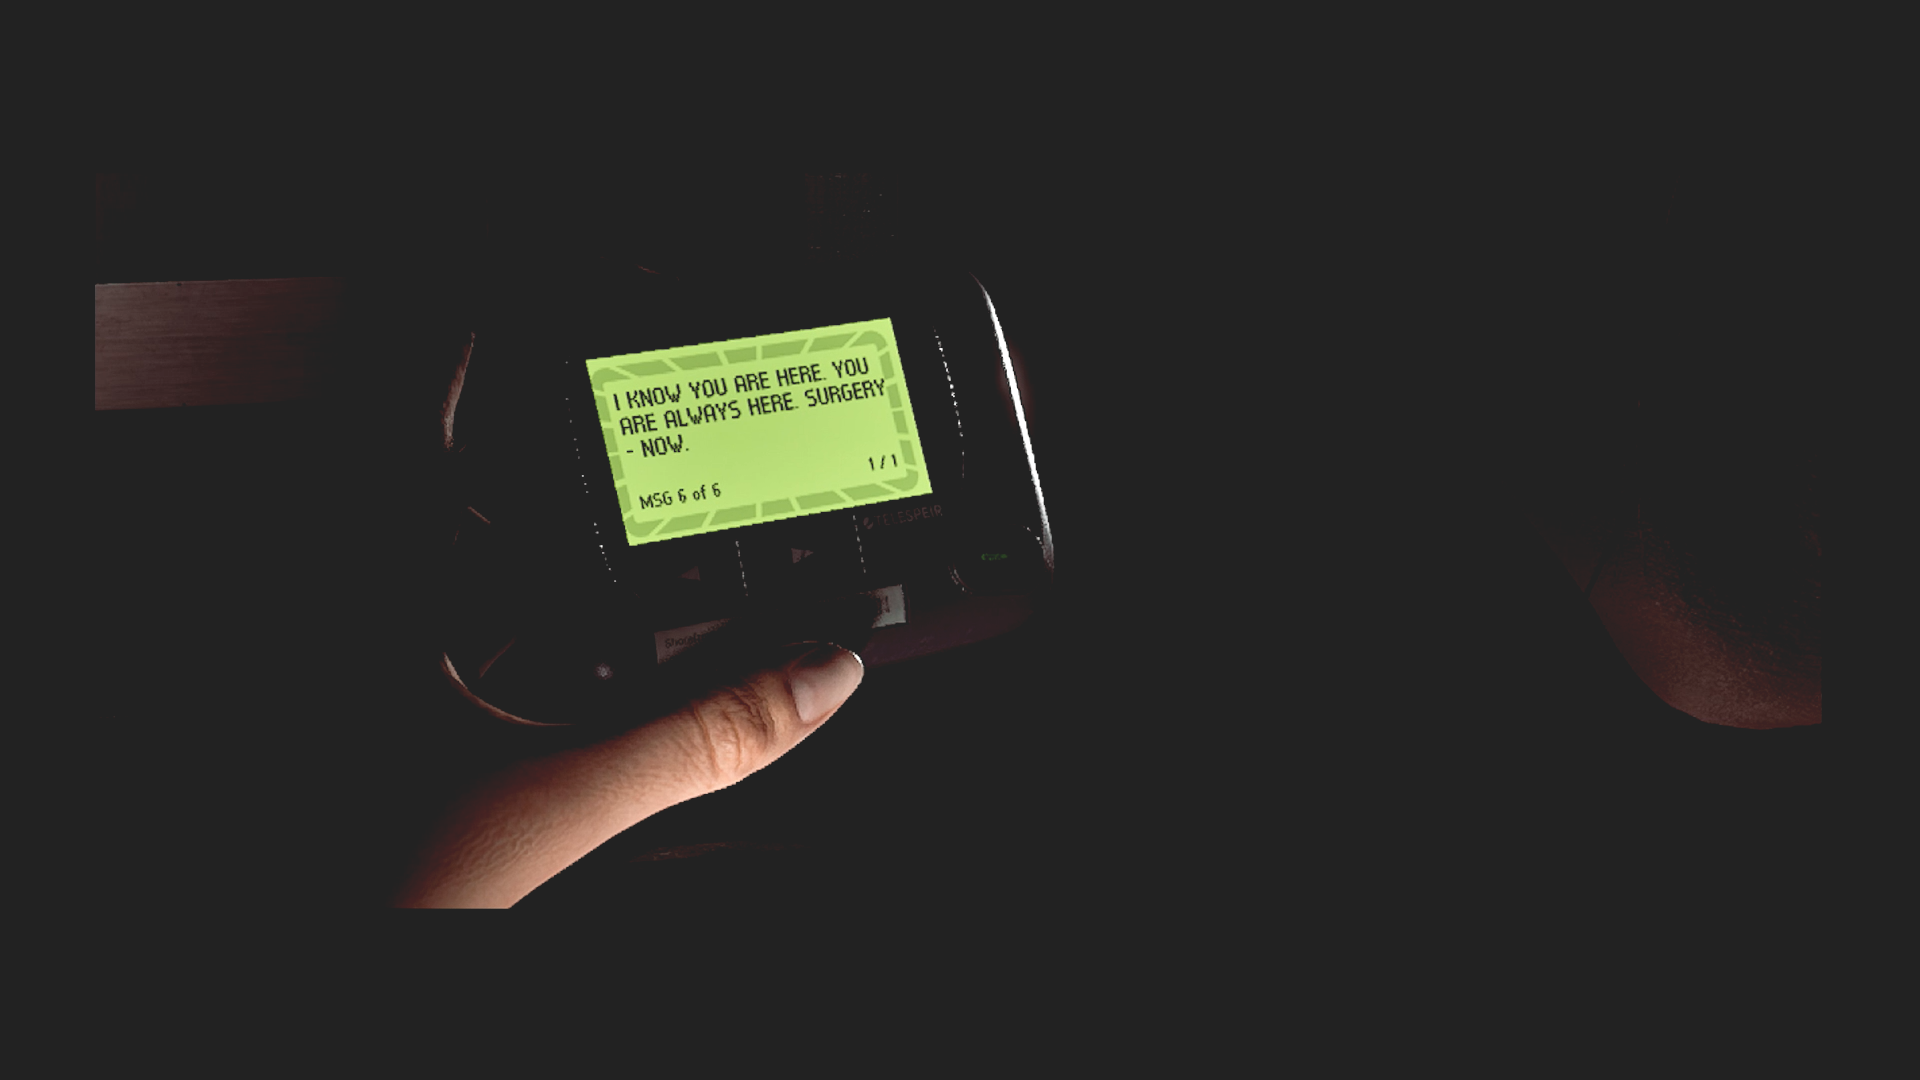
Zoe is called back into work. (Credit: Konami, Screen Burn Interactive)
Zoe’s version of Silent Hill seems to be focused on self-torture and guilt. She blames herself for Mr. Stewart and all the victims of the disaster that she couldn’t save. She’s alone in the town with the reminders of what happened.
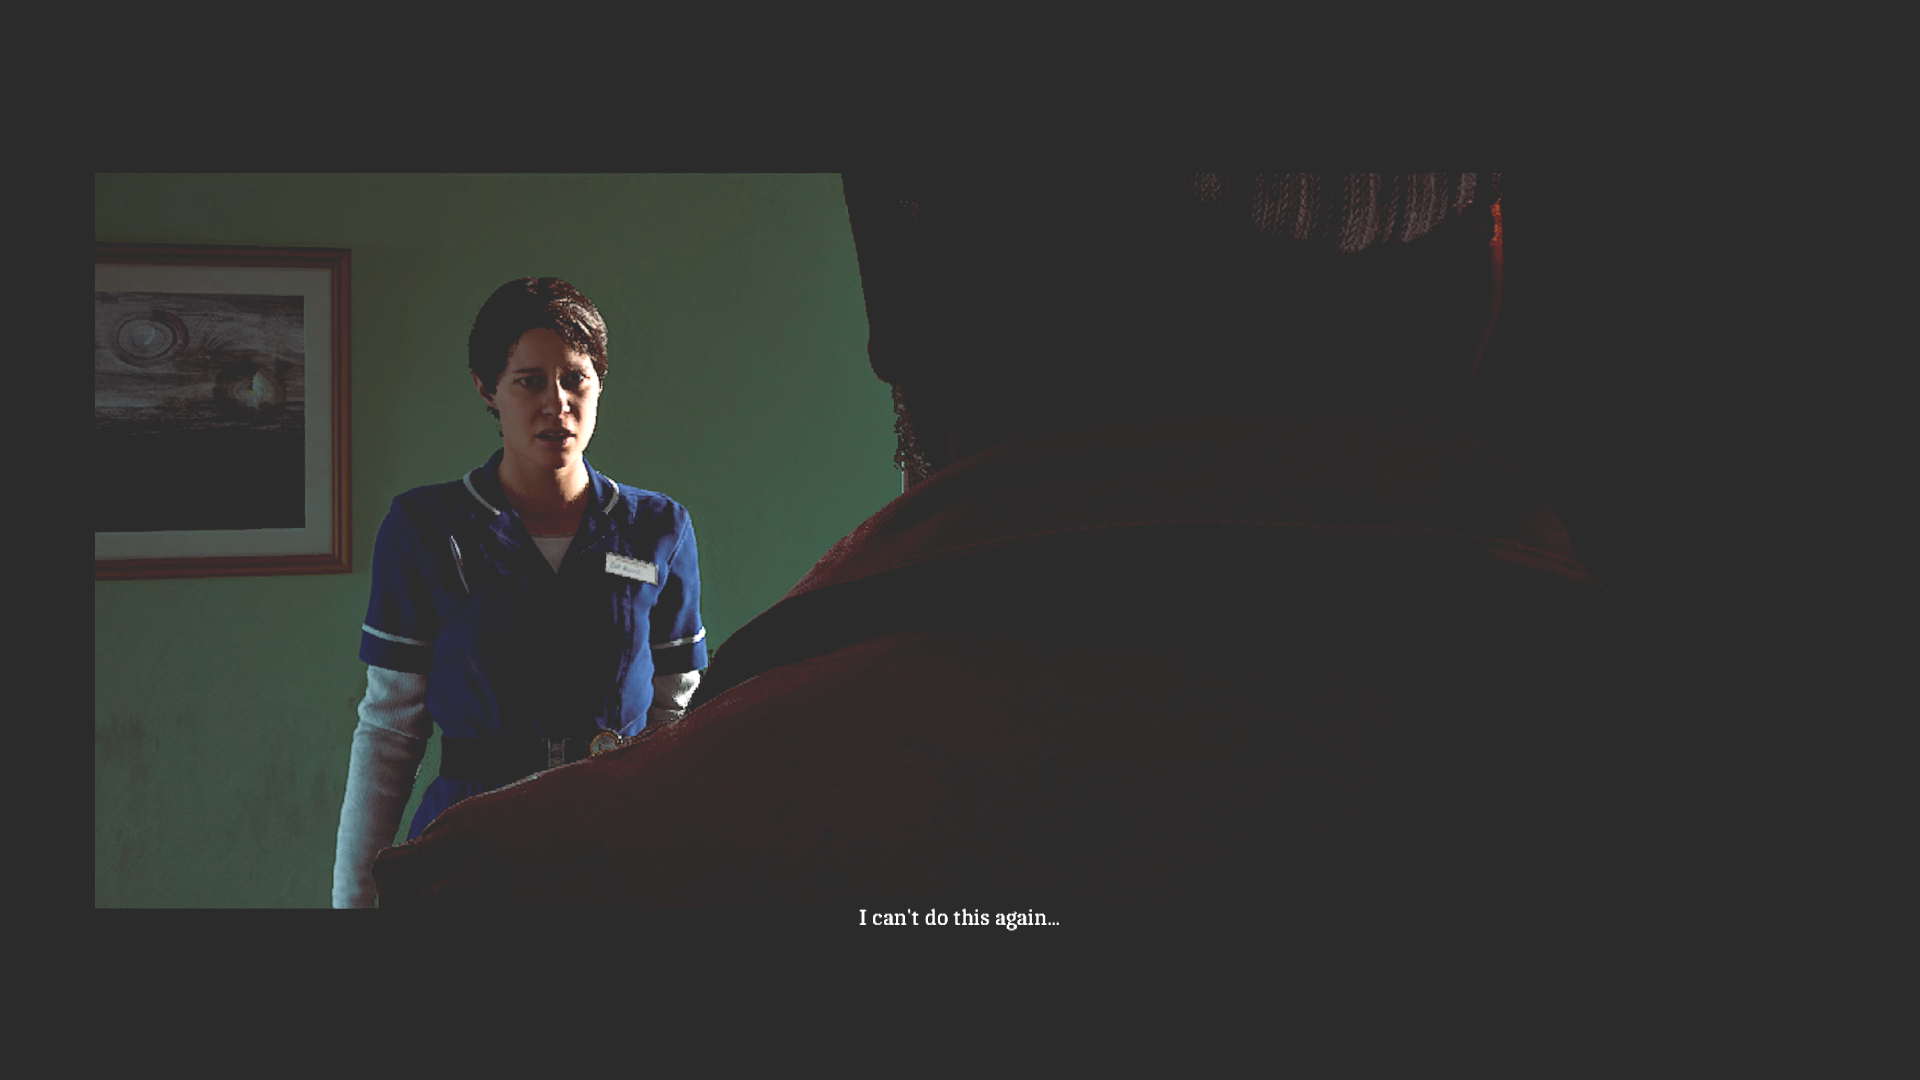
Zoe and Simon, face to face. (Credit: Konami, Screen Burn Interactive)
Once in the Medical Centre, Zoe is ordered to report to surgery but first she comes face to face with Simon. She tells him that he shouldn’t be here. He says he saw a video of her asking him to come. She runs off.
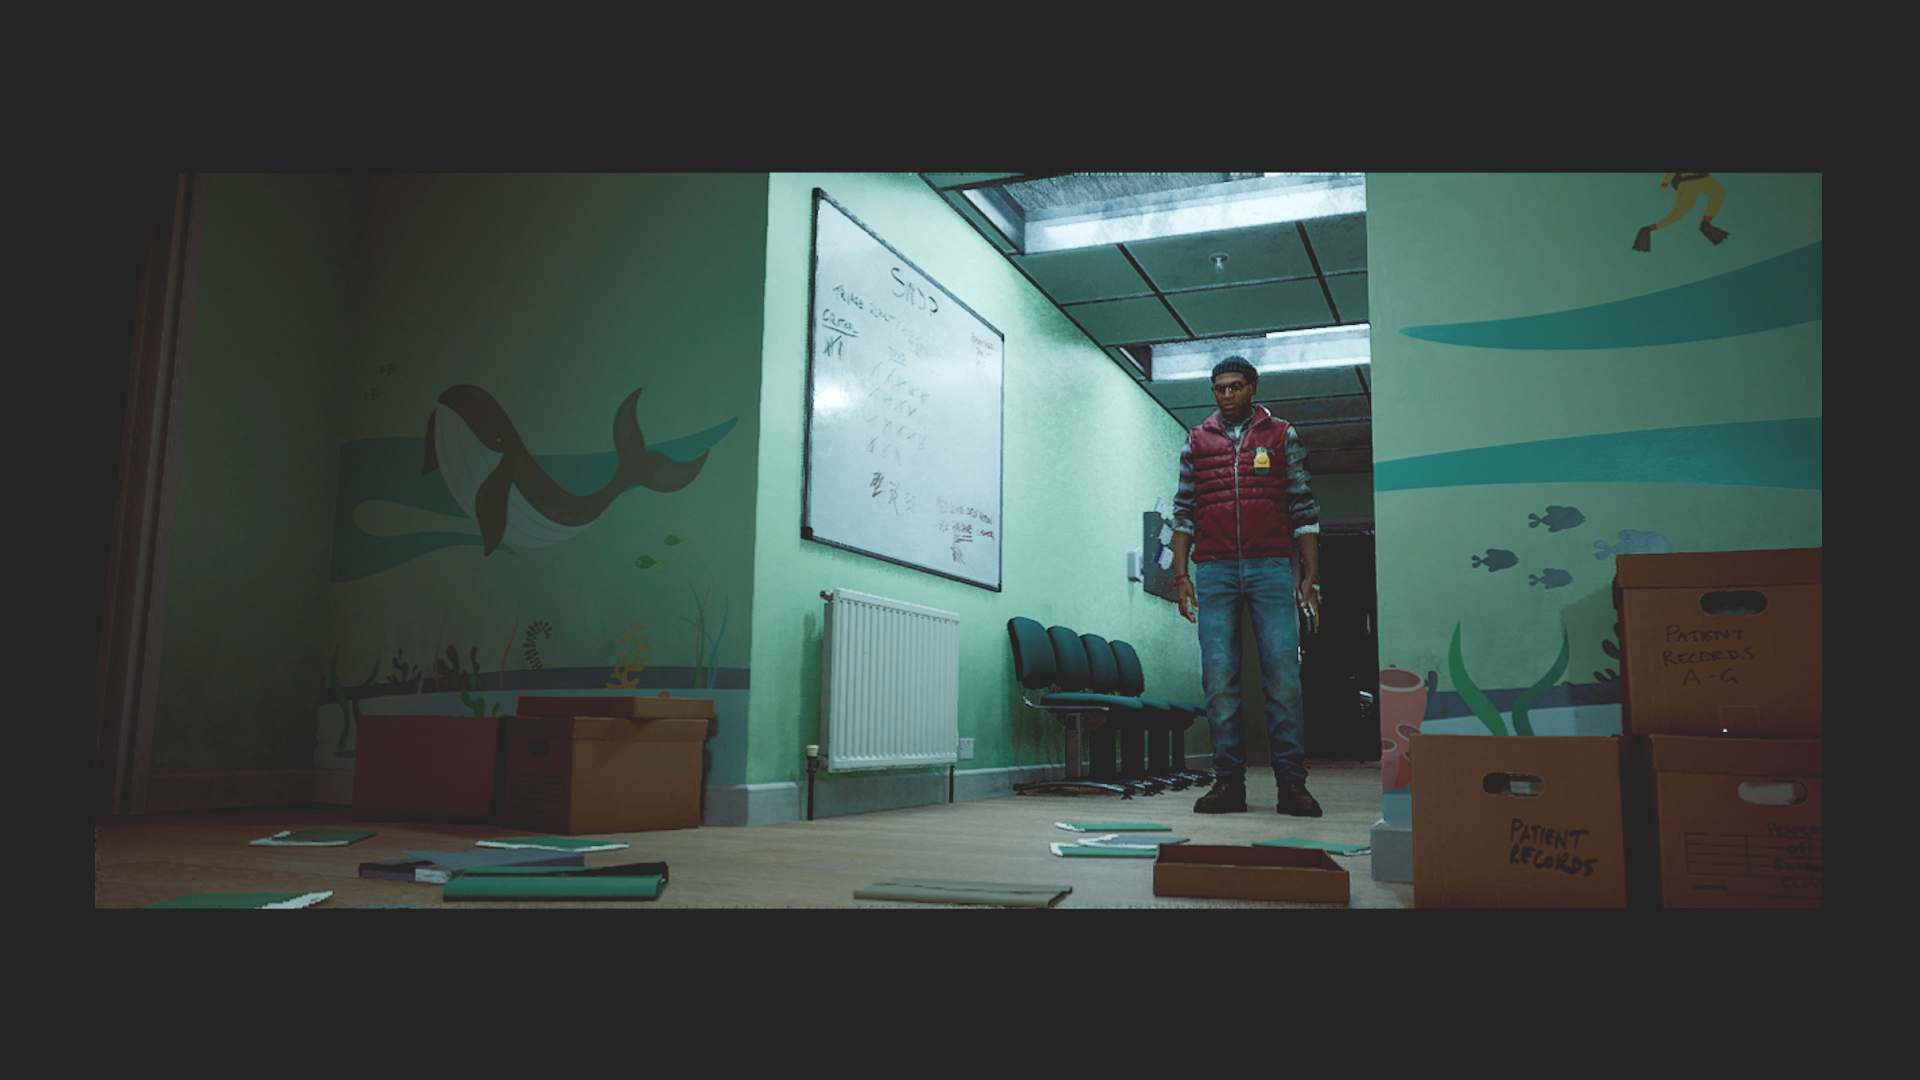
This place is a mess. (Credit: Konami, Screen Burn Interactive)
Richard appears again on Simon’s CRTV. He says that Simon has to get to her. And then he can get to Richard. He left a gift in the town square.
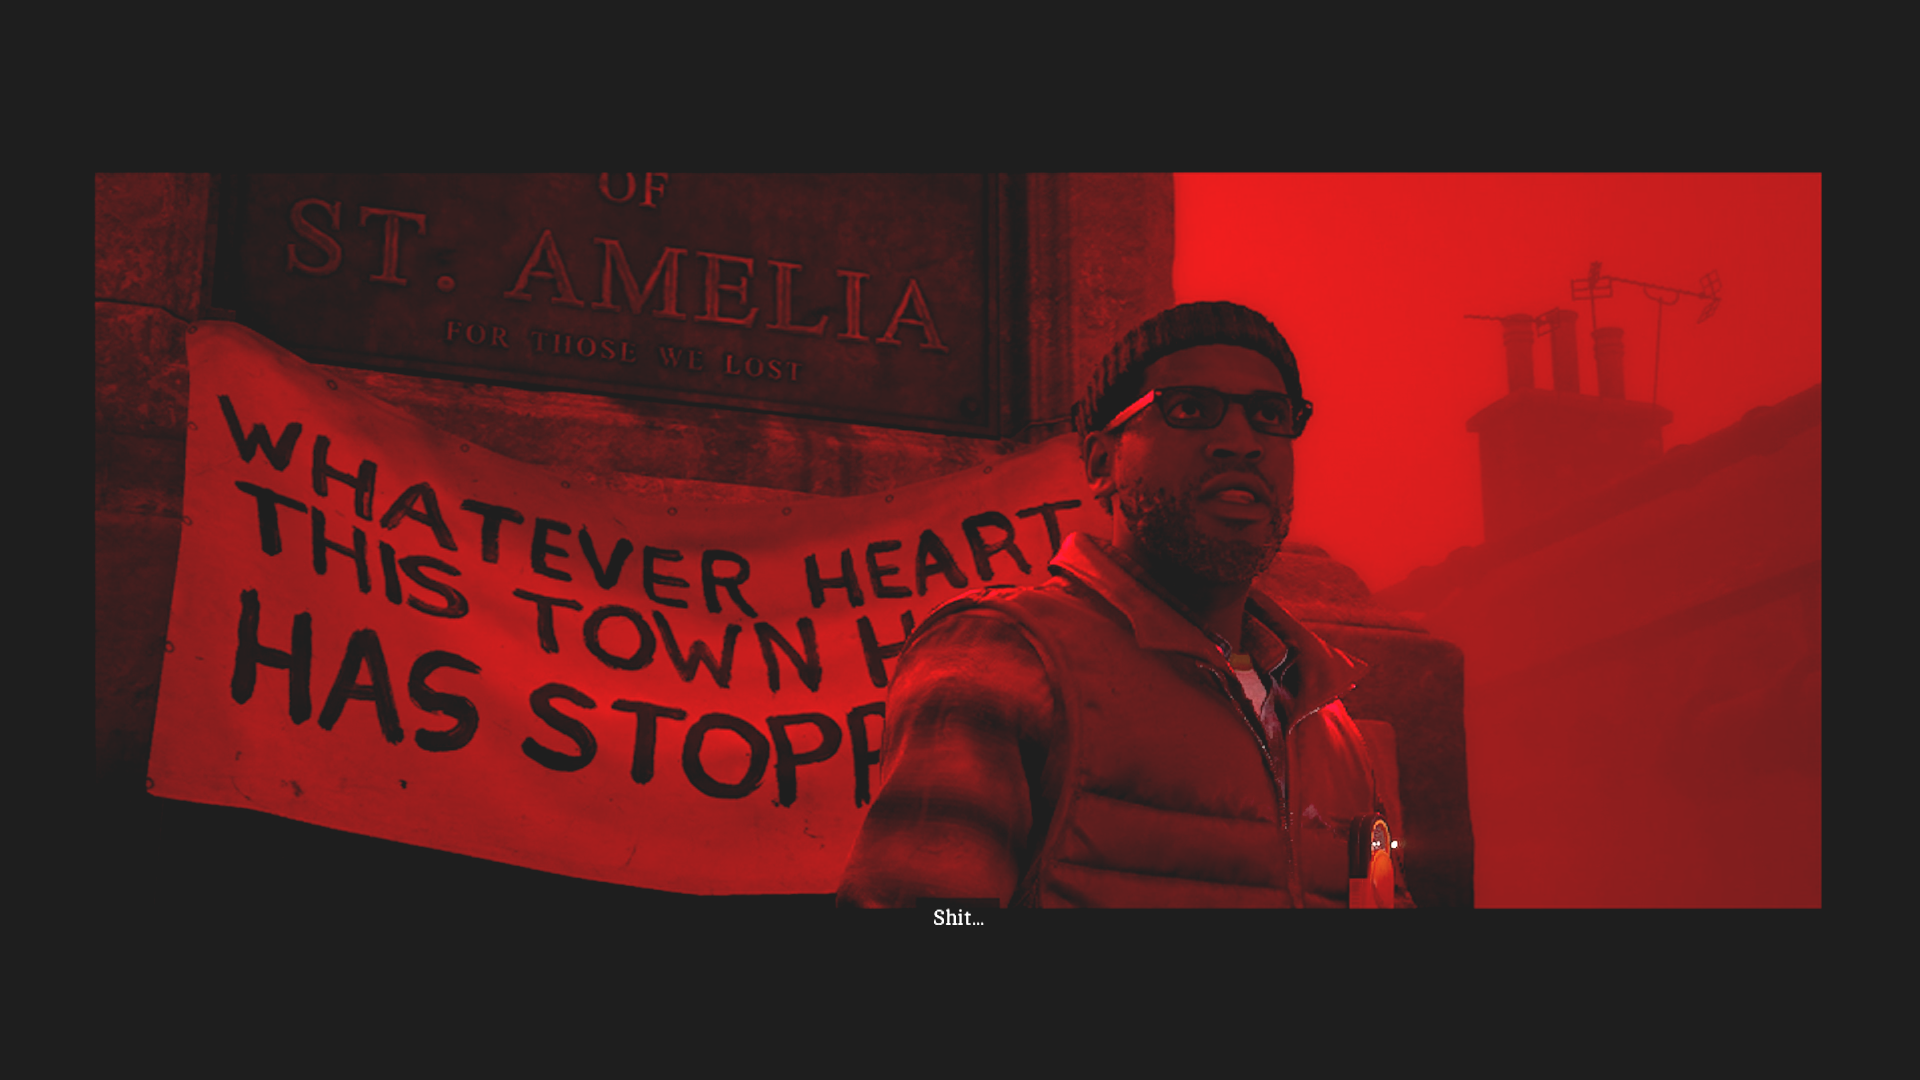
It’s all red again. (Credit: Konami, Screen Burn Interactive)
The present is a hand gun. The next objective is to get to the Medical Centre, but as Simon this time. Making things more difficult, Otherworld has descended again. Strange pipes have started filling the town, blocking off huge sections of South St Amelia. This causes Simon to have to explore to find a new path north.
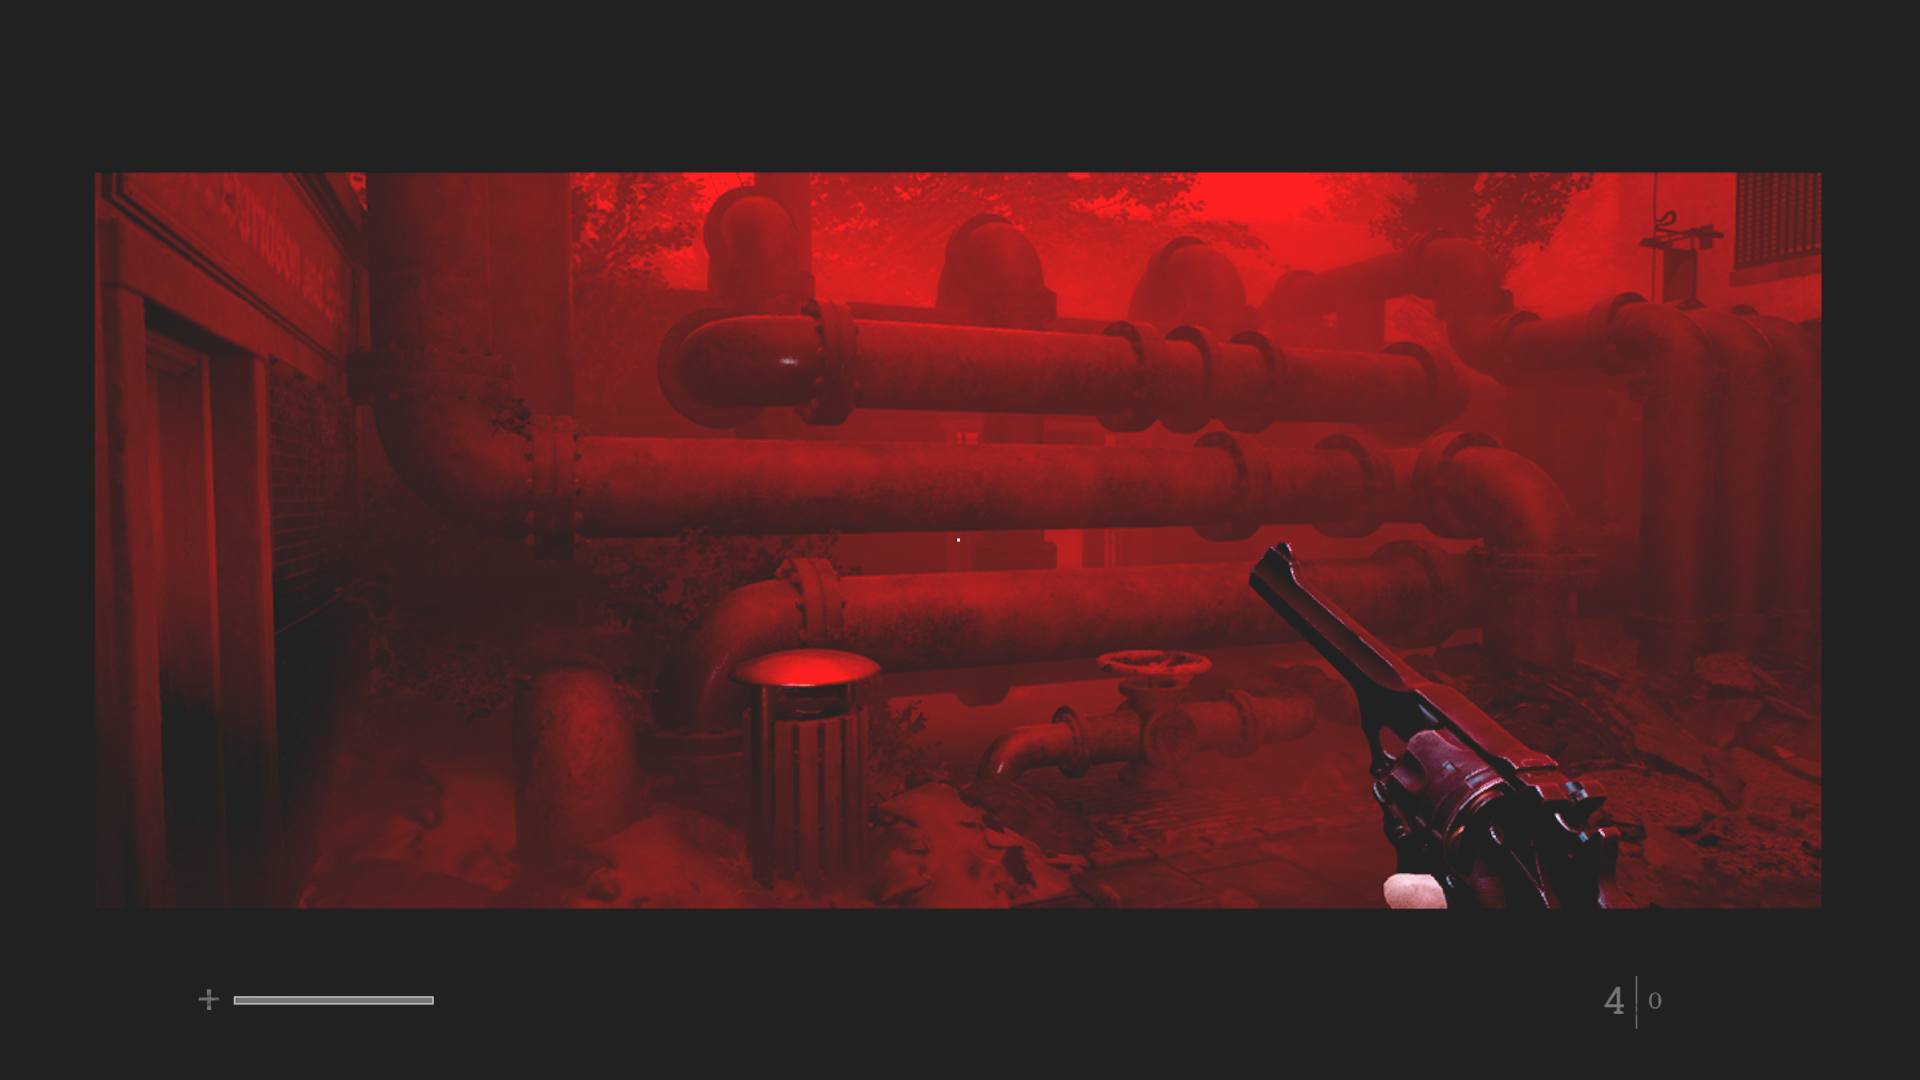
Well, that’s in the way. (Credit: Konami, Screen Burn Interactive)
On the way is another radio puzzle where we learn what the triage Zoe saw was all about. What seems like 100 people in body bags piled up outside the hospital. The townspeople have no idea what’s going on.
After exploring an apartment building, Simon ends up seeing the Collapse floating by again. More of it is visible now and it resembles thin tornadoes or water spouts.
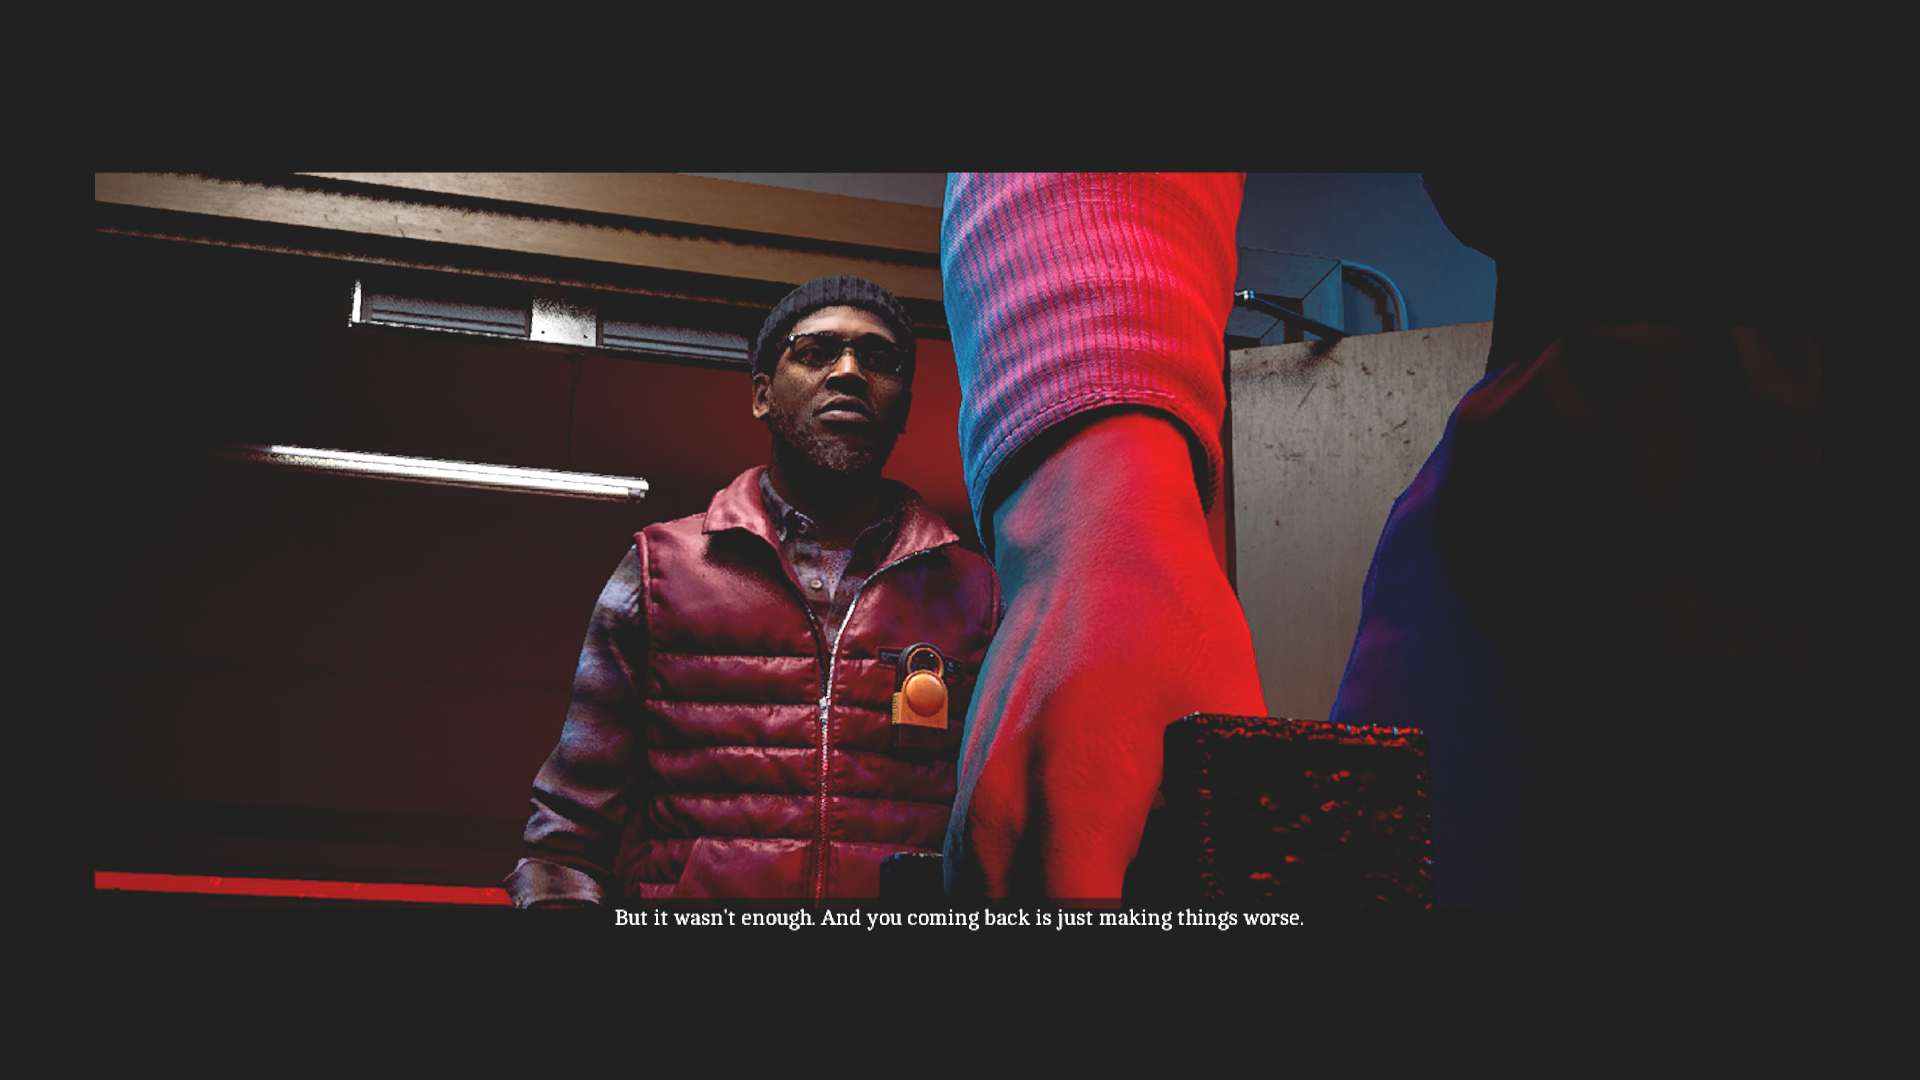
Simon just can’t get any answers. (Credit: Konami, Screen Burn Interactive)
After many close calls and tense moments, killing some monsters and running from others, I finally made it to the Medical Centre as Simon. Just before entering, a new monster appears down the street. This one is bigger than the others and looks like it has tumors growing from its back. (This may be the monster barely glimpsed in the beginning when Simon escaped in the hotel elevator, but I’m not certain about that.) This beast is called the Weight and will become a recurring threat. In a cut scene, Simon ducks into the Centre and bars the door, escaping it.
Zoe is in the lobby. Simon tells her that he’s there to help her. She replies that’s not why he’s here. She tried to do the right thing but it wasn’t enough and him coming back is making things worse. Simon’s little TV crackles to life and he sees an image of Zoe on it.
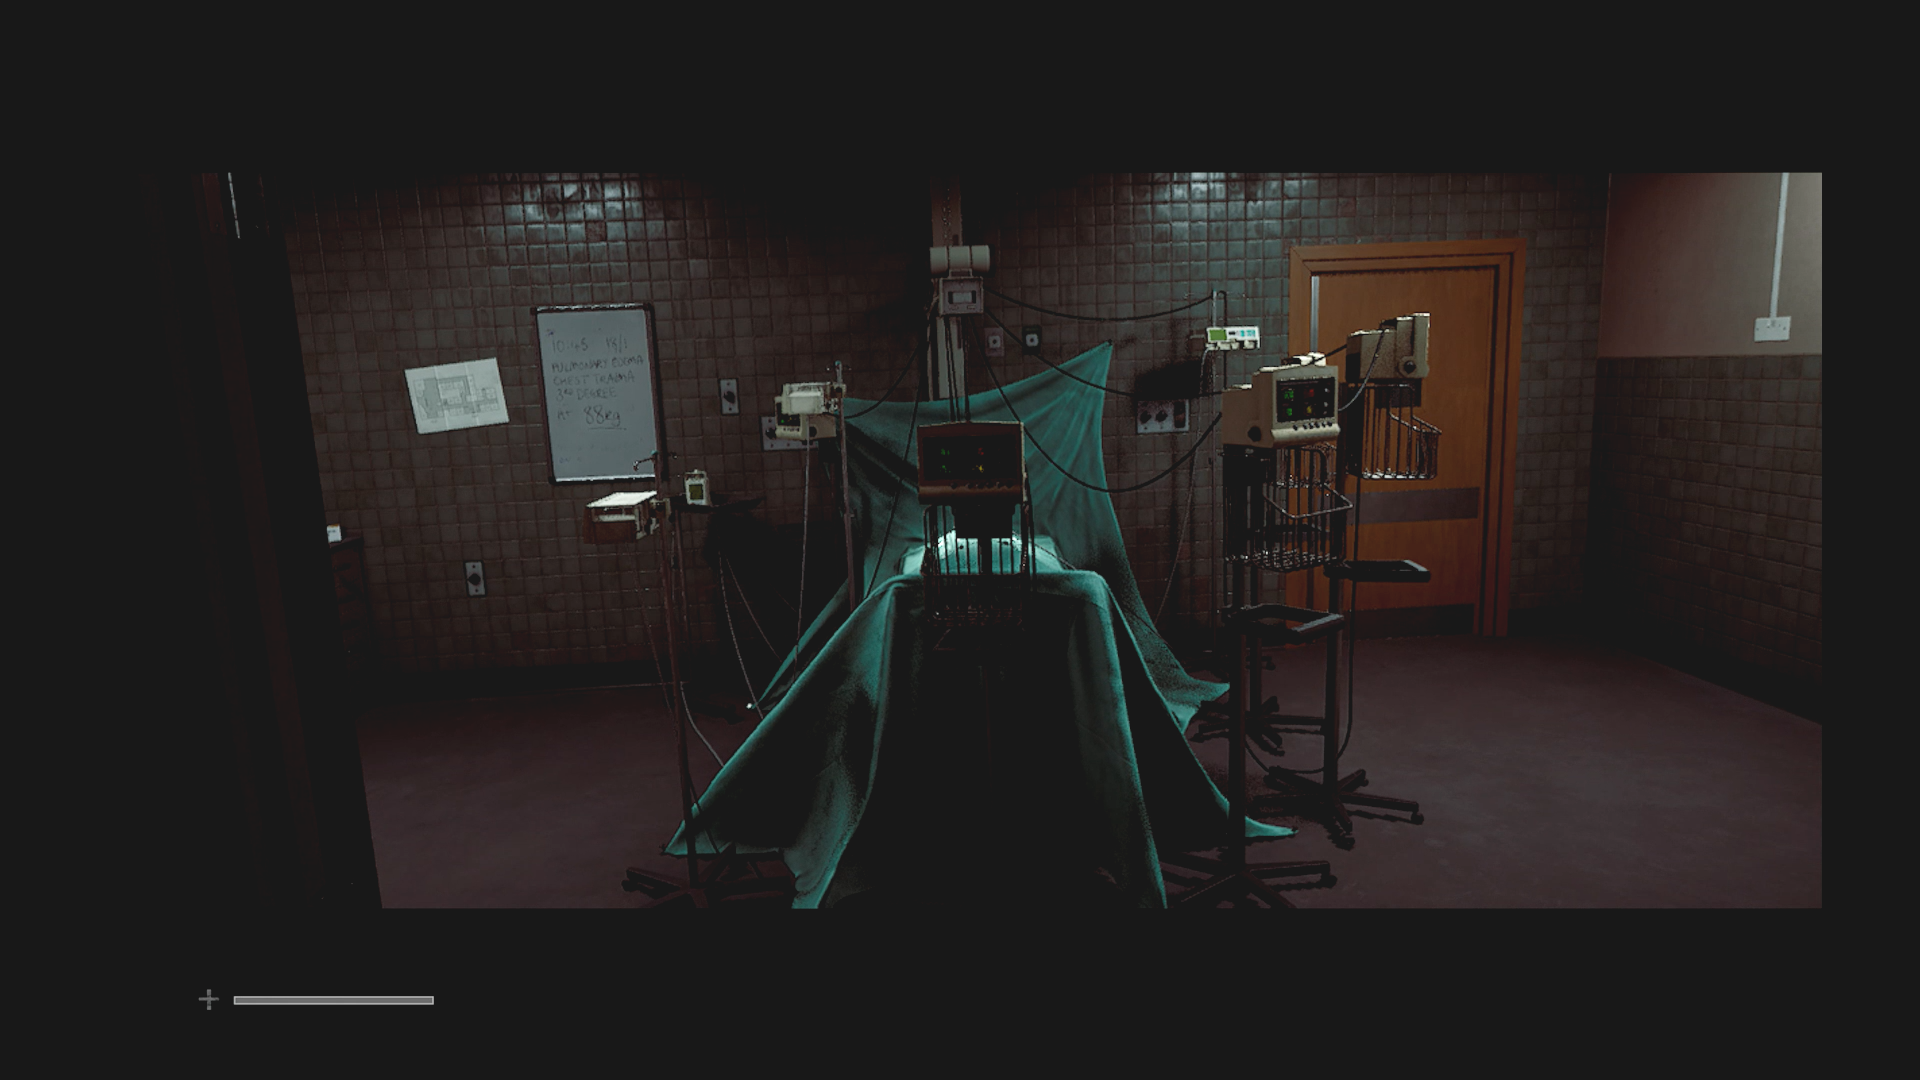
Zoe arrives in surgery. (Credit: Konami, Screen Burn Interactive)
And now we’re back in control of Zoe as she operates on a patient. Keep in mind she’s a nurse at a family practice, not a surgeon, so this is above her pay grade. The actual doctor is at the triage and talks Zoe through the tasks over the intercom. He uses every opportunity to tell her that she’s unqualified and putting the patient at risk. Note that this is likely Zoe’s manifestation of Silent Hill playing on her guilt and self-loathing, not necessarily how things went down. (Of course, we’ll never know for sure.)
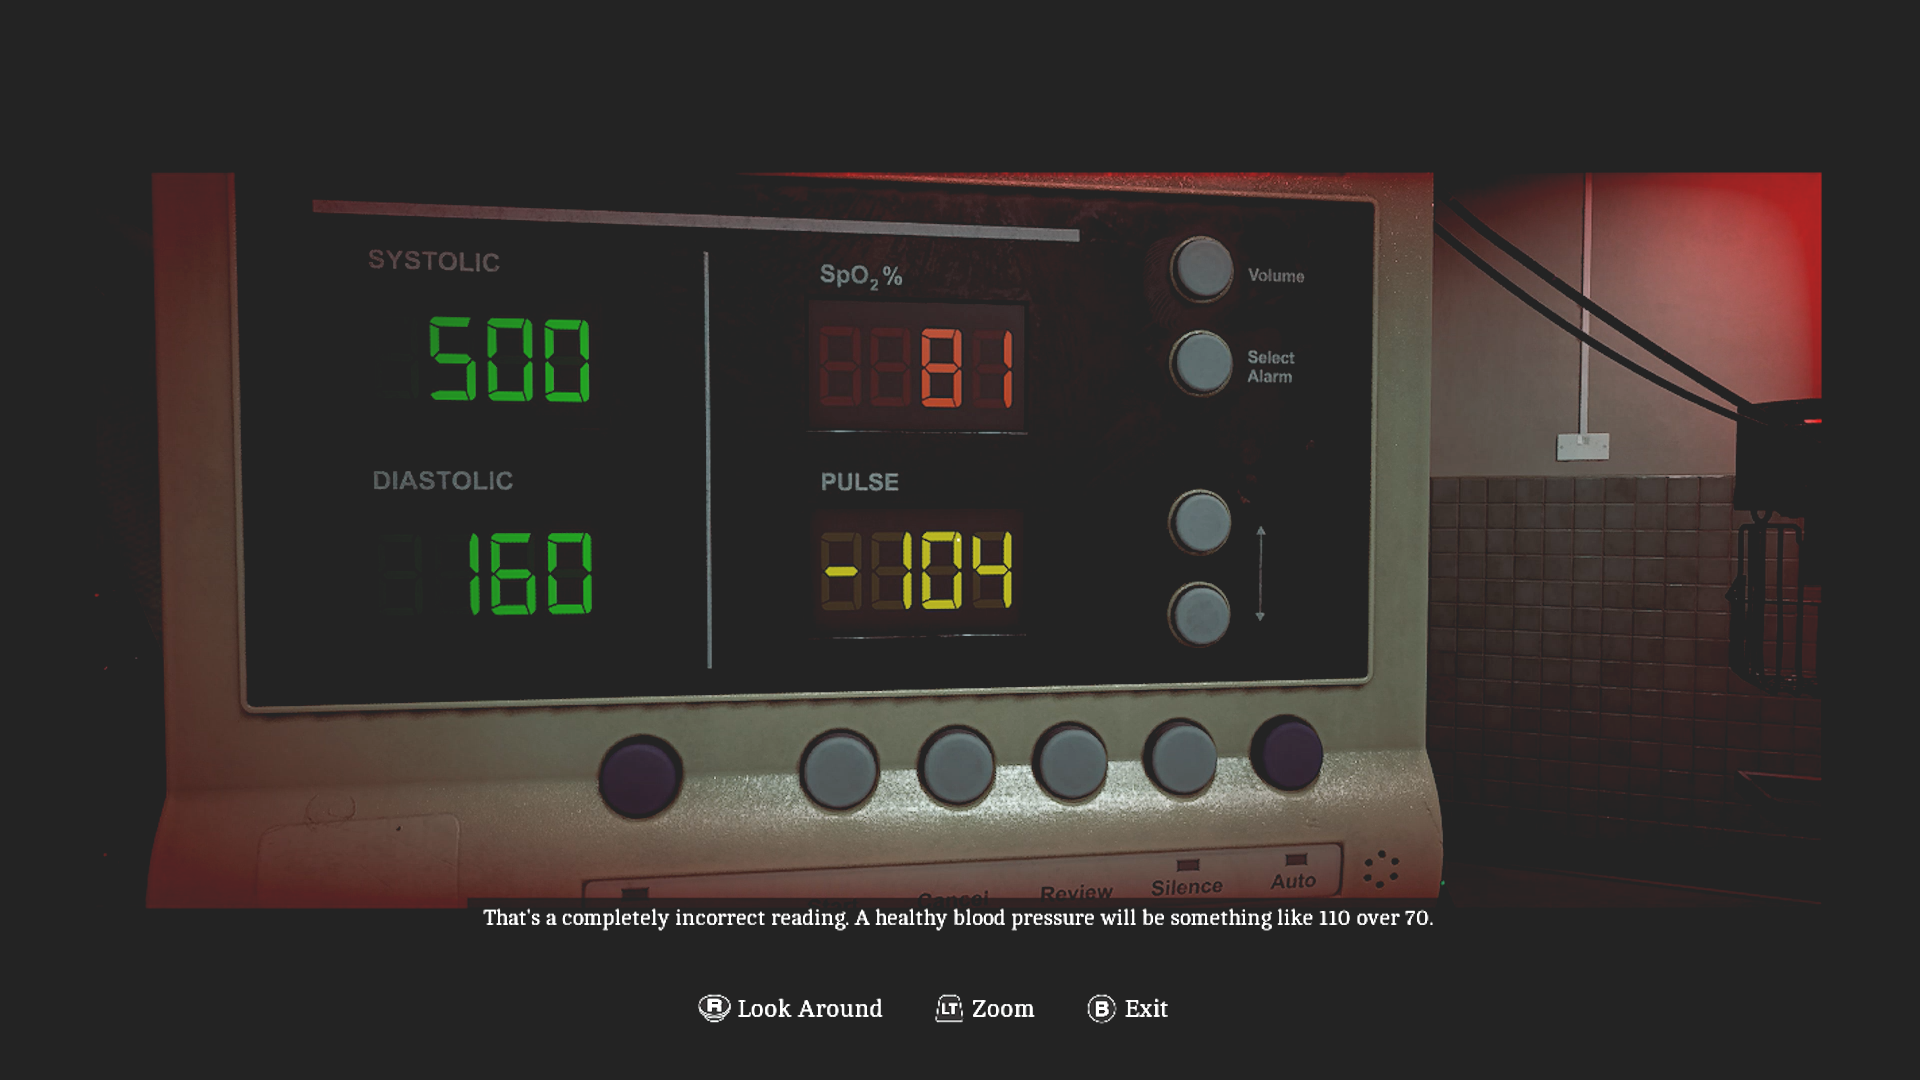
This part was tough to get through. (Credit: Konami, Screen Burn Interactive)
Anyway, this part was annoying and confusing. The first task is to give the doctor readings using the various monitors placed around the patient. Most of the readings are wrong and so you have to use the information on the nearby computer console to determine which ones are correct. If you make a mistake, Zoe takes damage and will eventually die. To make it worse, the dick of a doctor continues berating and insulting you the entire time.
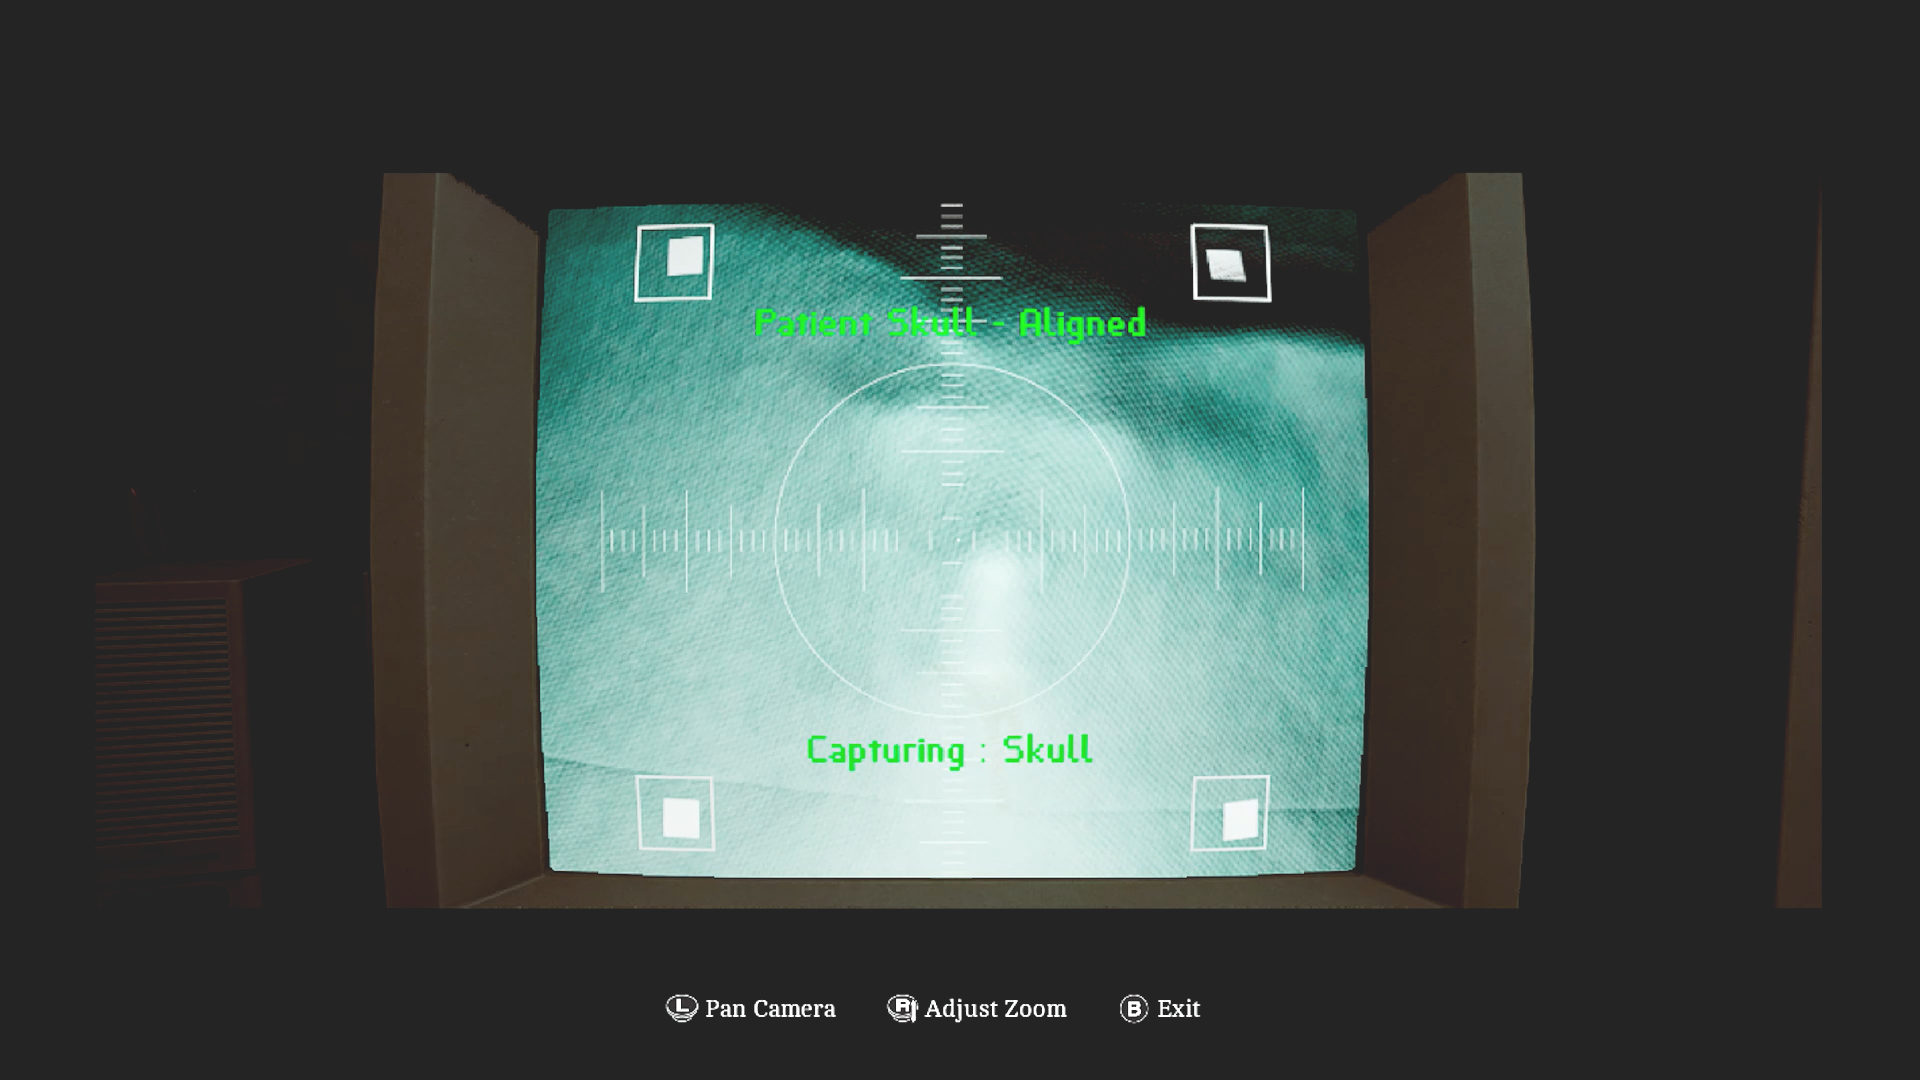
The X-Ray part was easy. (Credit: Konami, Screen Burn Interactive)
Next was a fairly easy X-Ray puzzle. This gives the doctor more chance to belittle Zoe.
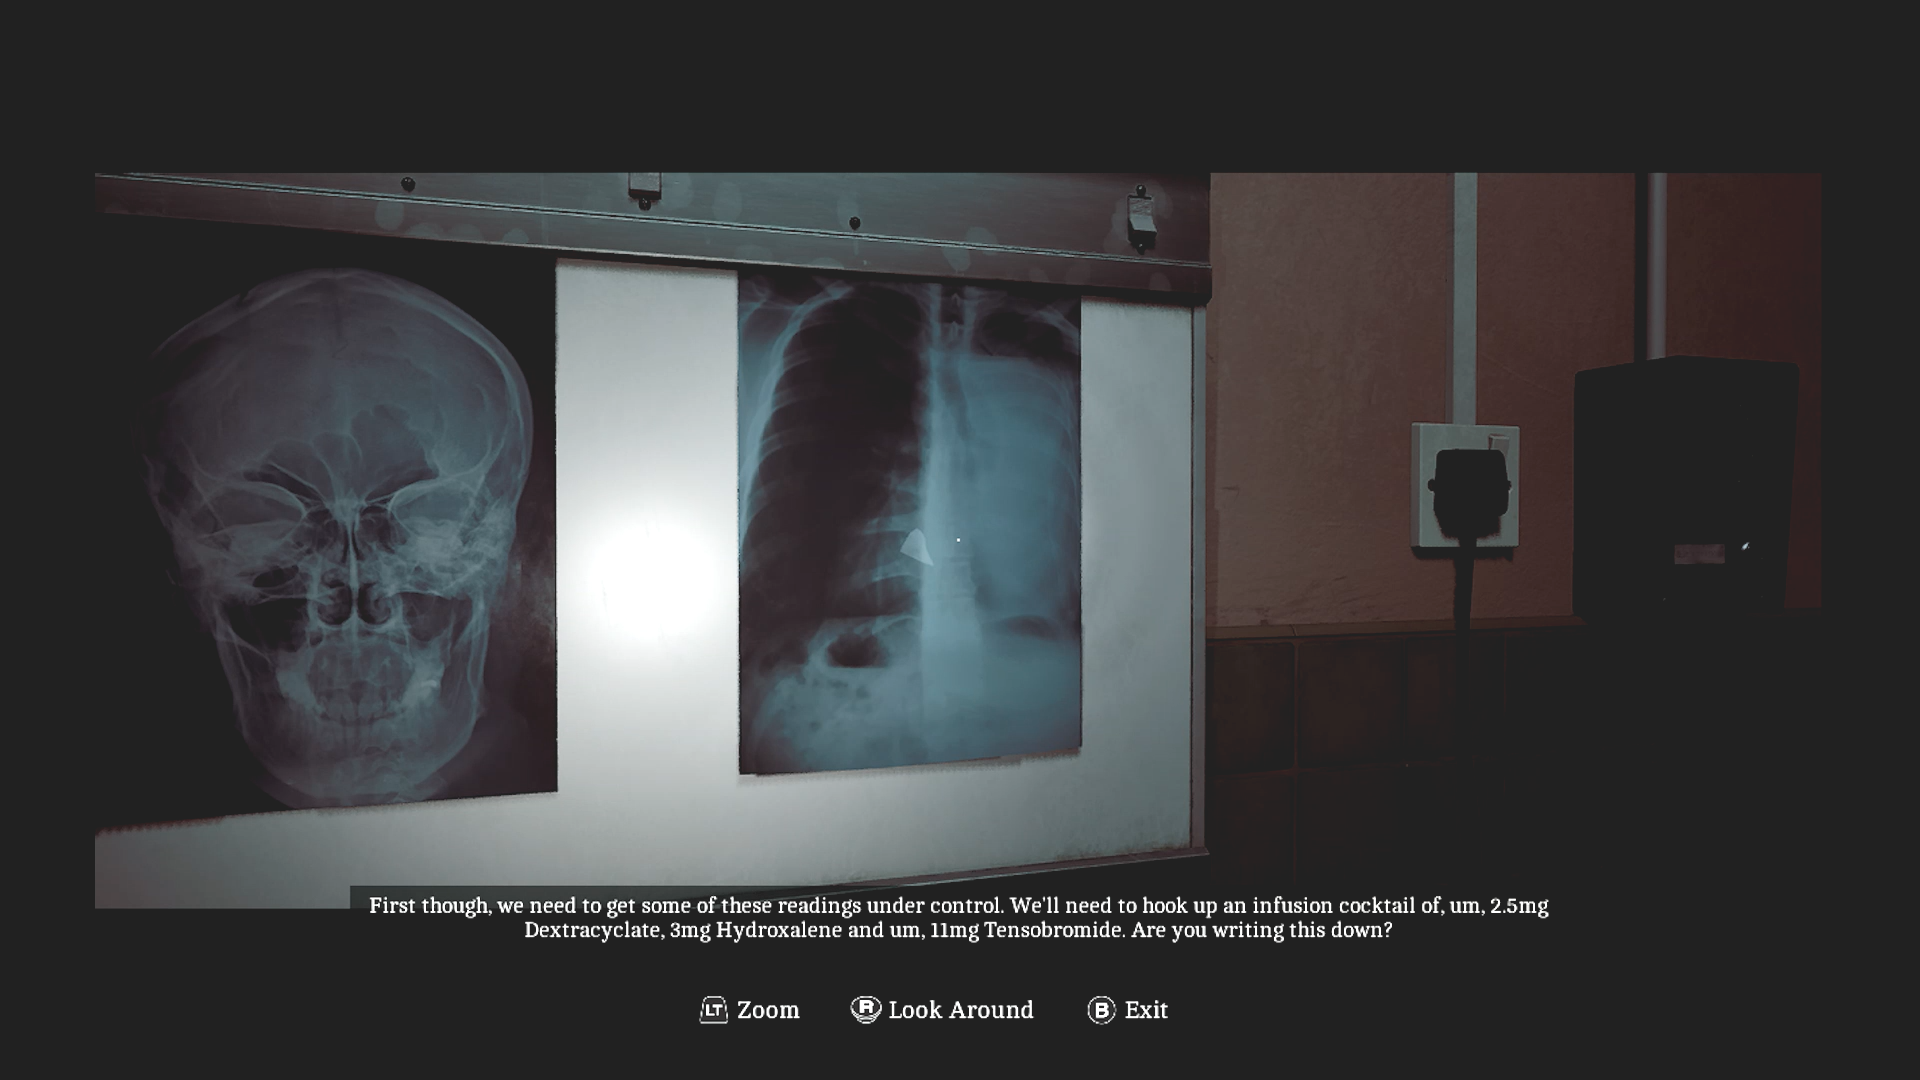
This guy’s a mess. (Credit: Konami, Screen Burn Interactive)
After the doctor’s diagnosis, he prescribes three medicines for the patient, none of which are in the room with you. This opens the way for one of Silent Hill’s most enduring traditions— exploring a creepy, dark hospital! There are no zombie nurses this time, though. Zoe has to avoid monsters and locate the medicine in various wings of the hospital. Still no weapons, so most of it was hiding and throwing bottles.
After a lot of sneaking around and several deaths, Zoe locates the medicine vials and has to administer them to the patient in another puzzle. There is a quick trip down to the basement for more supplies, and this is where I finally found a melee weapon for Zoe. (I never did use it, though.)
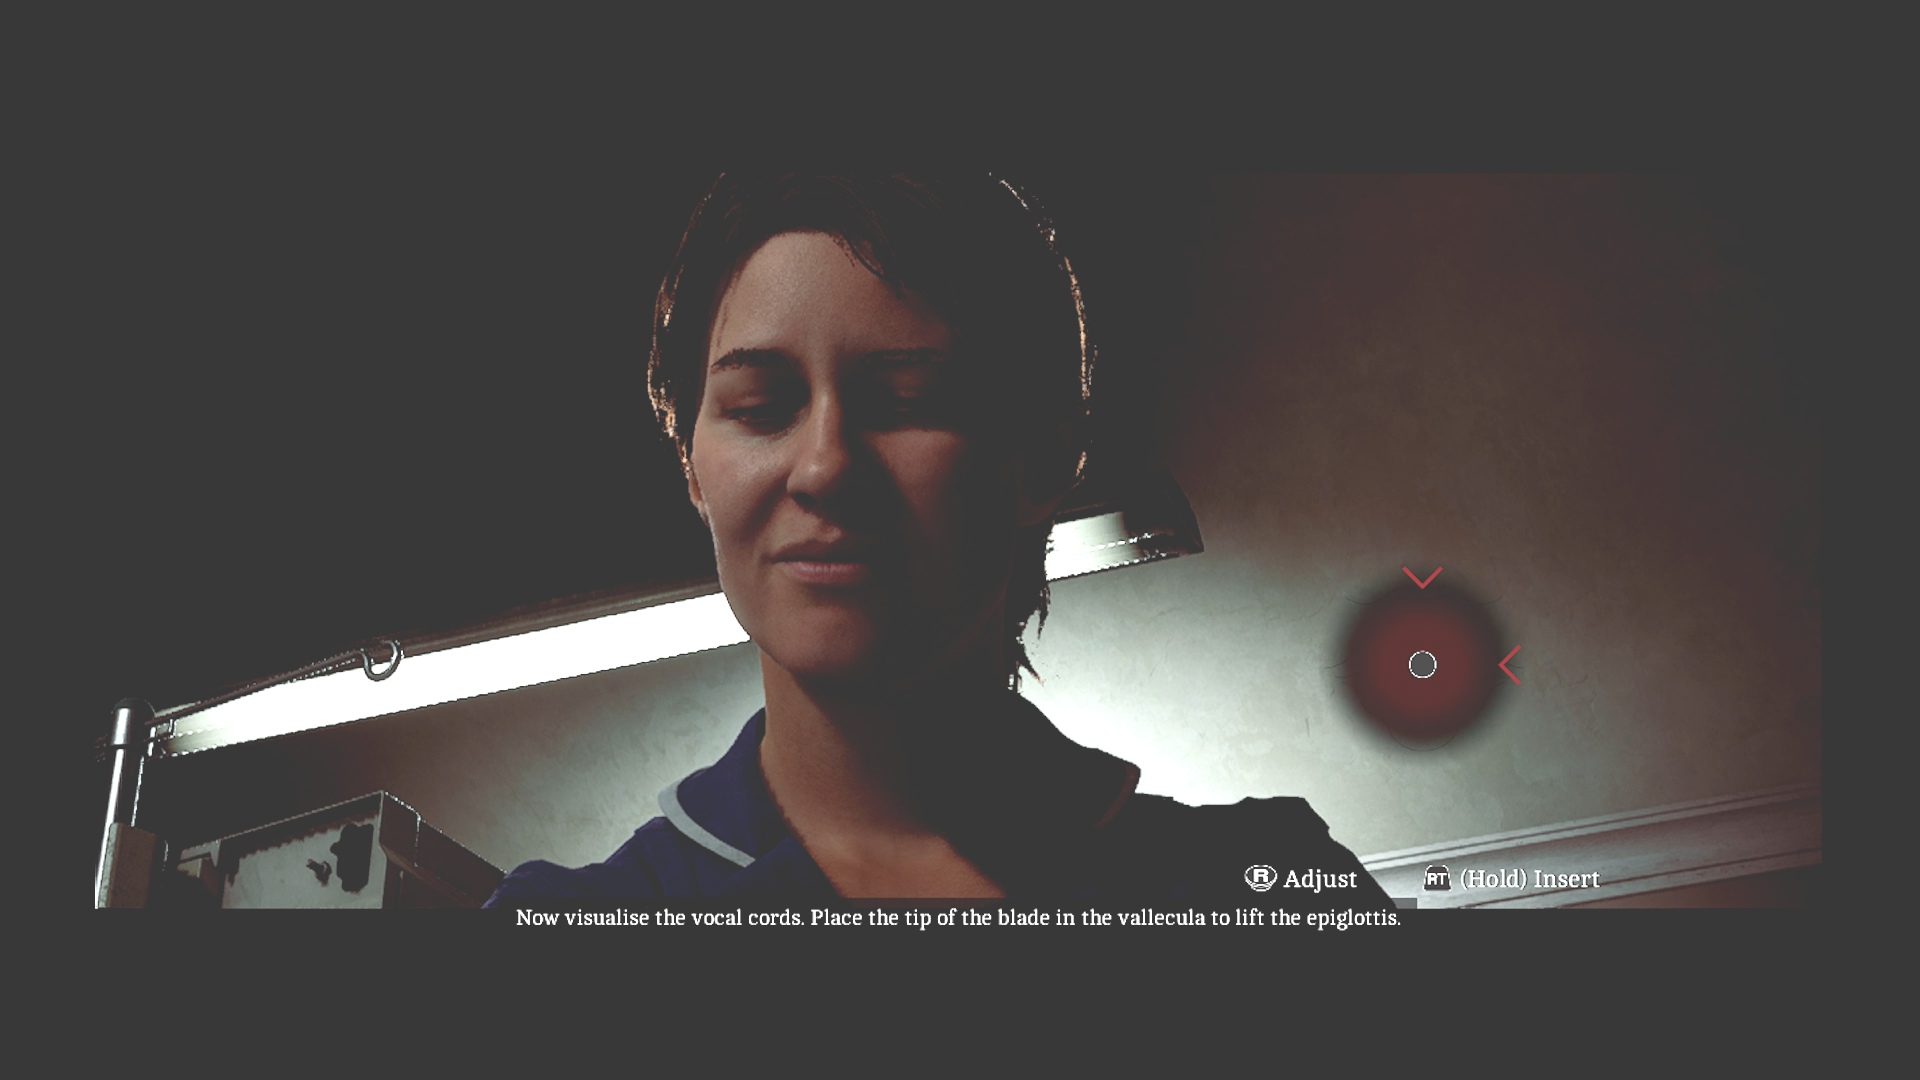
This part of the puzzle was confusing. (Credit: Konami, Screen Burn Interactive)
The final puzzle was very vague and weird. You have to use the items from the basement to intubate the patient. It took me way too long to figure out how to do it, since the game provides no instructions. After this is done, the doctor tells her that she’ll have to operate. Before the scalpel can touch the patient, he reaches out and grabs Zoe’s arm and we see that the patient was Simon the whole time. (Which was literally the first thing Cocoashade said when she saw the covered body on the hospital bed. She was walking by and said, “Is that Simon?”)
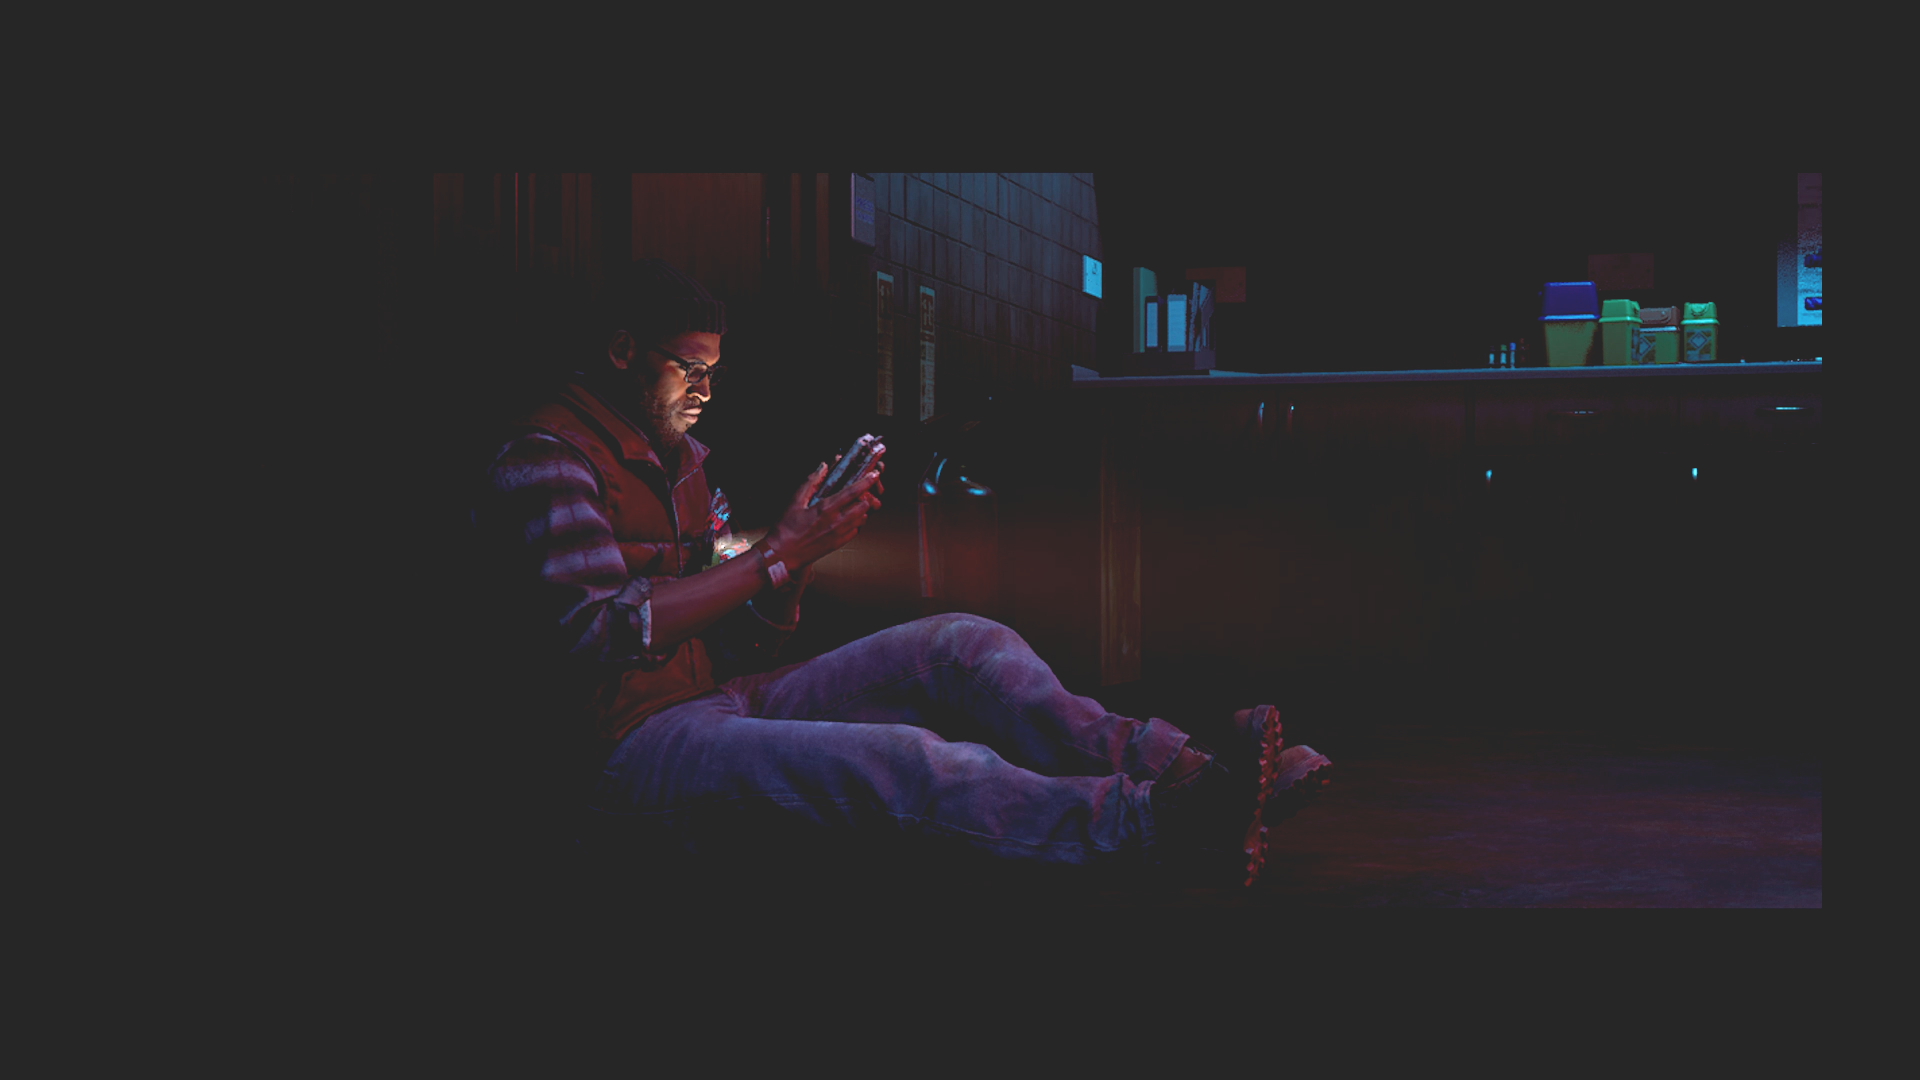
Show’s over. (Credit: Konami, Screen Burn Interactive)
Finally Simon stops watching the Zoe show (remember that this was all playing on the CRTV) and notices Zoe has slipped away at some point. He goes down a super long ladder and wanders the red corridors from earlier in the game.
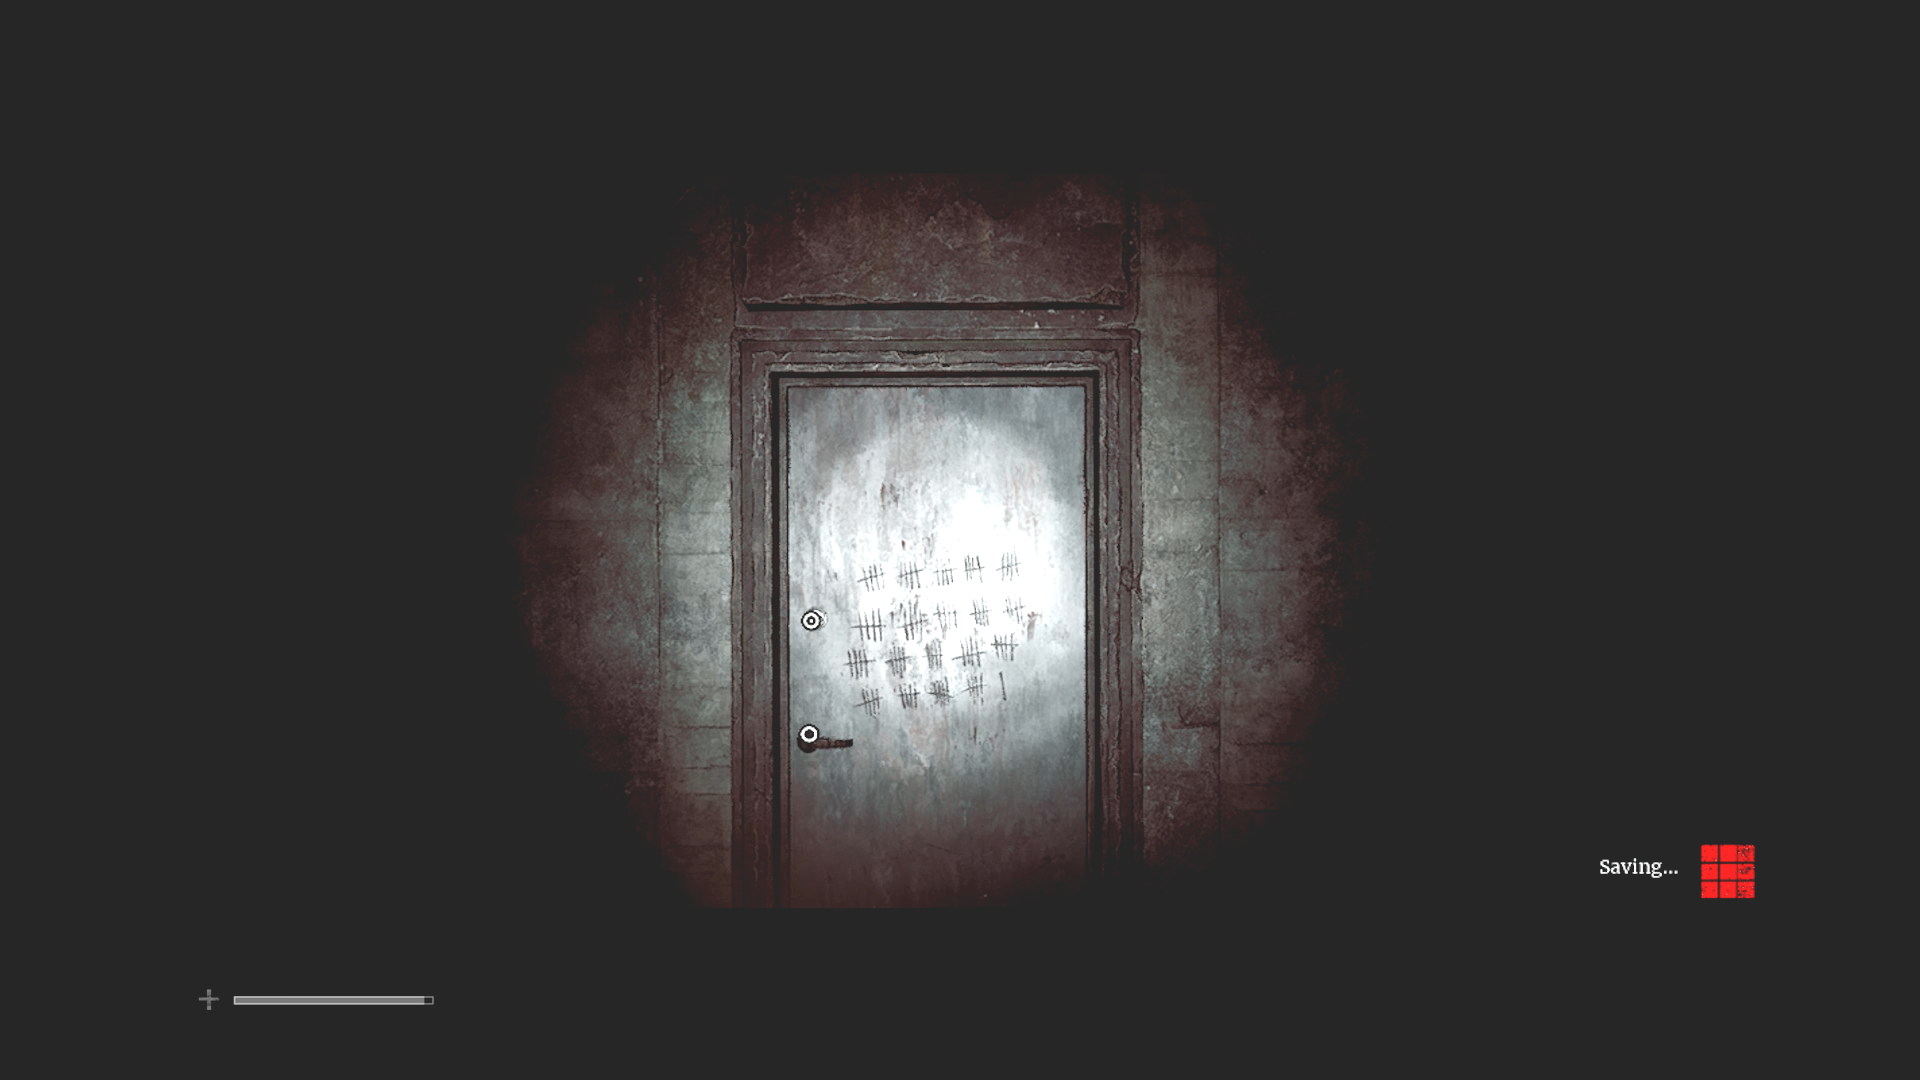
I’ve seen this somewhere before… (Credit: Konami, Screen Burn Interactive)
In this area is another radio puzzle and Simon finds an old Silent Hill favorite— a sturdy lead pipe. (Which was very welcome. I broke my plank on the way to the Medical Centre.) At the end of the path is the same metal door with the victim body count carved into it.
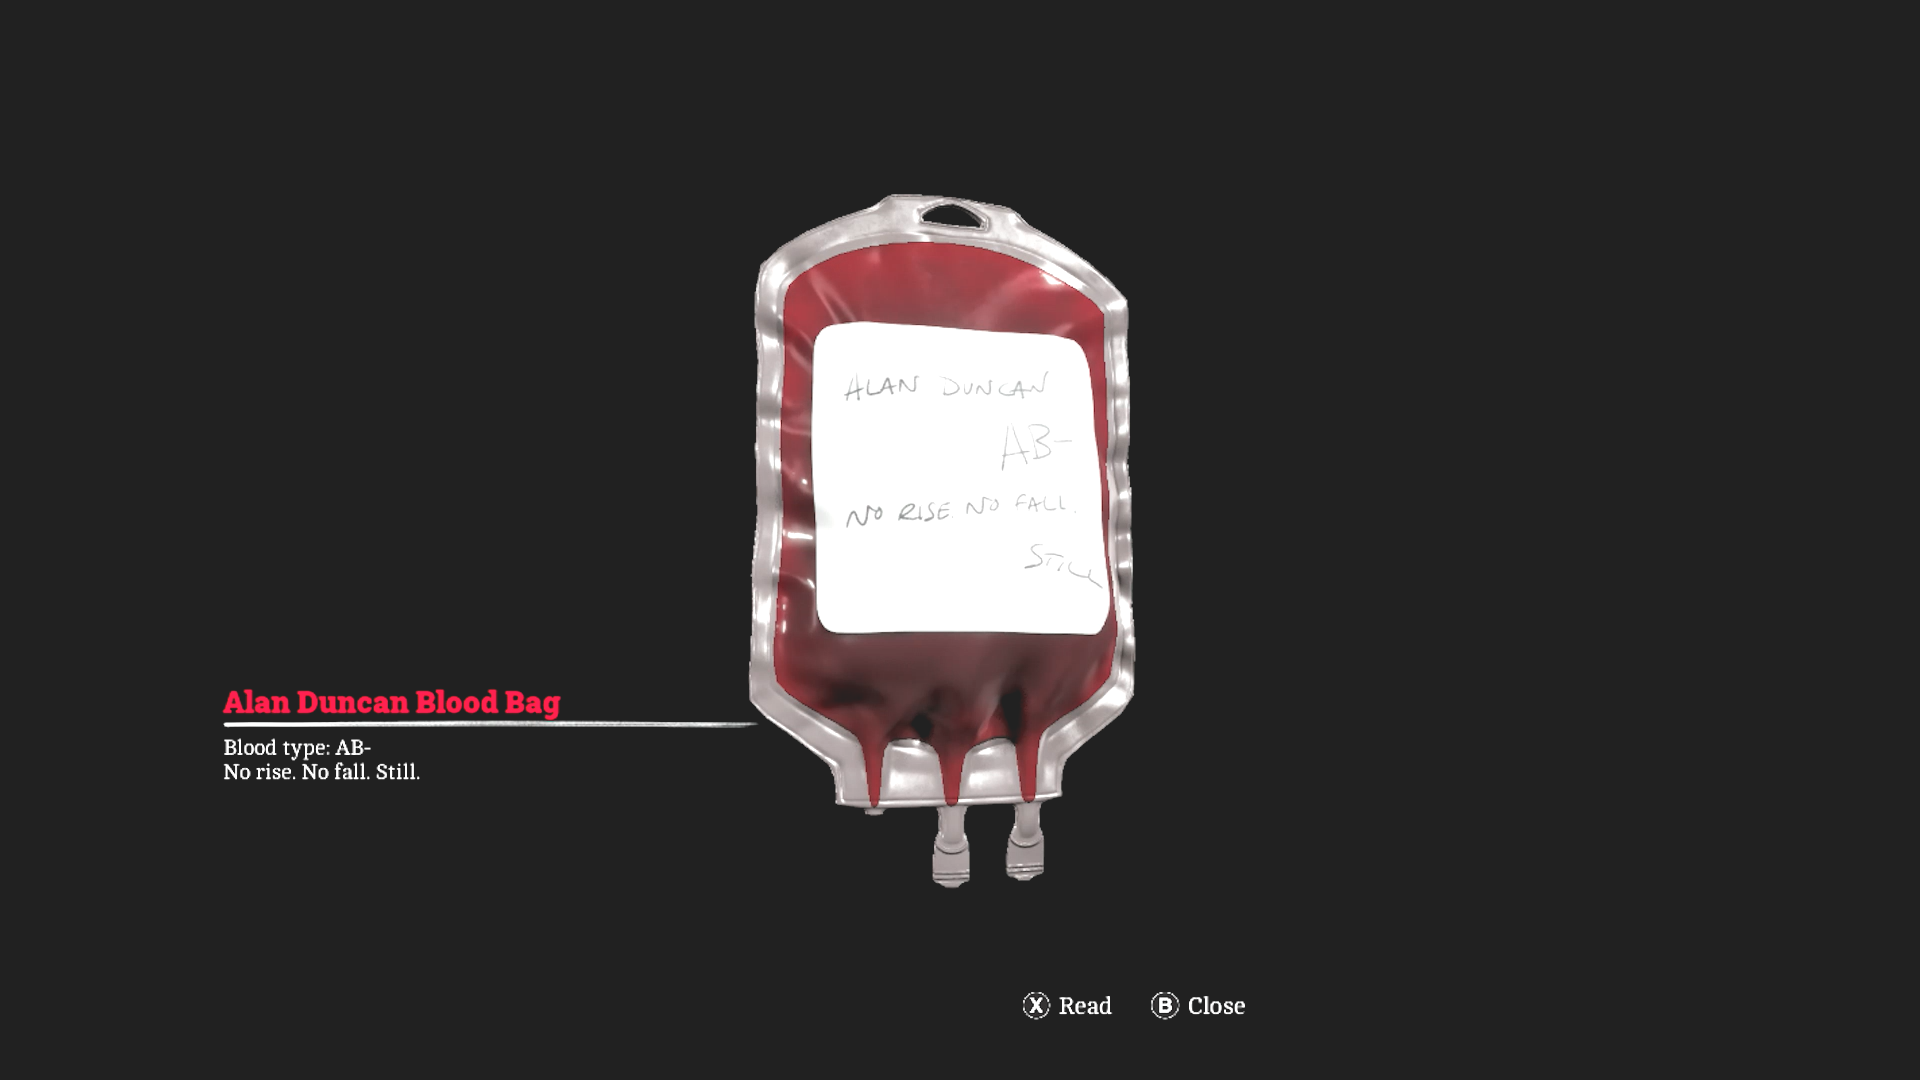
Bloods. (Credit: Konami, Screen Burn Interactive)
The next section consists of one big puzzle where you have to locate blood bags and match them to patients that Zoe lost. I much preferred this part to Zoe’s segment. This felt like a normal Silent Hill game . . . exploring the dark hospital to find the bags, then using the recordings and patient charts to match them up.
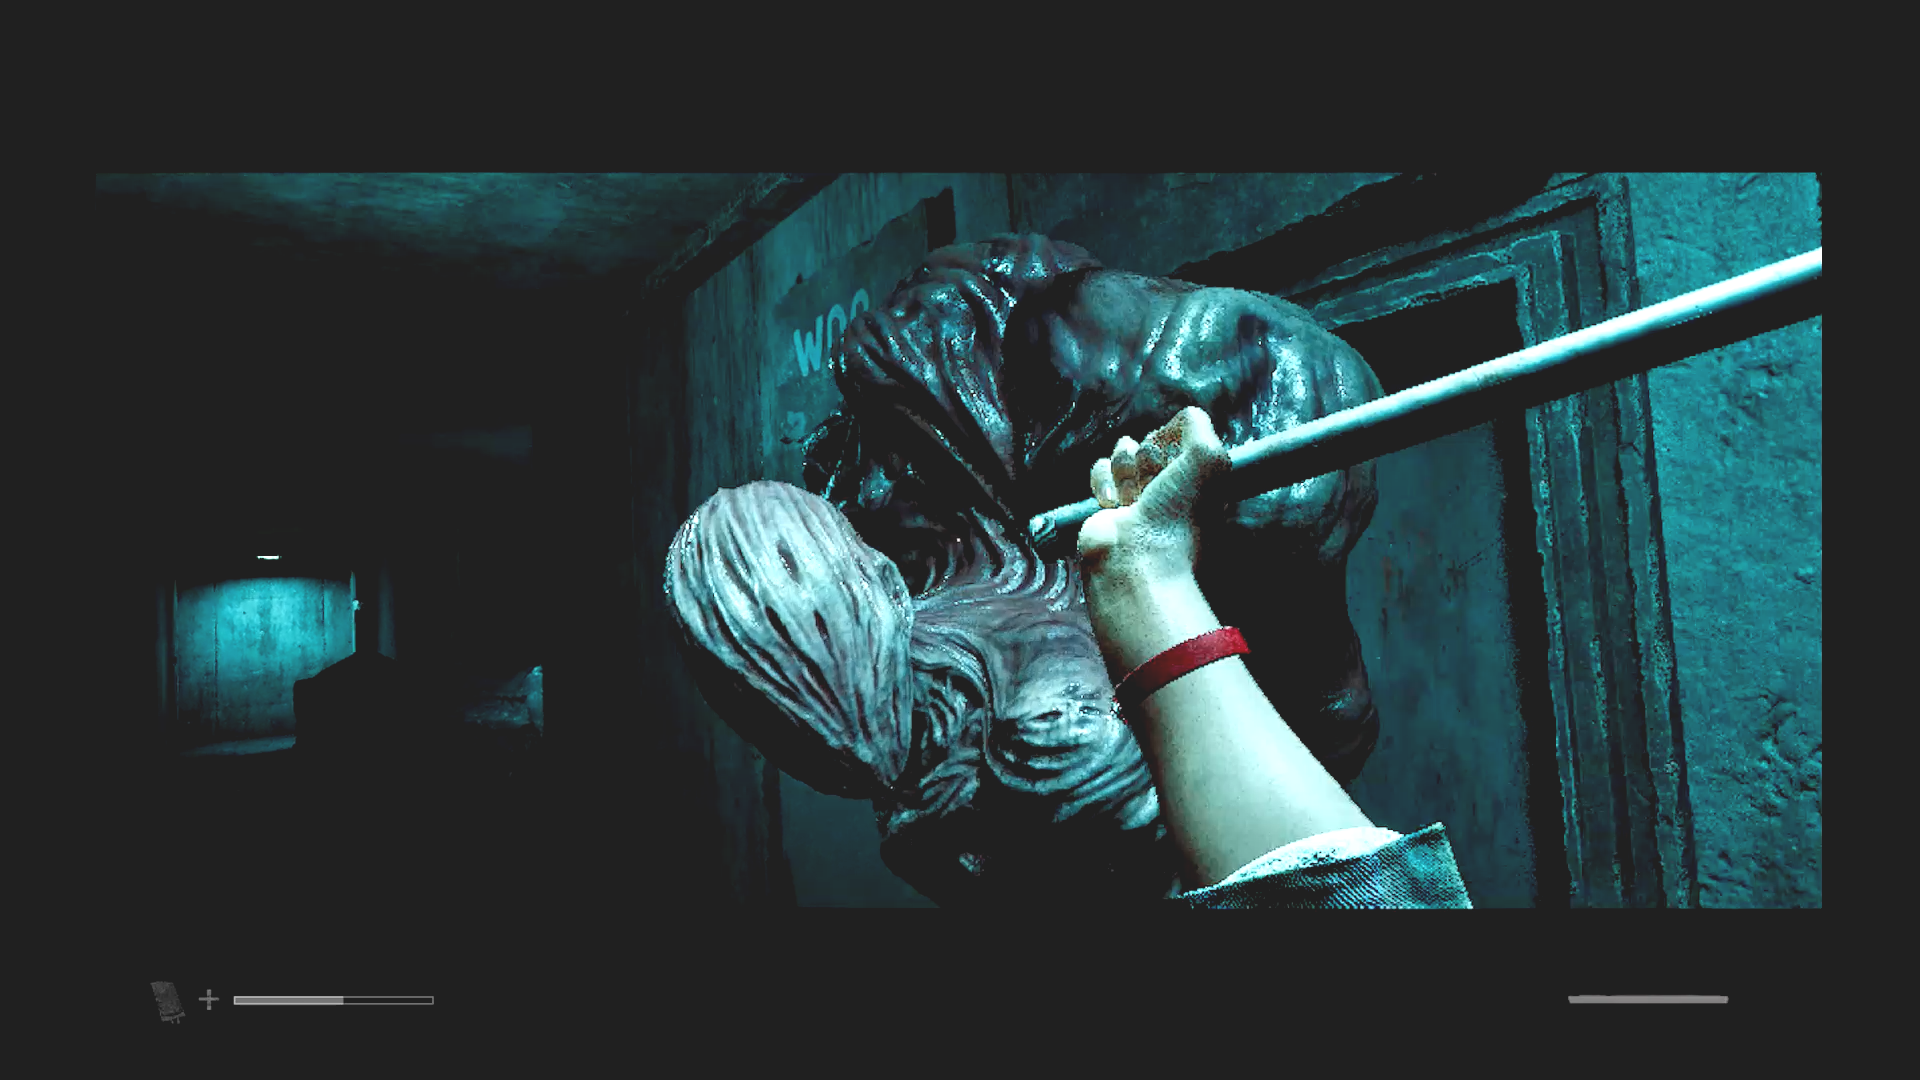
This guy’s trouble. (Credit: Konami, Screen Burn Interactive)
Once Simon reaches the basement, things get much harder. There is a cut scene and the Weight appears, beginning to patrol the area. This is the most vicious and annoying monster in the game. Before I got to this part, the patch nerfed his grapple ability. It used to be insta-kill. Still, I didn’t see much point in this change. Once he gets you, even if you shake off the grapple, he recovers too fast for you to get away. Also I should mention he’s invincible. If you try to fight him, you’re gonna die. Every time he saw me I was doomed.
After many, many failed attempts, I managed to take out the normal monster without the Weight hearing and was able to sneak around him to get this area’s bag and escape.
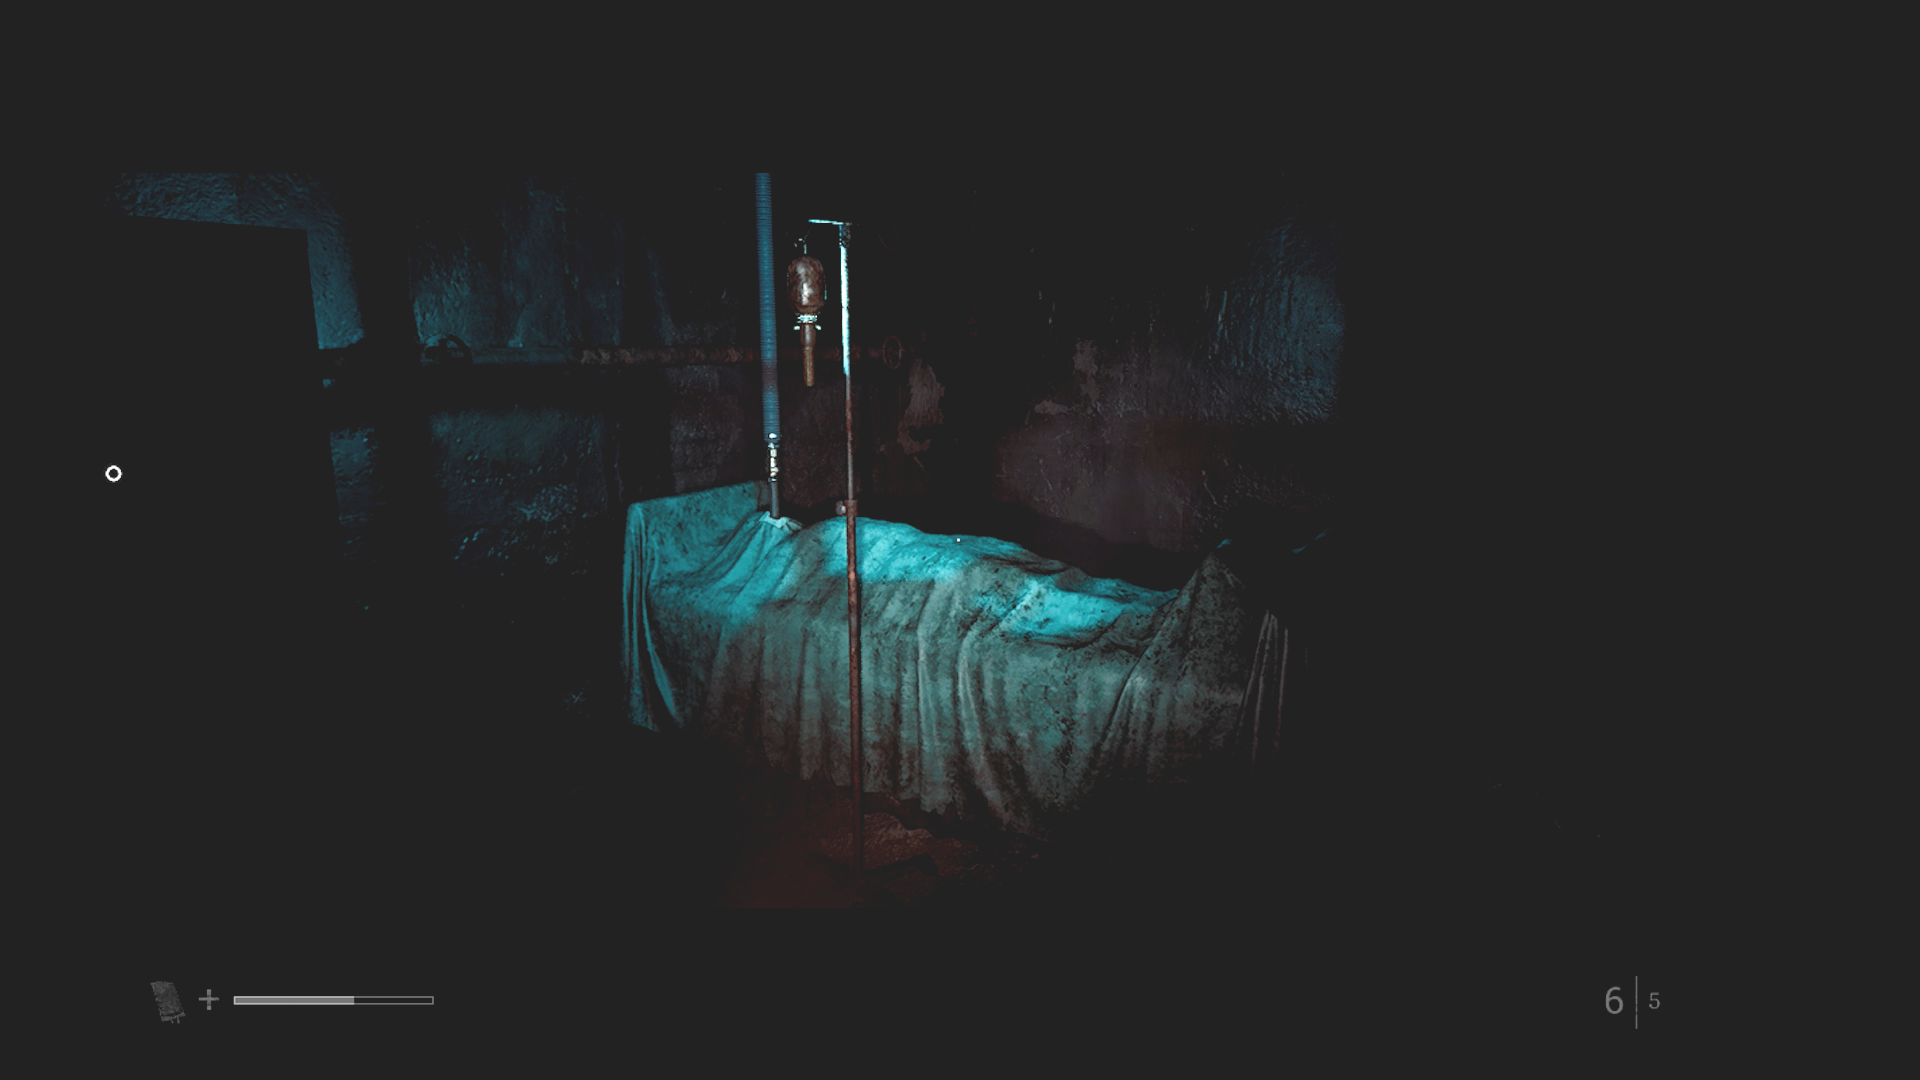
This game is soooo dark. In both senses. (Credit: Konami, Screen Burn Interactive)
This puzzle went on for awhile. Getting the last bag was genuinely nerve-wracking. It fell to a different basement area and the Weight returned. Gates block off your path and you have to sneak around to turn valves to open the gates. The valves also make noise. Getting around this area took a lot of trial and error.
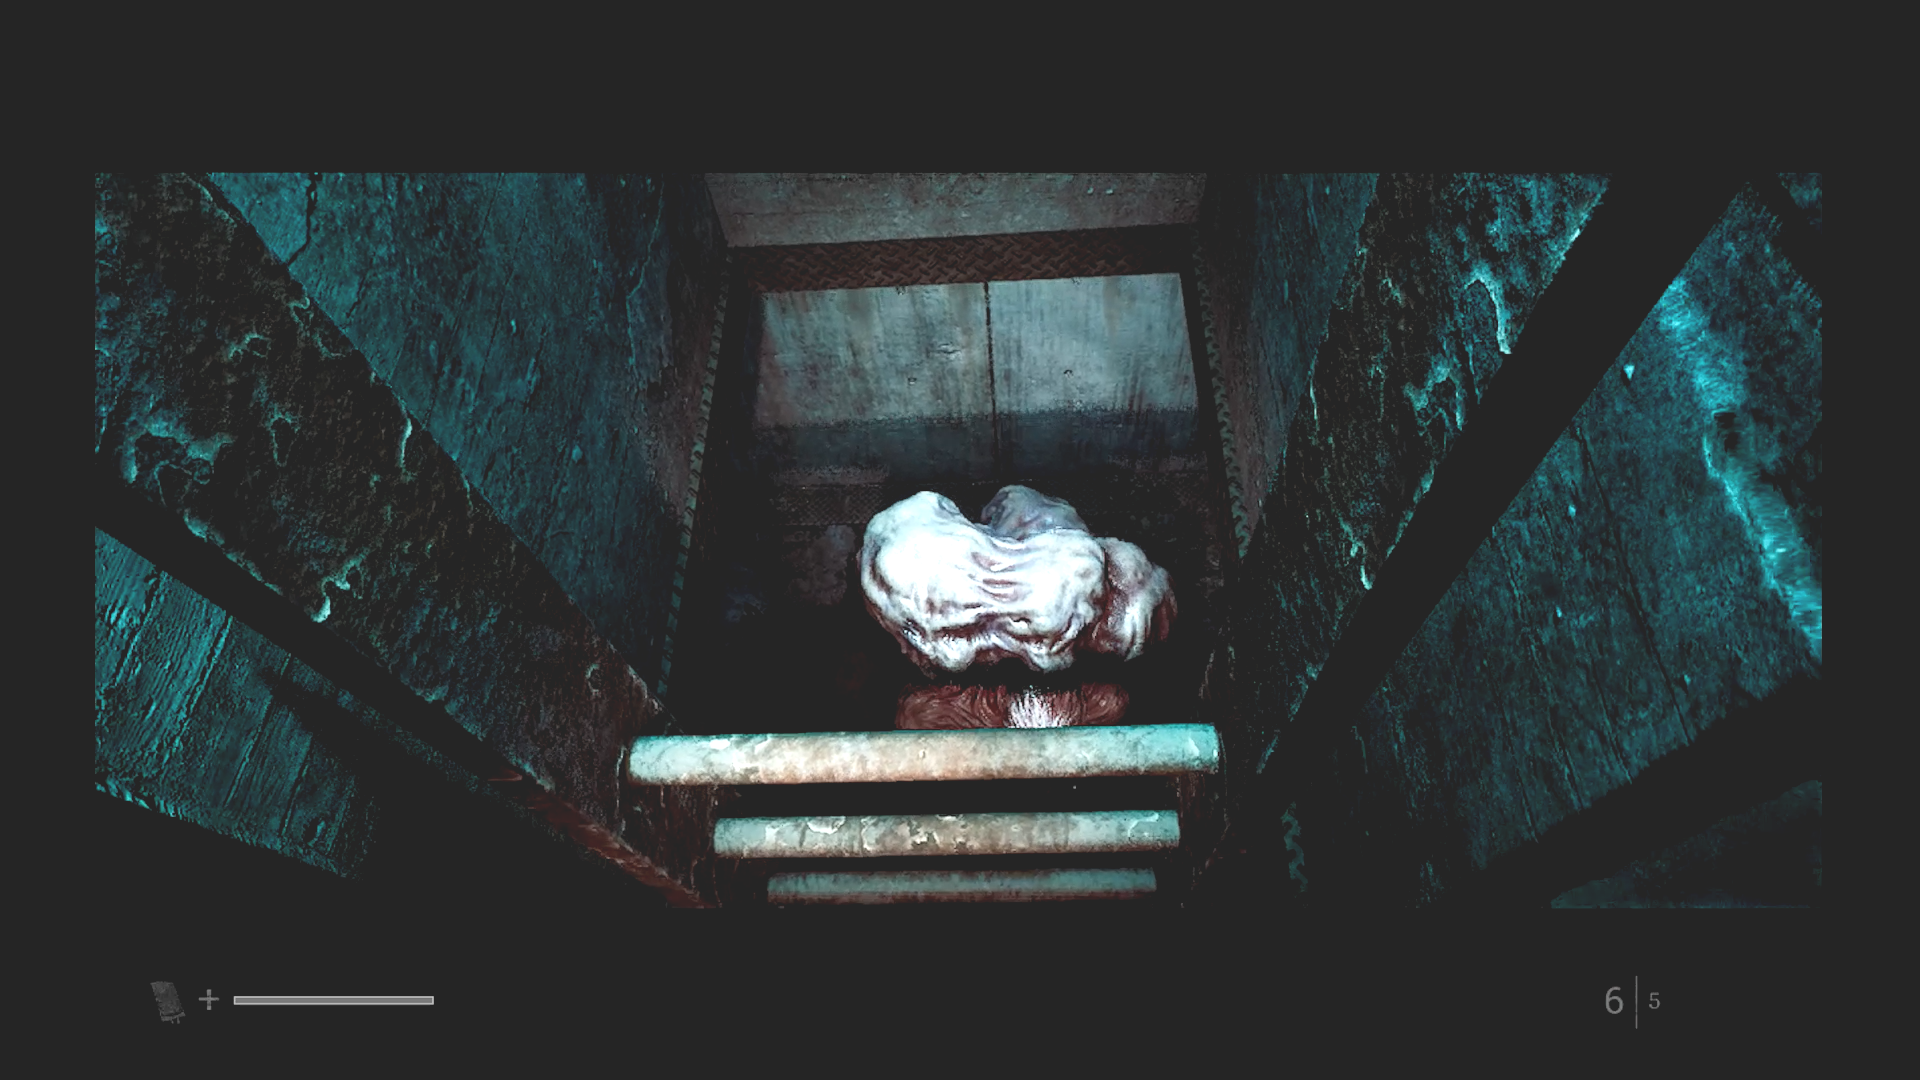
Barely got away. (Credit: Konami, Screen Burn Interactive)
Eventually I just ran for the ladder. When you get close enough there’s a cut scene where the Weight rushes at Simon and the ladder breaks as he’s climbing. He manages to get up to the top and crawl to where he could close a gate. That was it for my play session that night, because my nerves were shot.
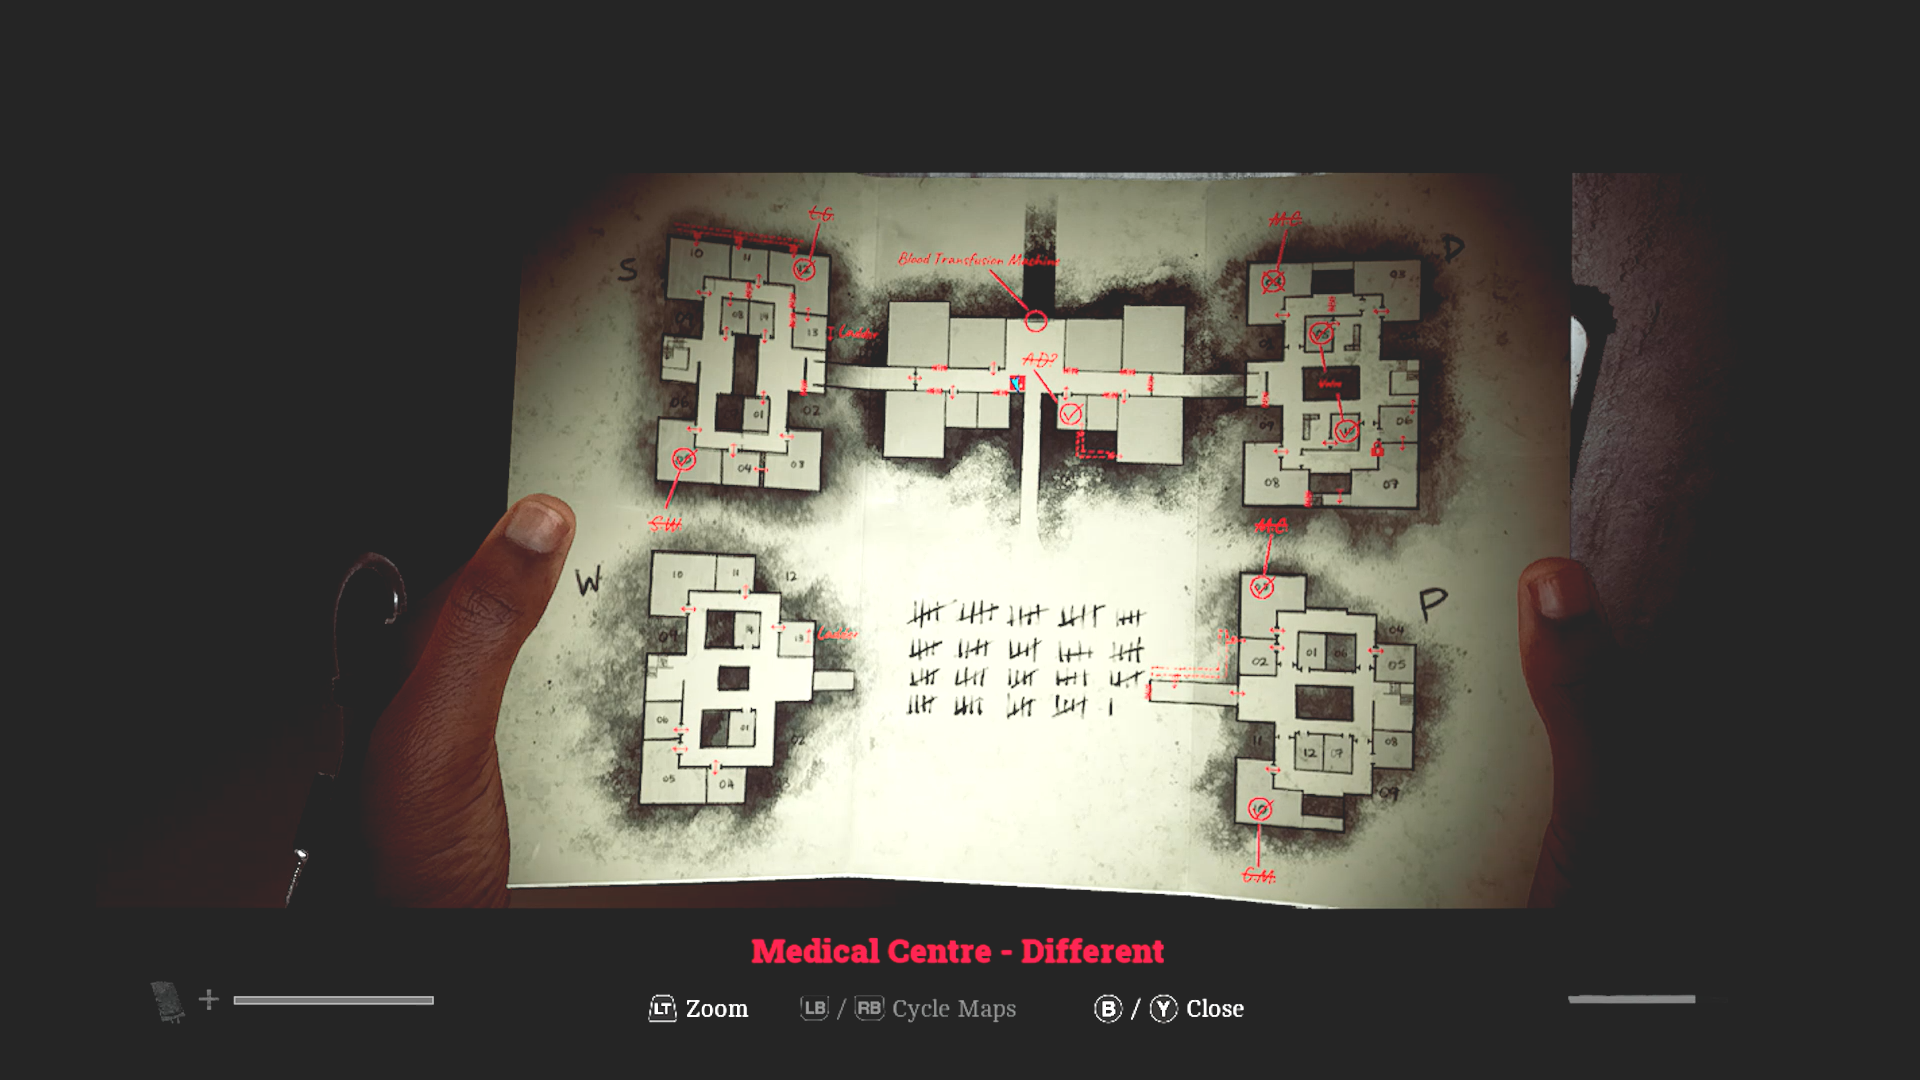
Map is all marked up. (Credit: Konami, Screen Burn Interactive)
Here’s the finished map for this area to give you an idea. At one point I actually had to screenshot the map with my phone so I could leave my flashlight off while I navigated.
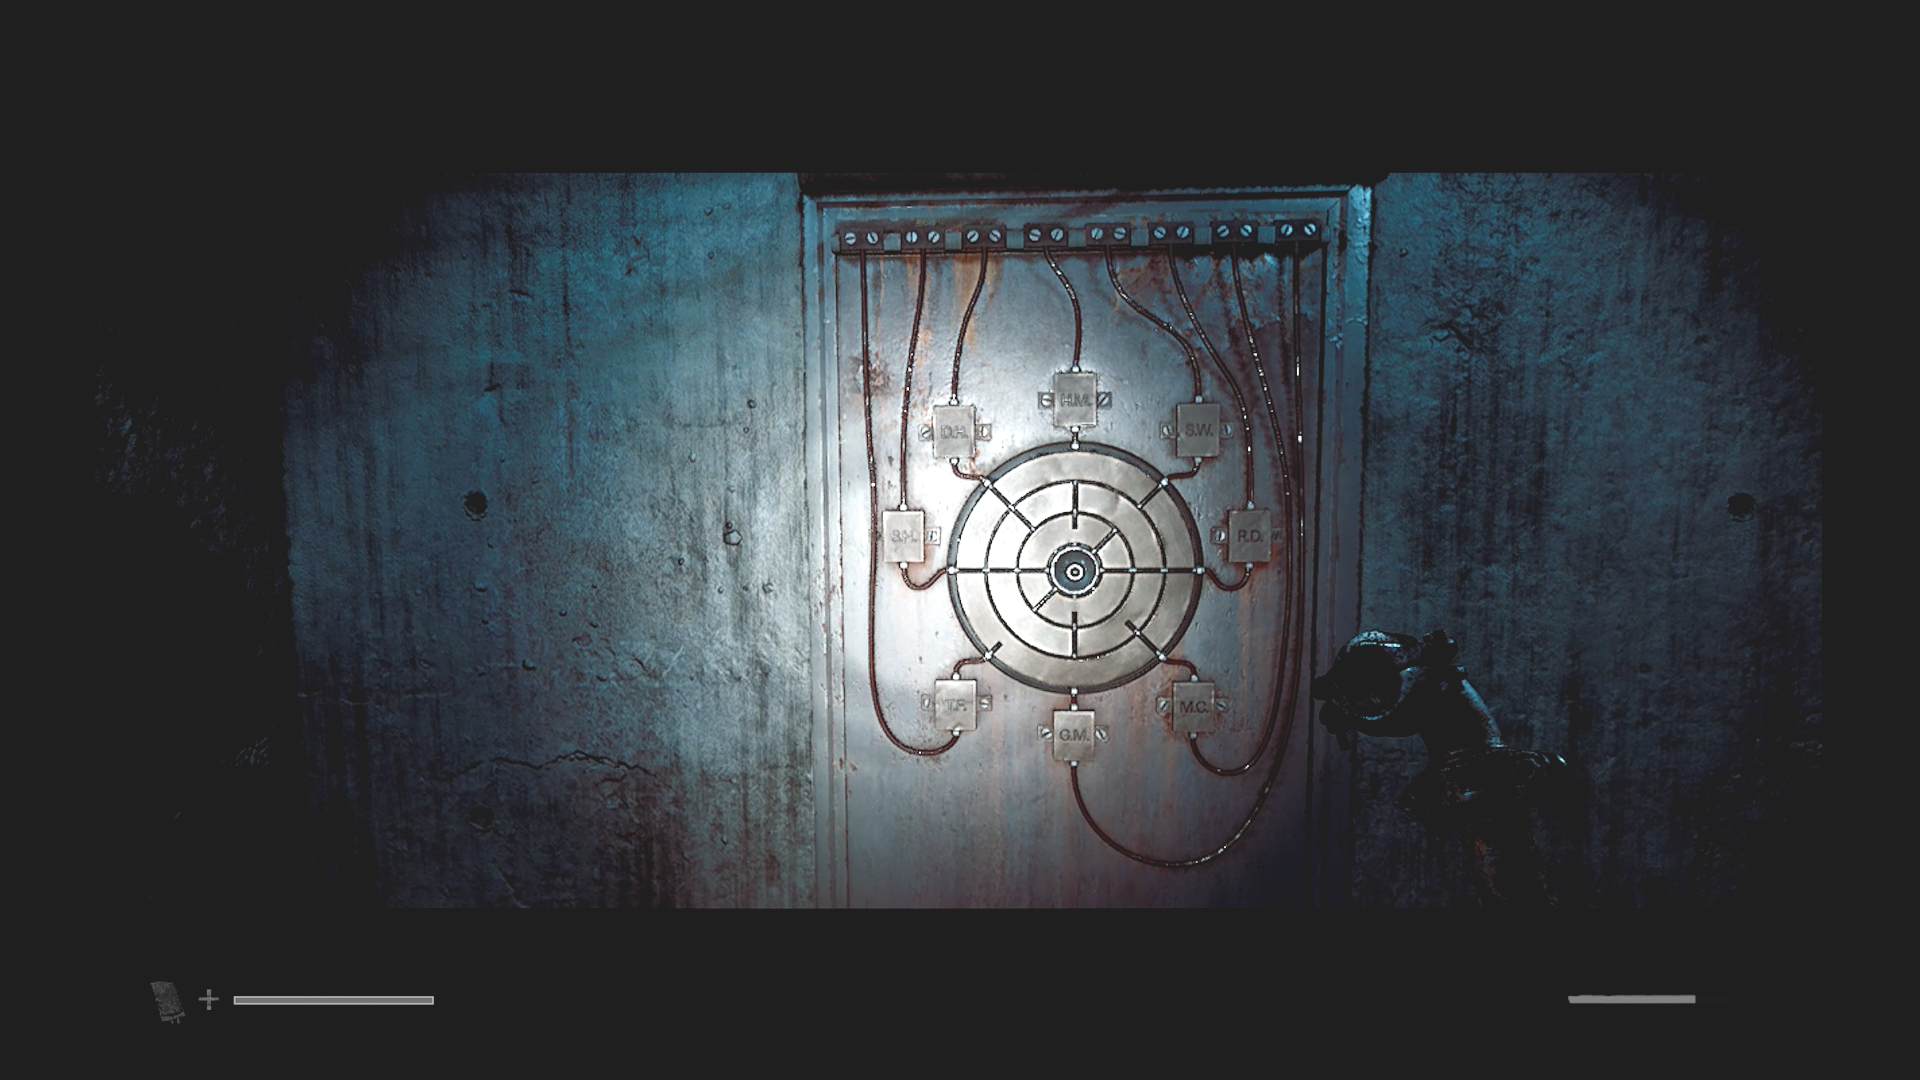
Now to use all that blood. (Credit: Konami, Screen Burn Interactive)
The end of the puzzle was pretty easy. You have to turn parts of a wheel to get the blood from the bags into Simon.
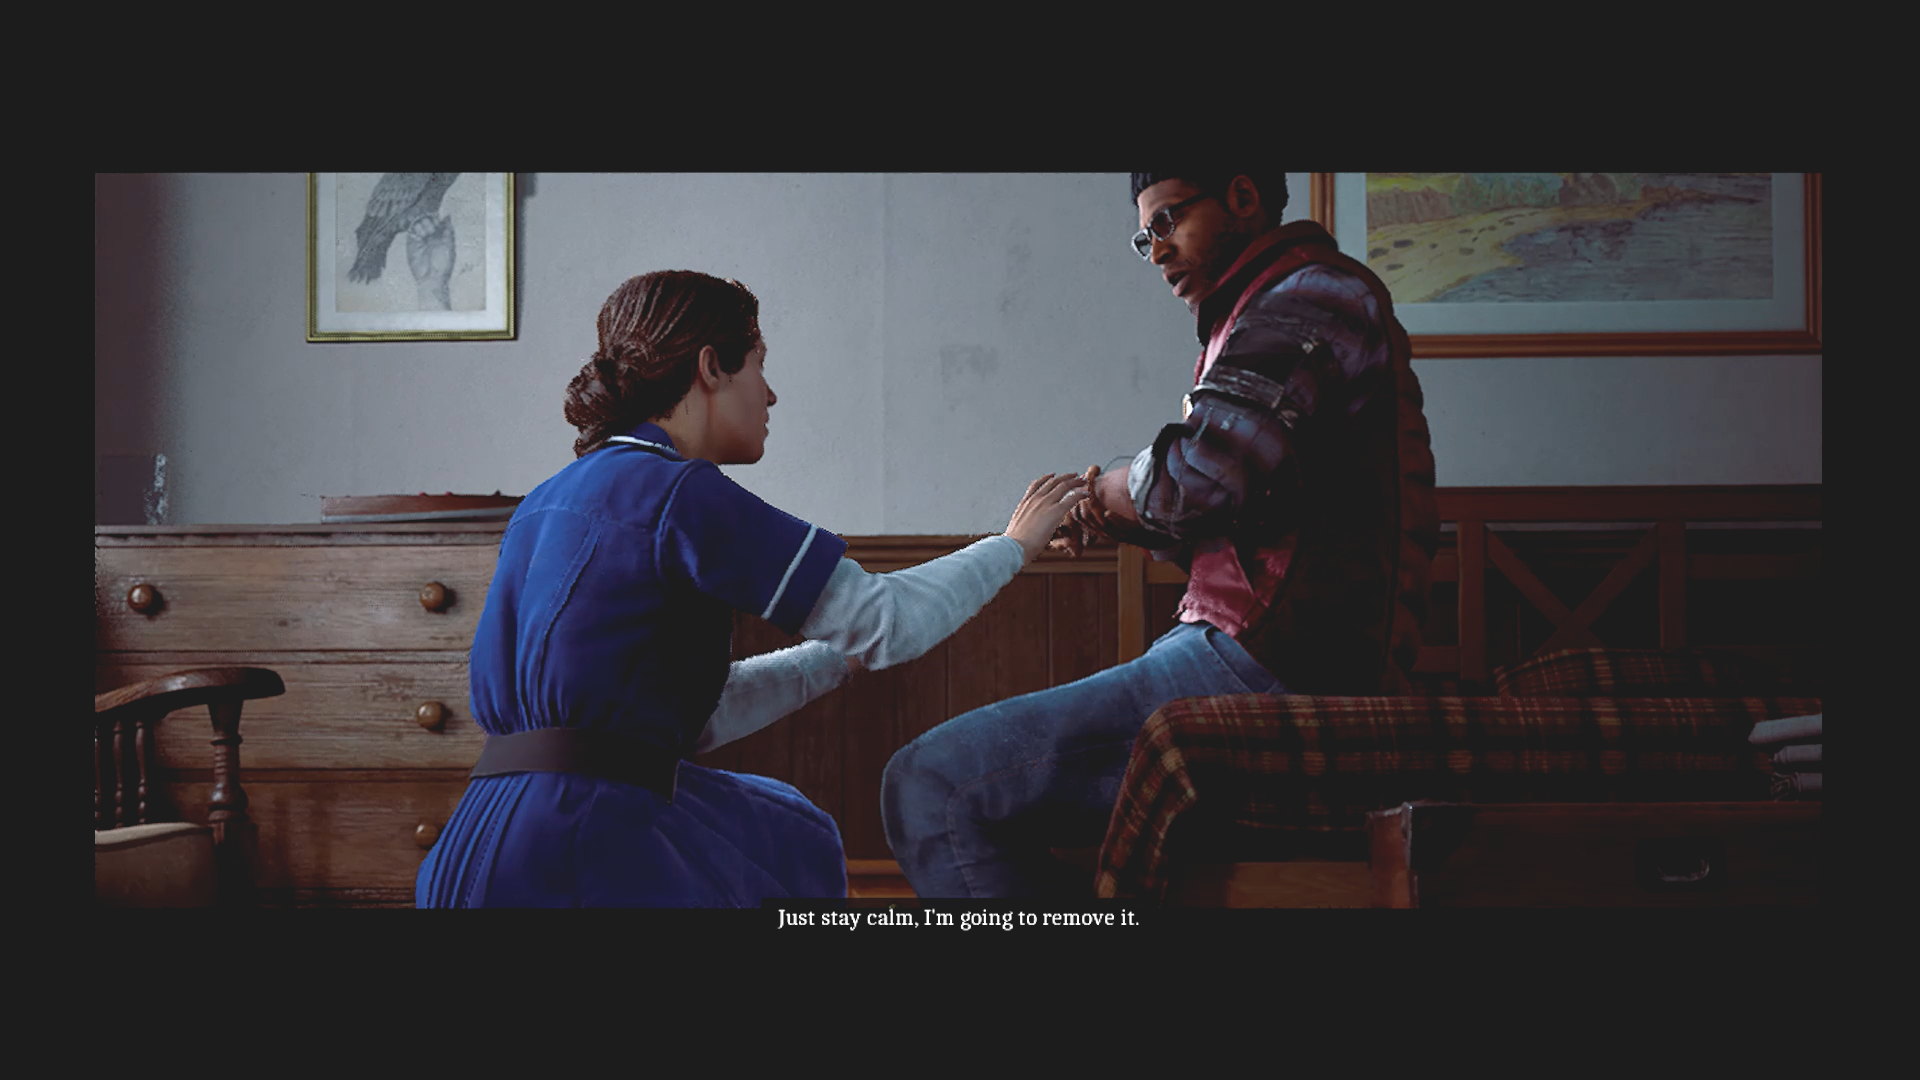
Wait, I need that. (Credit: Konami, Screen Burn Interactive)
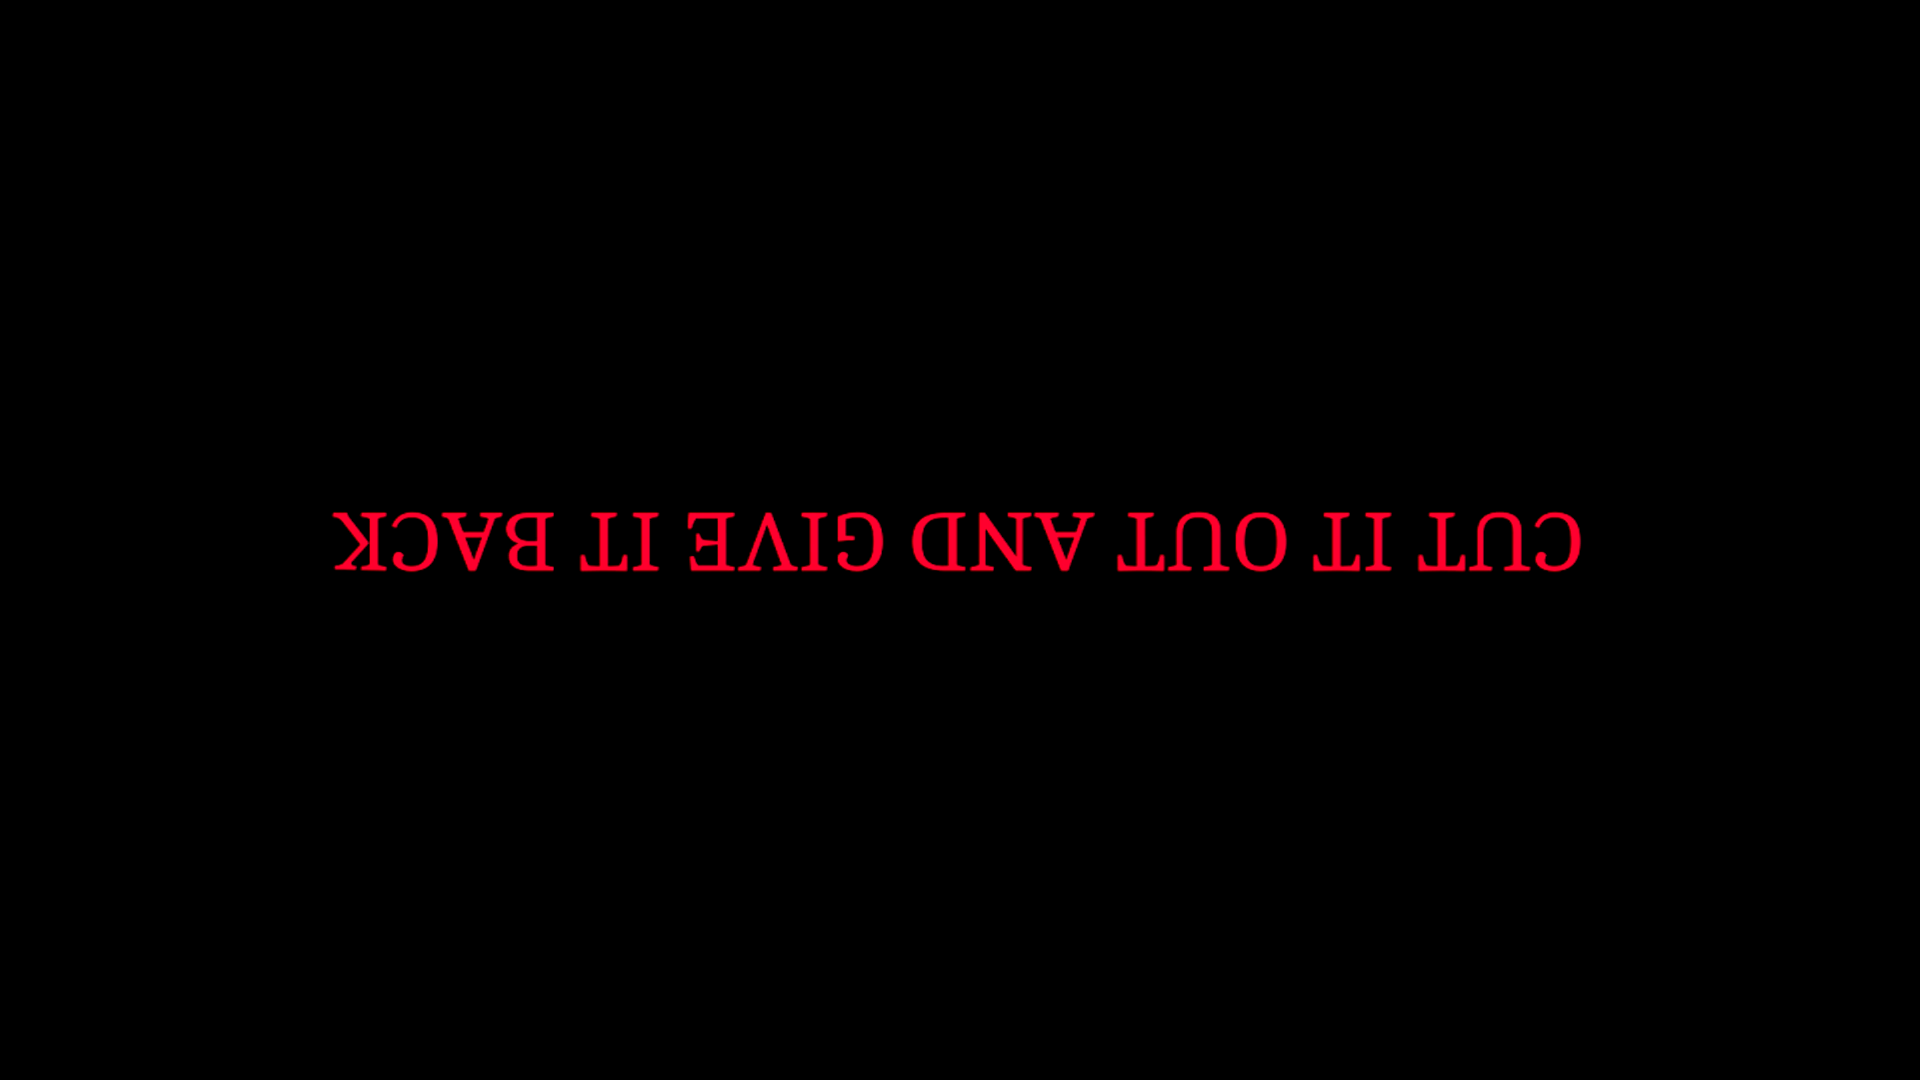
On the other side of the door is Room 204 again, where Zoe waits. Here Simon talks with Zoe again who explains that she kept him stable until he could be taken to a hospital on the mainland. None of her other patients made it. She is very concerned about the IV line, saying that it’s leading straight to Simon’s heart and she has no idea what kind of fluid is in the bag. She moves to take it out but Simon panics, saying he needs it. It’s helping him. He recoils from her attempts to help and his headache comes back. The words “cut it out and give it back” appear on the screen for a moment, upside down.
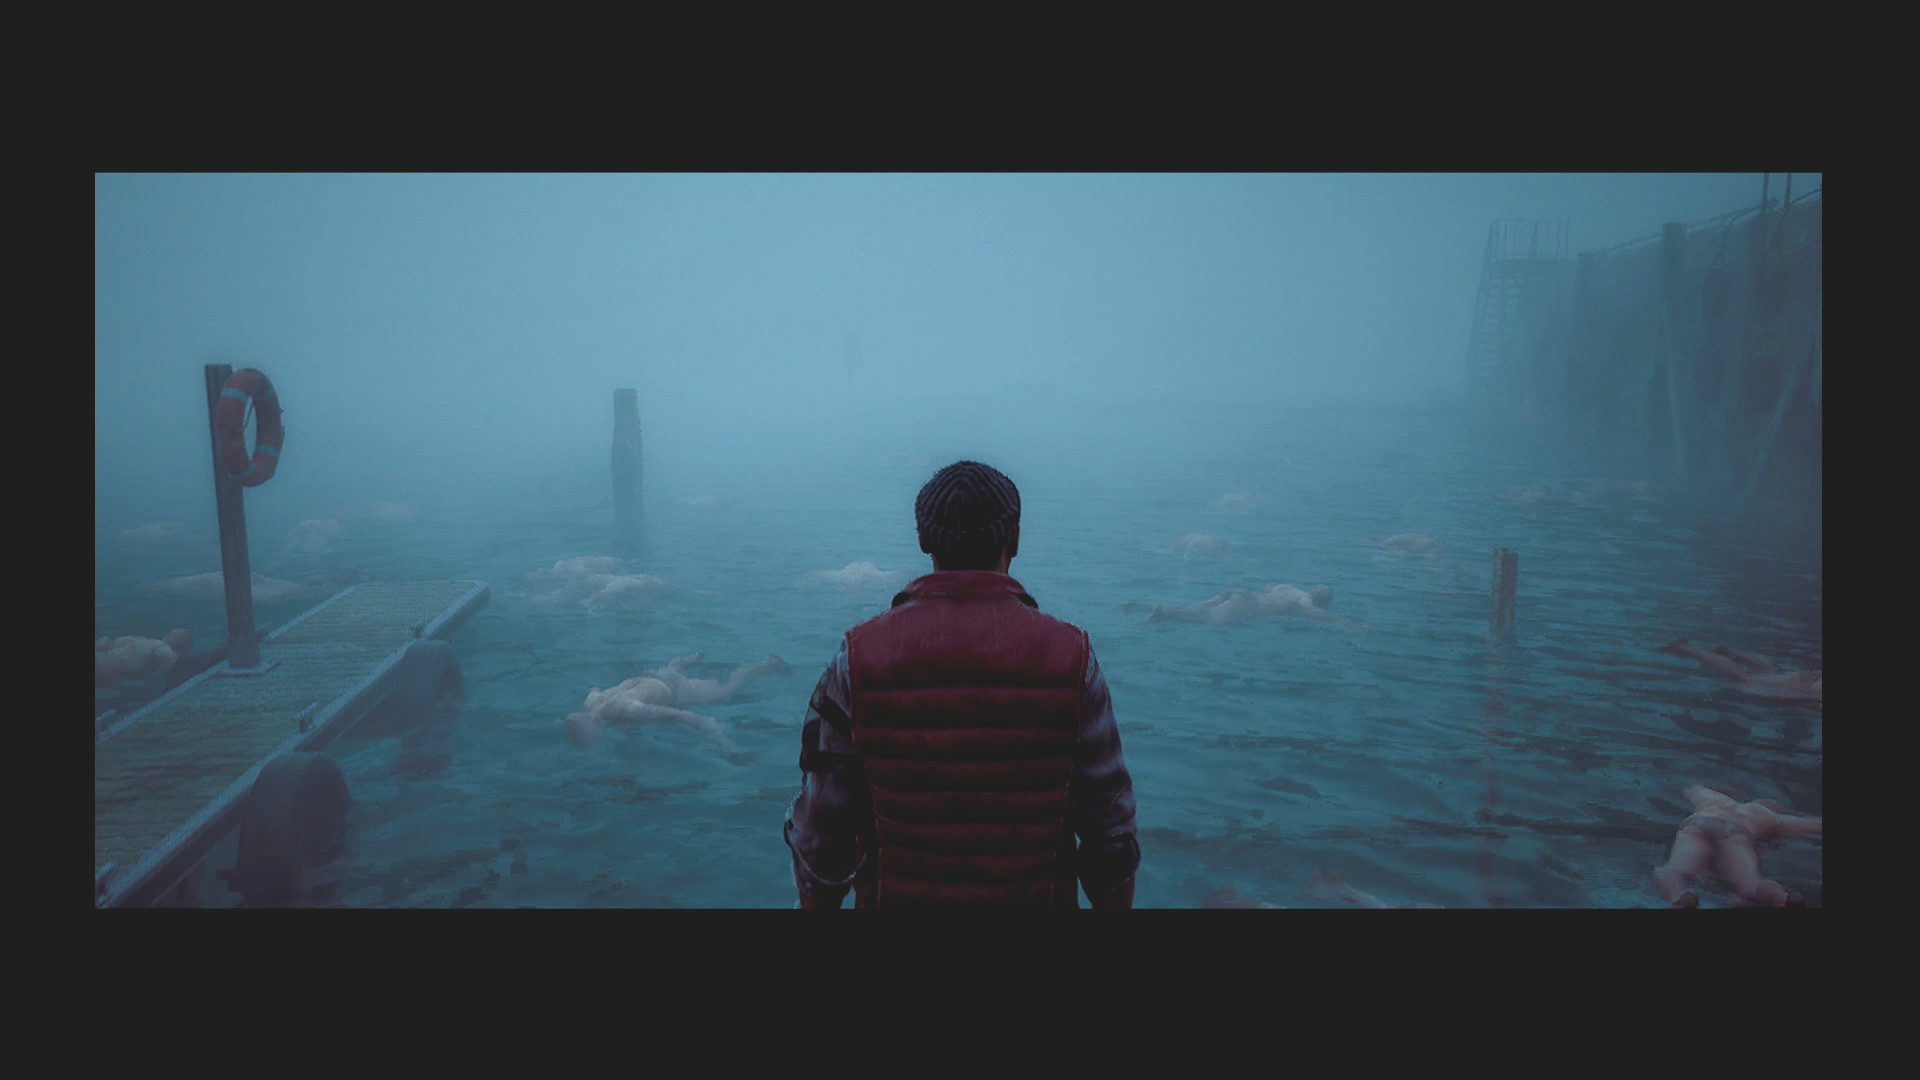
Back to the start. (Credit: Konami, Screen Burn Interactive)
Simon awakens back at the dock from the beginning, but now there are dead monsters floating in the water.
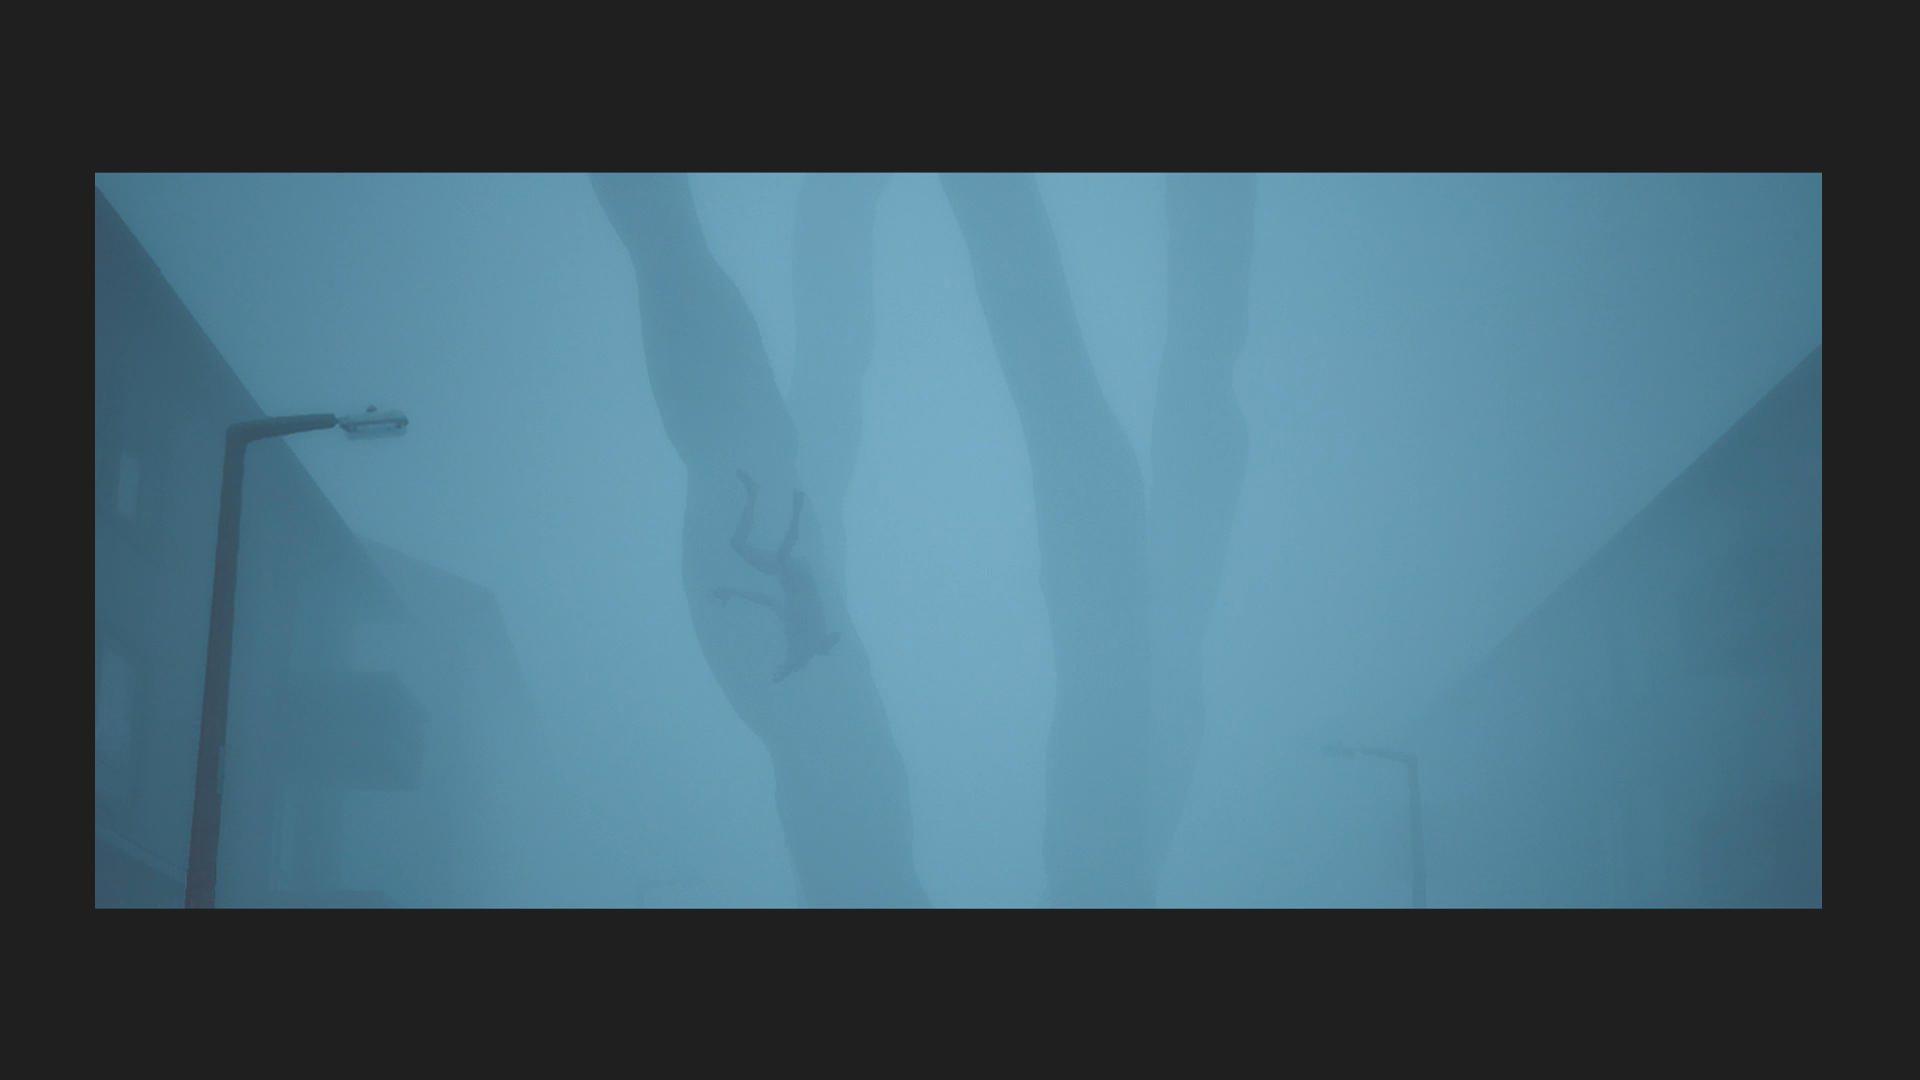
This thing again. (Credit: Konami, Screen Burn Interactive)
The Collapse is moving around, dropping more corpses.
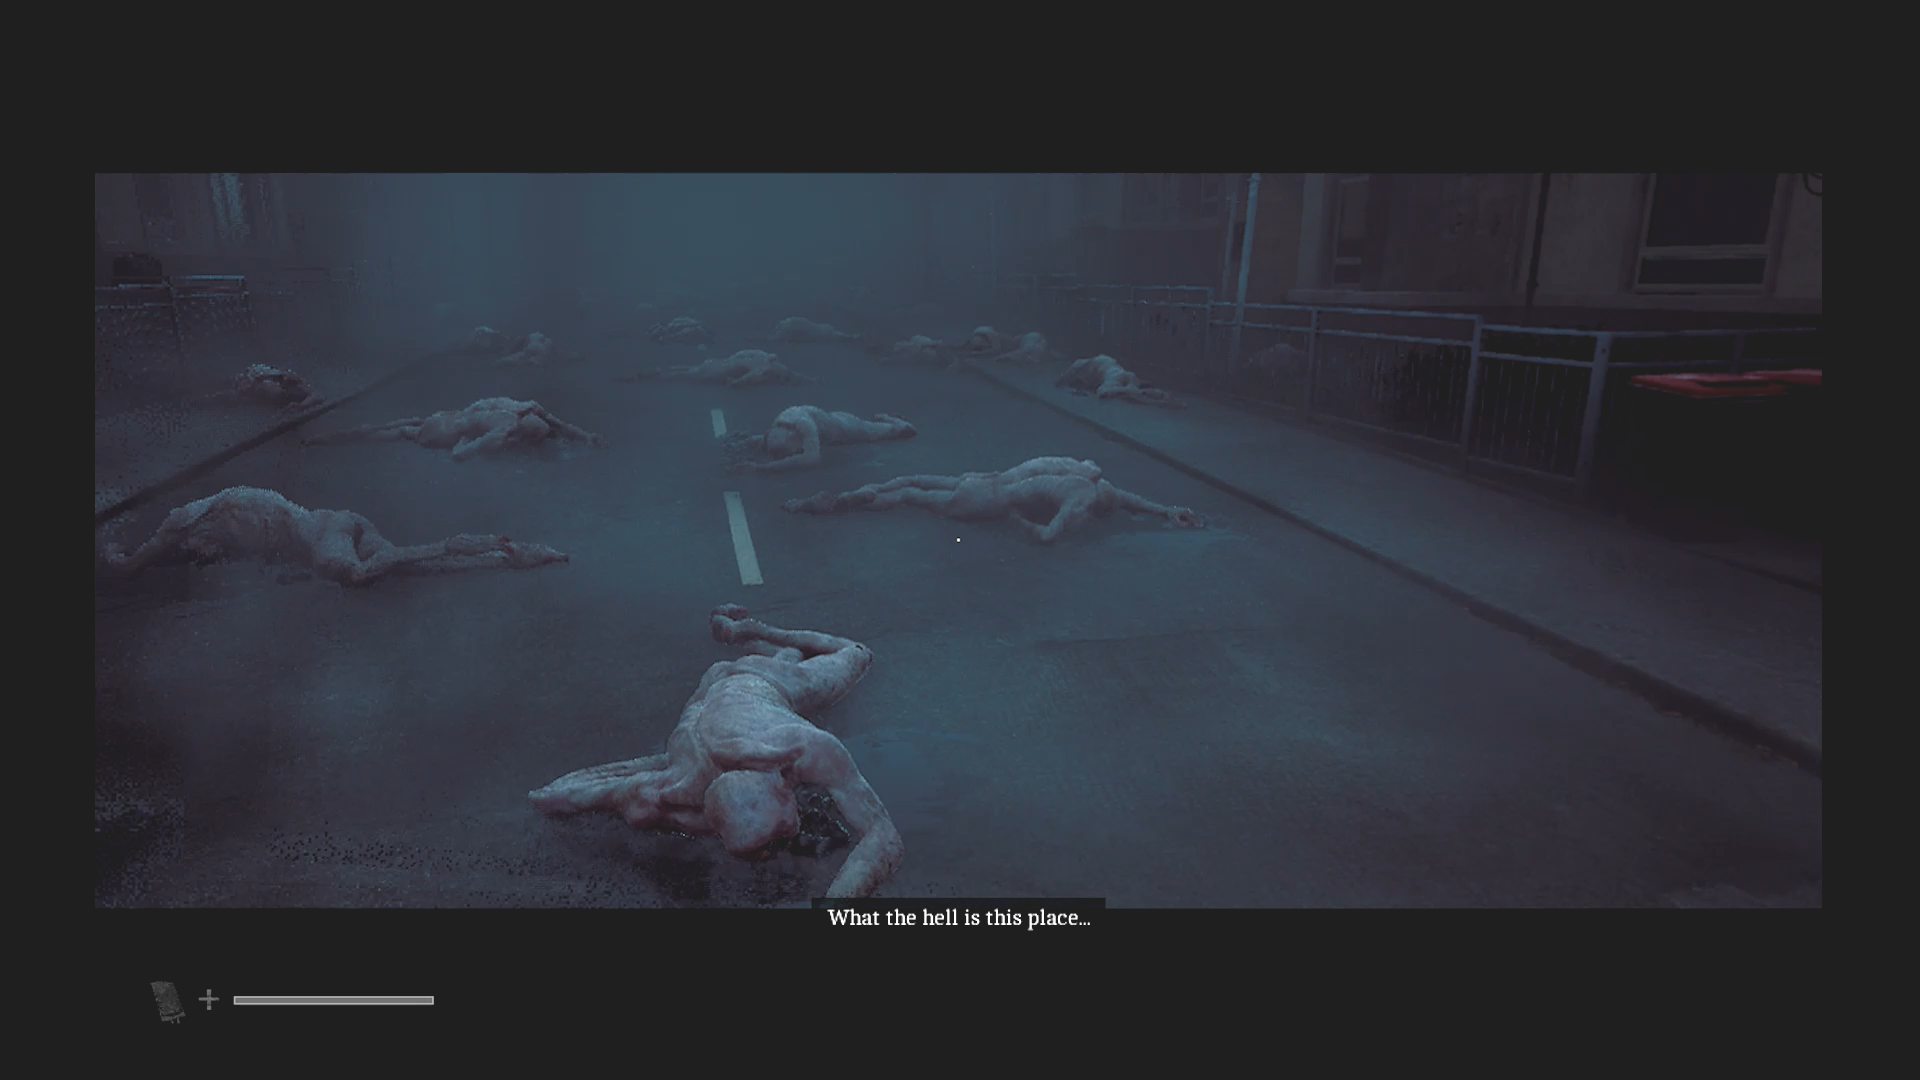
Some of these guys are still alive. (Credit: Konami, Screen Burn Interactive)
These new monsters continue to appear for the rest of the game and they’re called the Fallen. Some of them are alive and can be seen twitching. If Simon gets too close, they will leap at him. One hit or winning the grapple kills them. Also some fall from streetlights. Some of the Fallen stay inert.
After a tense walk through a corpse-littered street, Simon enters the next big area of the game, Clara Woods Estate. This is a gated community built by CEG for the employees and their families.
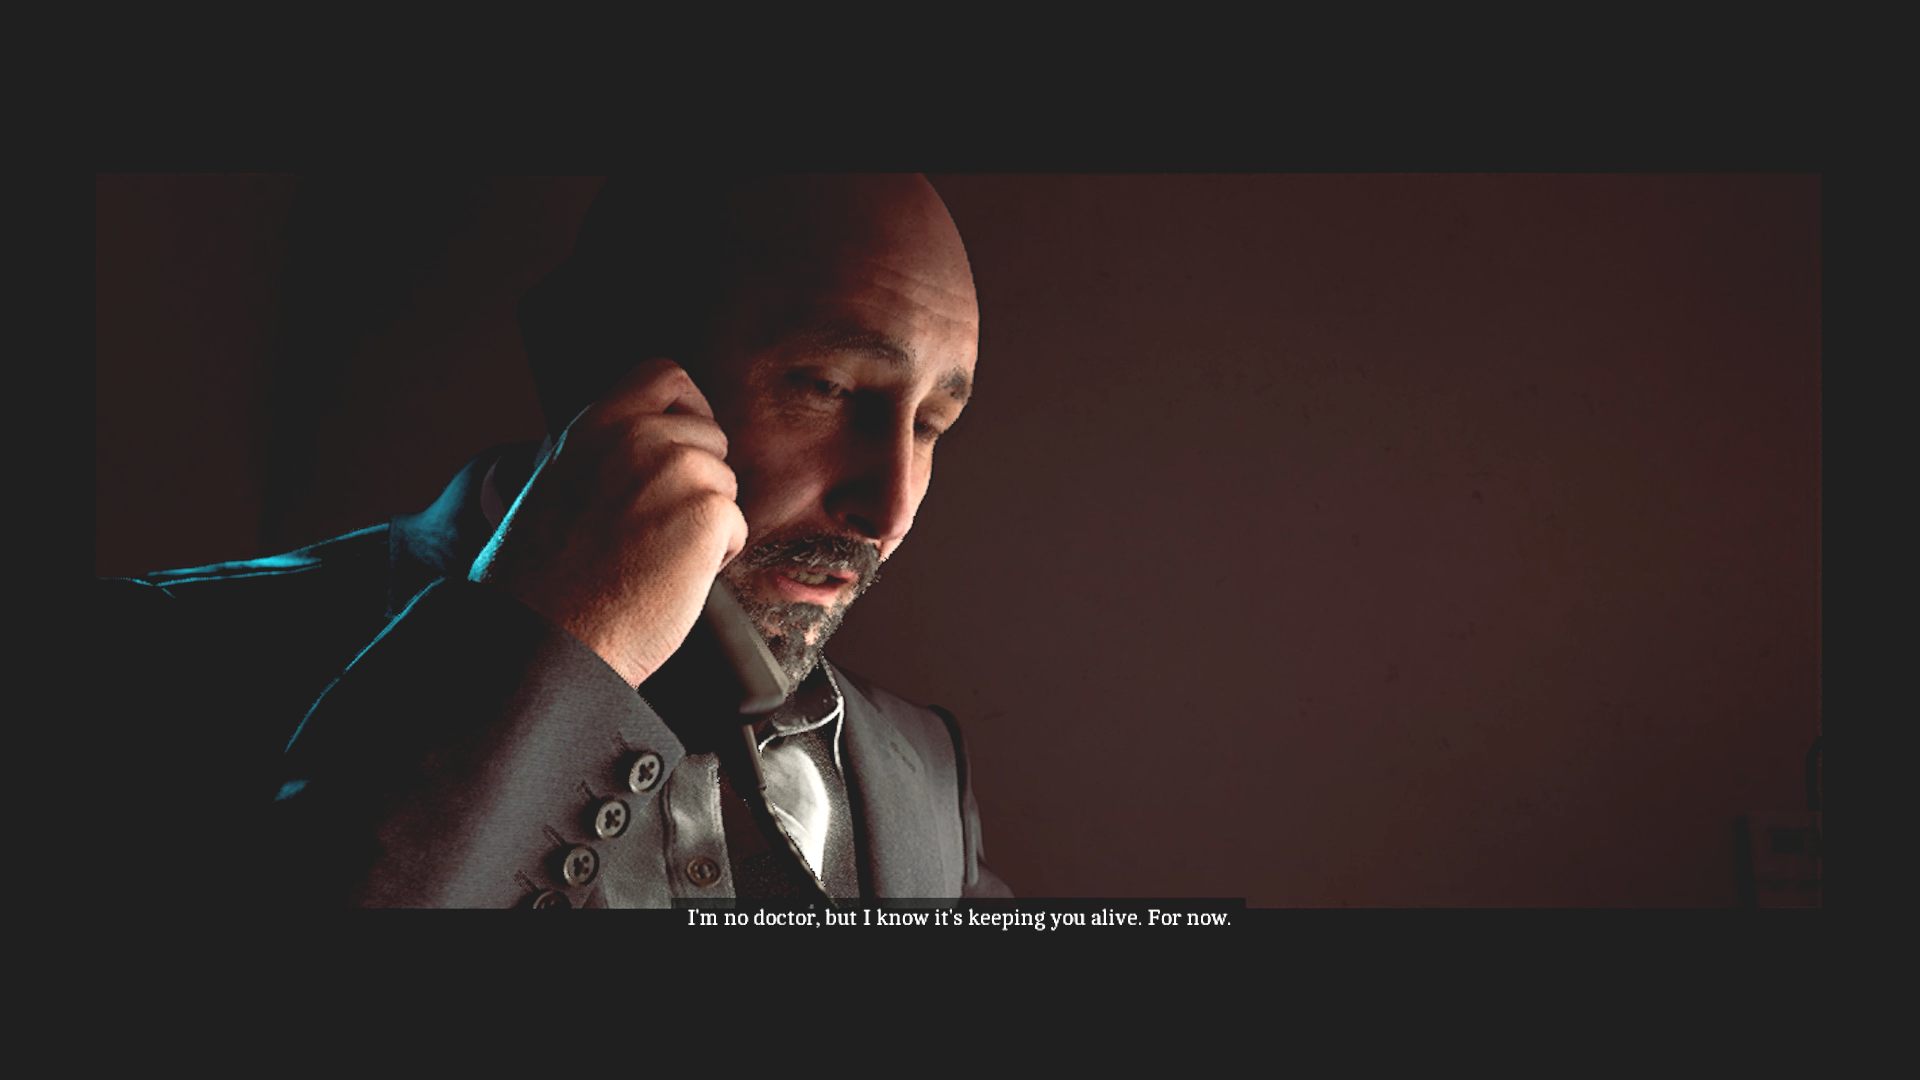
Time to go find Richard. (Credit: Konami, Screen Burn Interactive)
At a payphone, Simon gets a call from Richard who wants to meet him at Clara Tower on the 10th floor. Richard confirms that the line in his hand is keeping him alive. He says the town has its eyes on Simon. They’ll listen to him when he tells them that they didn’t cause this.
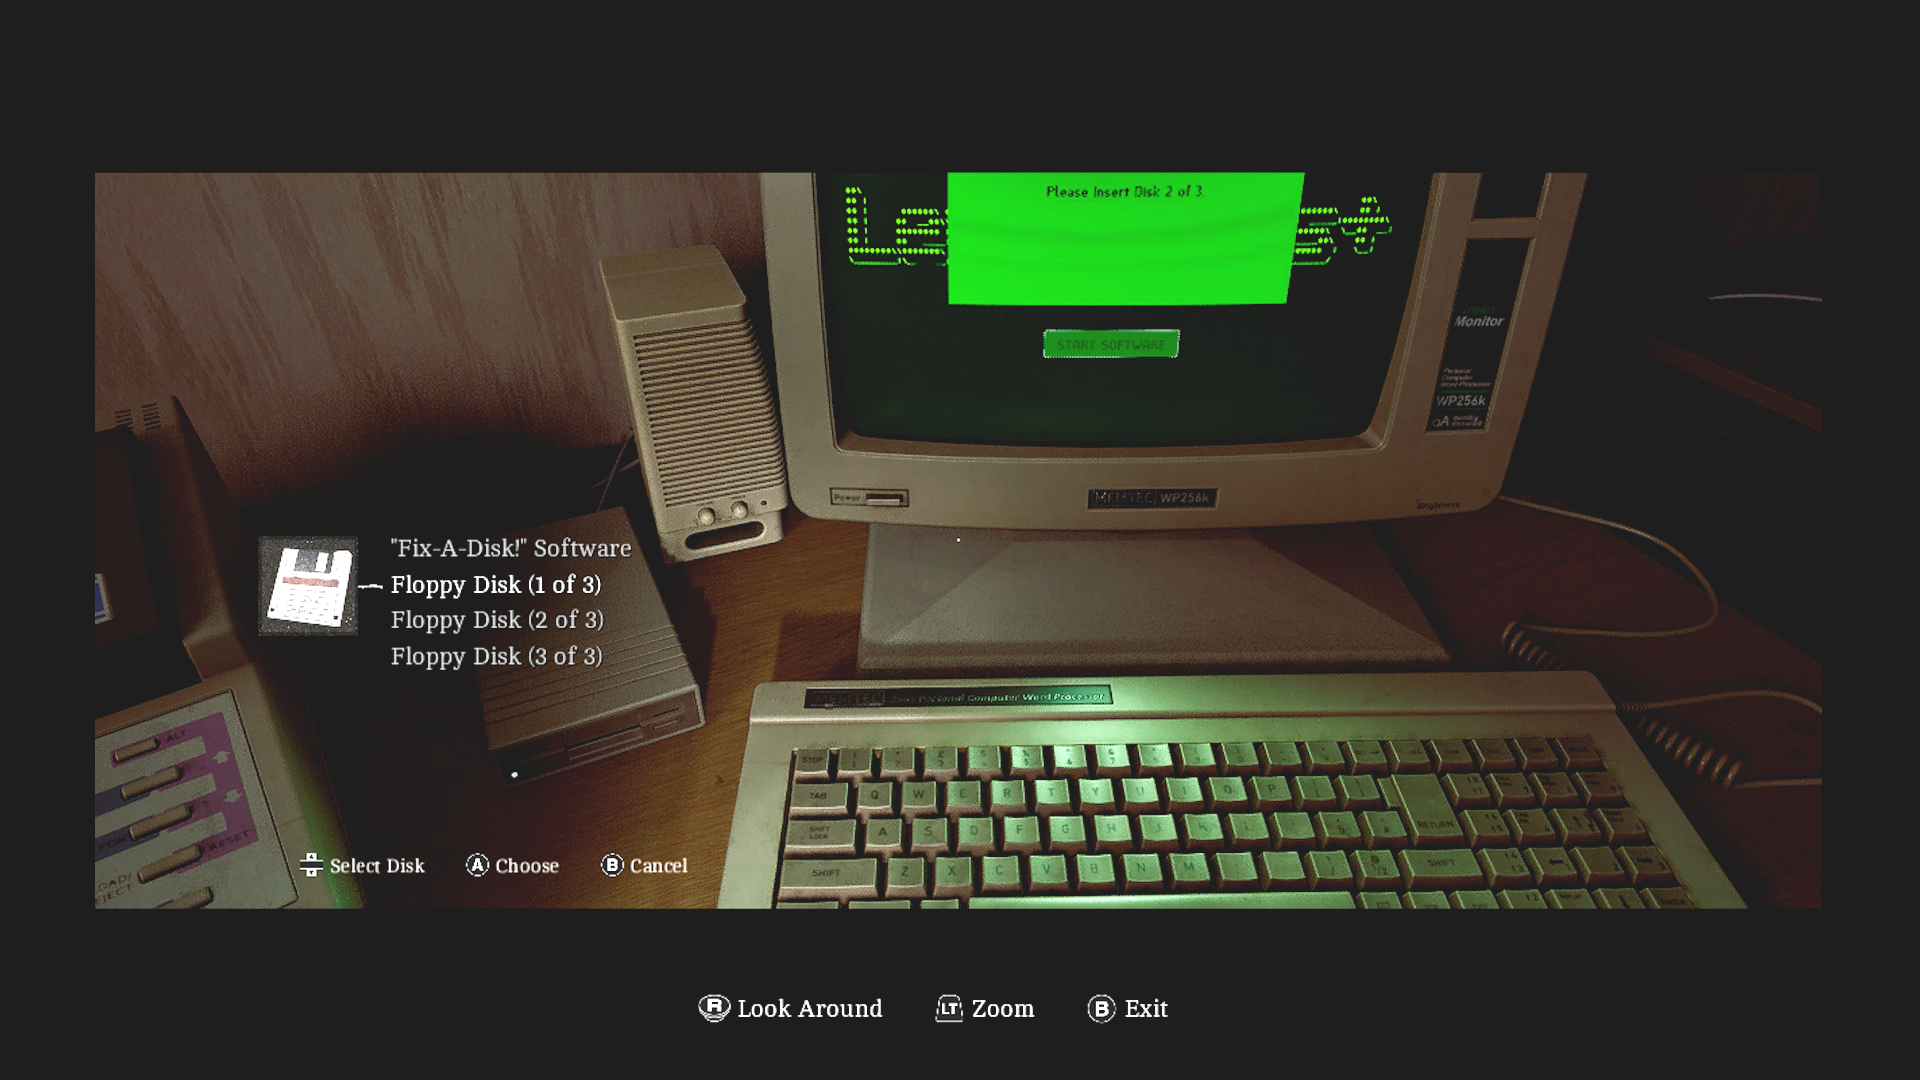
High tech set up. (Credit: Konami, Screen Burn Interactive)
This starts a very lengthy stretch where you have to explore Clara Woods. You have to fight or avoid monsters and solve puzzles to open the gate to Clara Tower. There’s a lot of backtracking and side areas, so I’ll break it down fast. You have to collect three keycards to open lockers for supplies and three parts to a device that, once combined, is inserted into a bloody wound in the gate. There’s another radio puzzle, collecting computer disks, and a pretty cool section where you have to play transcription tapes which make you travel in time forward and backward so you can gather numbers for a code. After getting far enough, everything gets darker and the monsters get more plentiful. This is where you get the flare gun, which saved my ass more than once.
Lore-wise, you get more pieces of the story. Richard is confirmed to work for CEG. He’s looking for a restricted file that will clear his name. The device Simon assembled for the gate was called a Reciprocating Compressor and was faulty. The CEO of the company, Mr. Shaw, signed off on it even though he knew it wasn’t tested properly. The employees were blaming him for the disaster but the engineer who designed the part was being made into the scapegoat. The man who spoke on the transcription tapes acted as a whistleblower against the company, which cost him his job. After the disaster, employees who spoke out were being fired. We also get a big reveal that before his memory loss, Simon was a safety inspector who was called in to help at the CEG plant.
Overall I really liked this area because it was a lot of exploration and simple puzzles. Also because the resources were more plentiful.
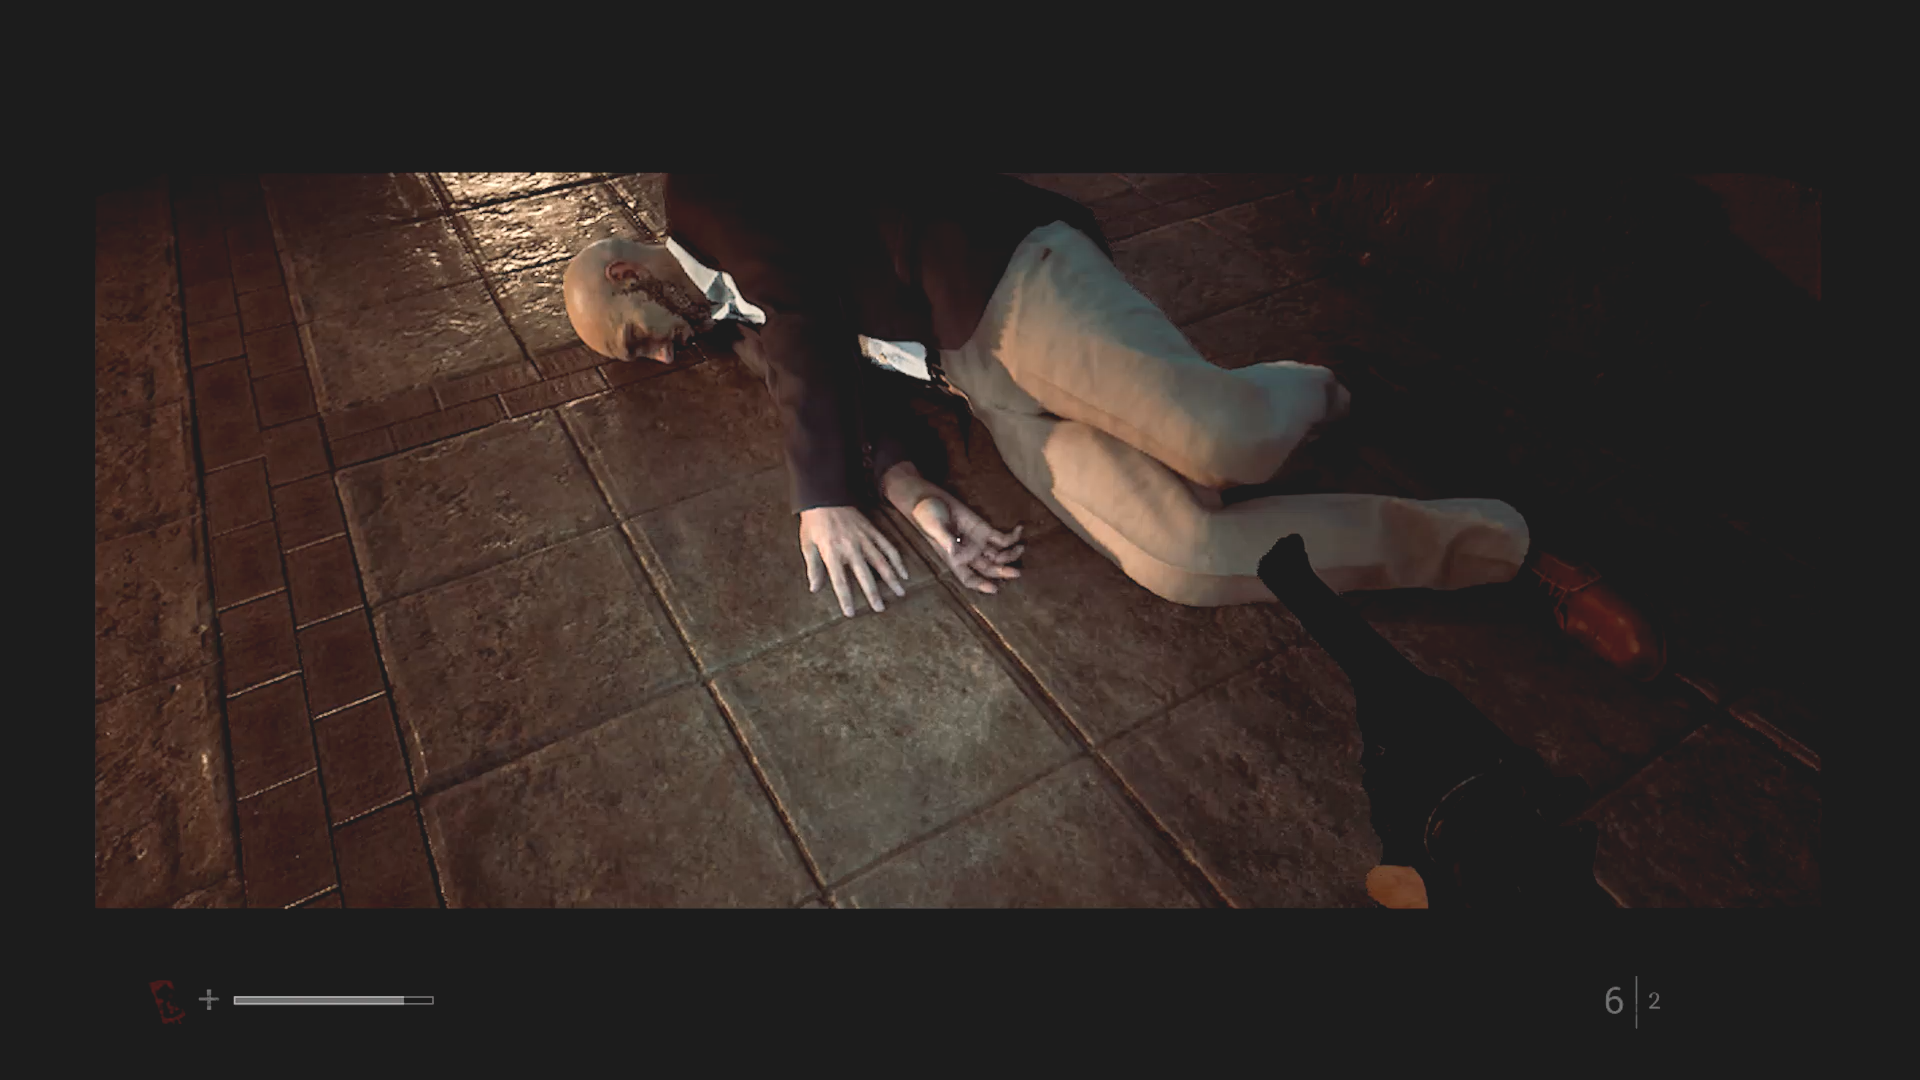
Believe it or not, this is only the first dead Richard we will see… (Credit: Konami, Screen Burn Interactive)
After opening the gate, the first thing Simon sees is Richard, lying dead on the ground outside the tower. Zoe somehow calls Simon on his CRTV and says “They’re all so angry.”
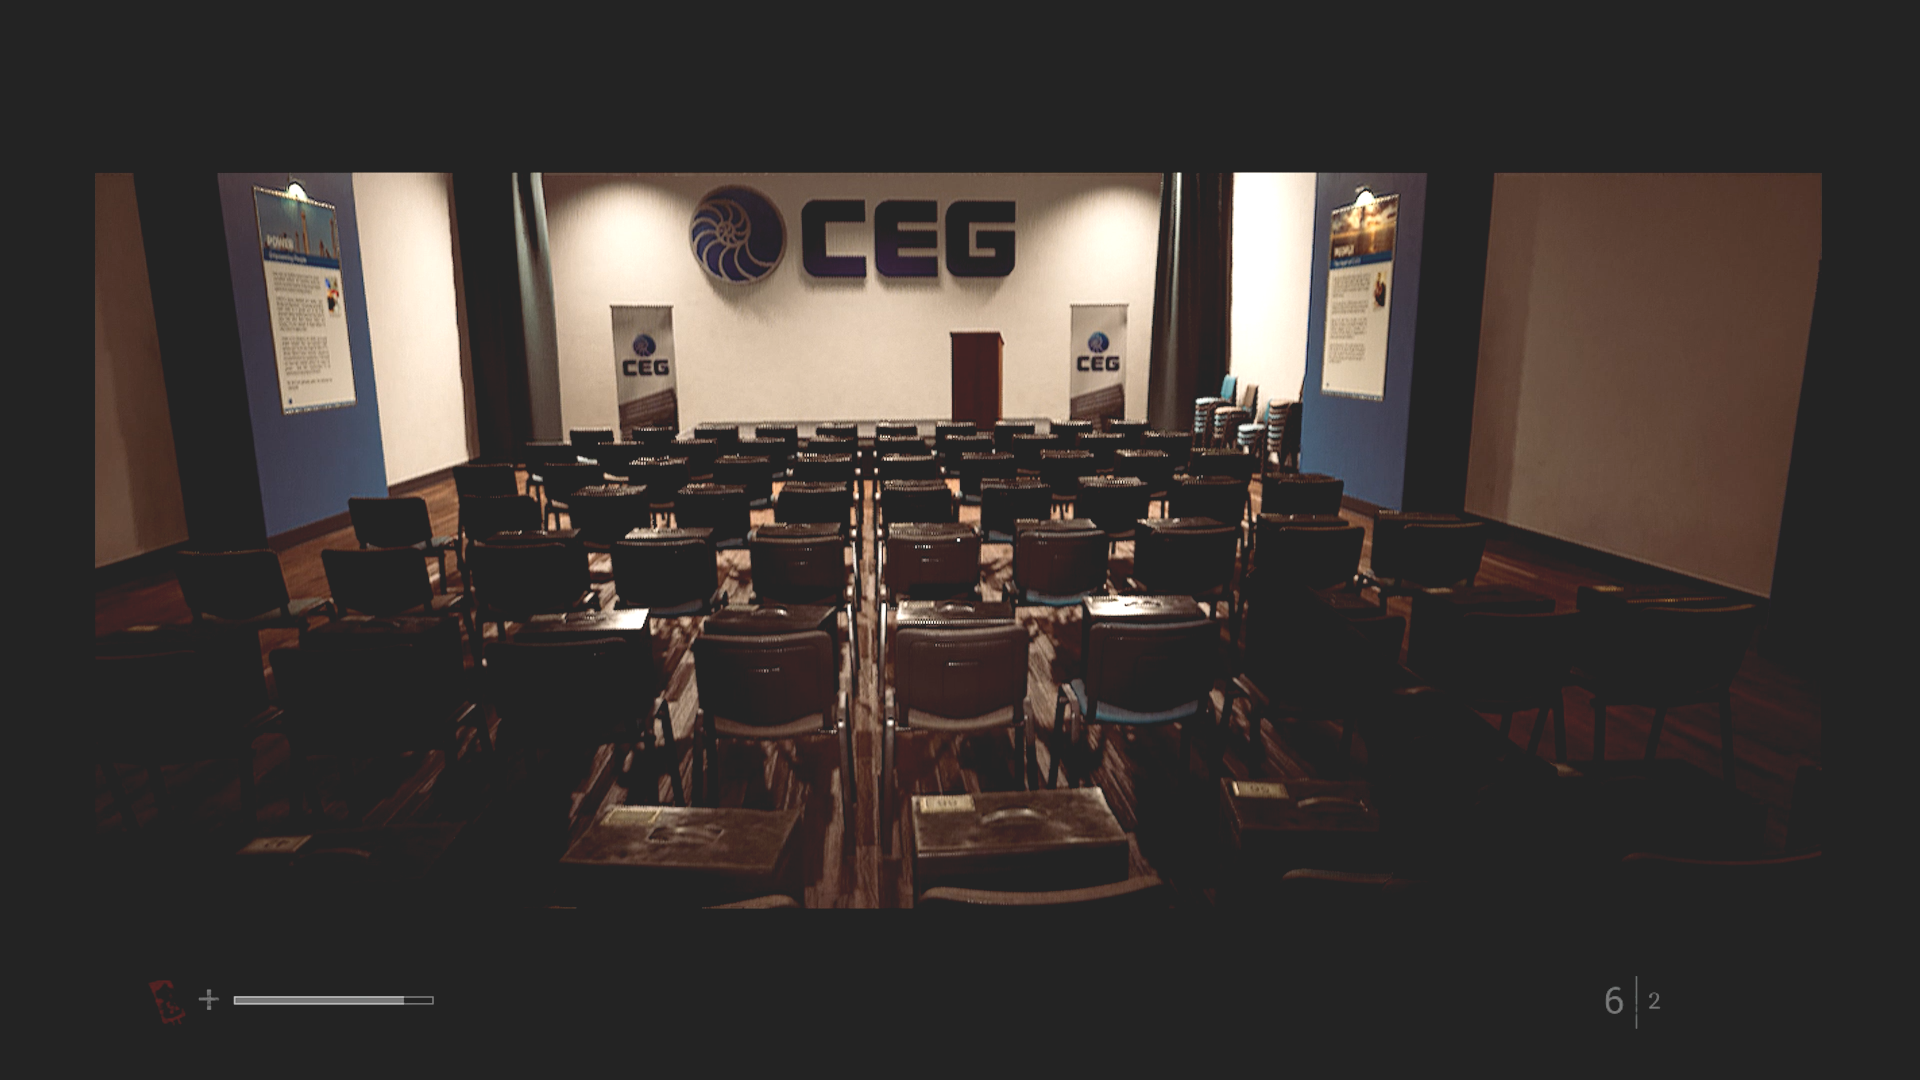
Assembly room. (Credit: Konami, Screen Burn Interactive)
Simon enters the CEG building and has to solve a few easy puzzles to print Richard’s access card to get to the 10th floor.
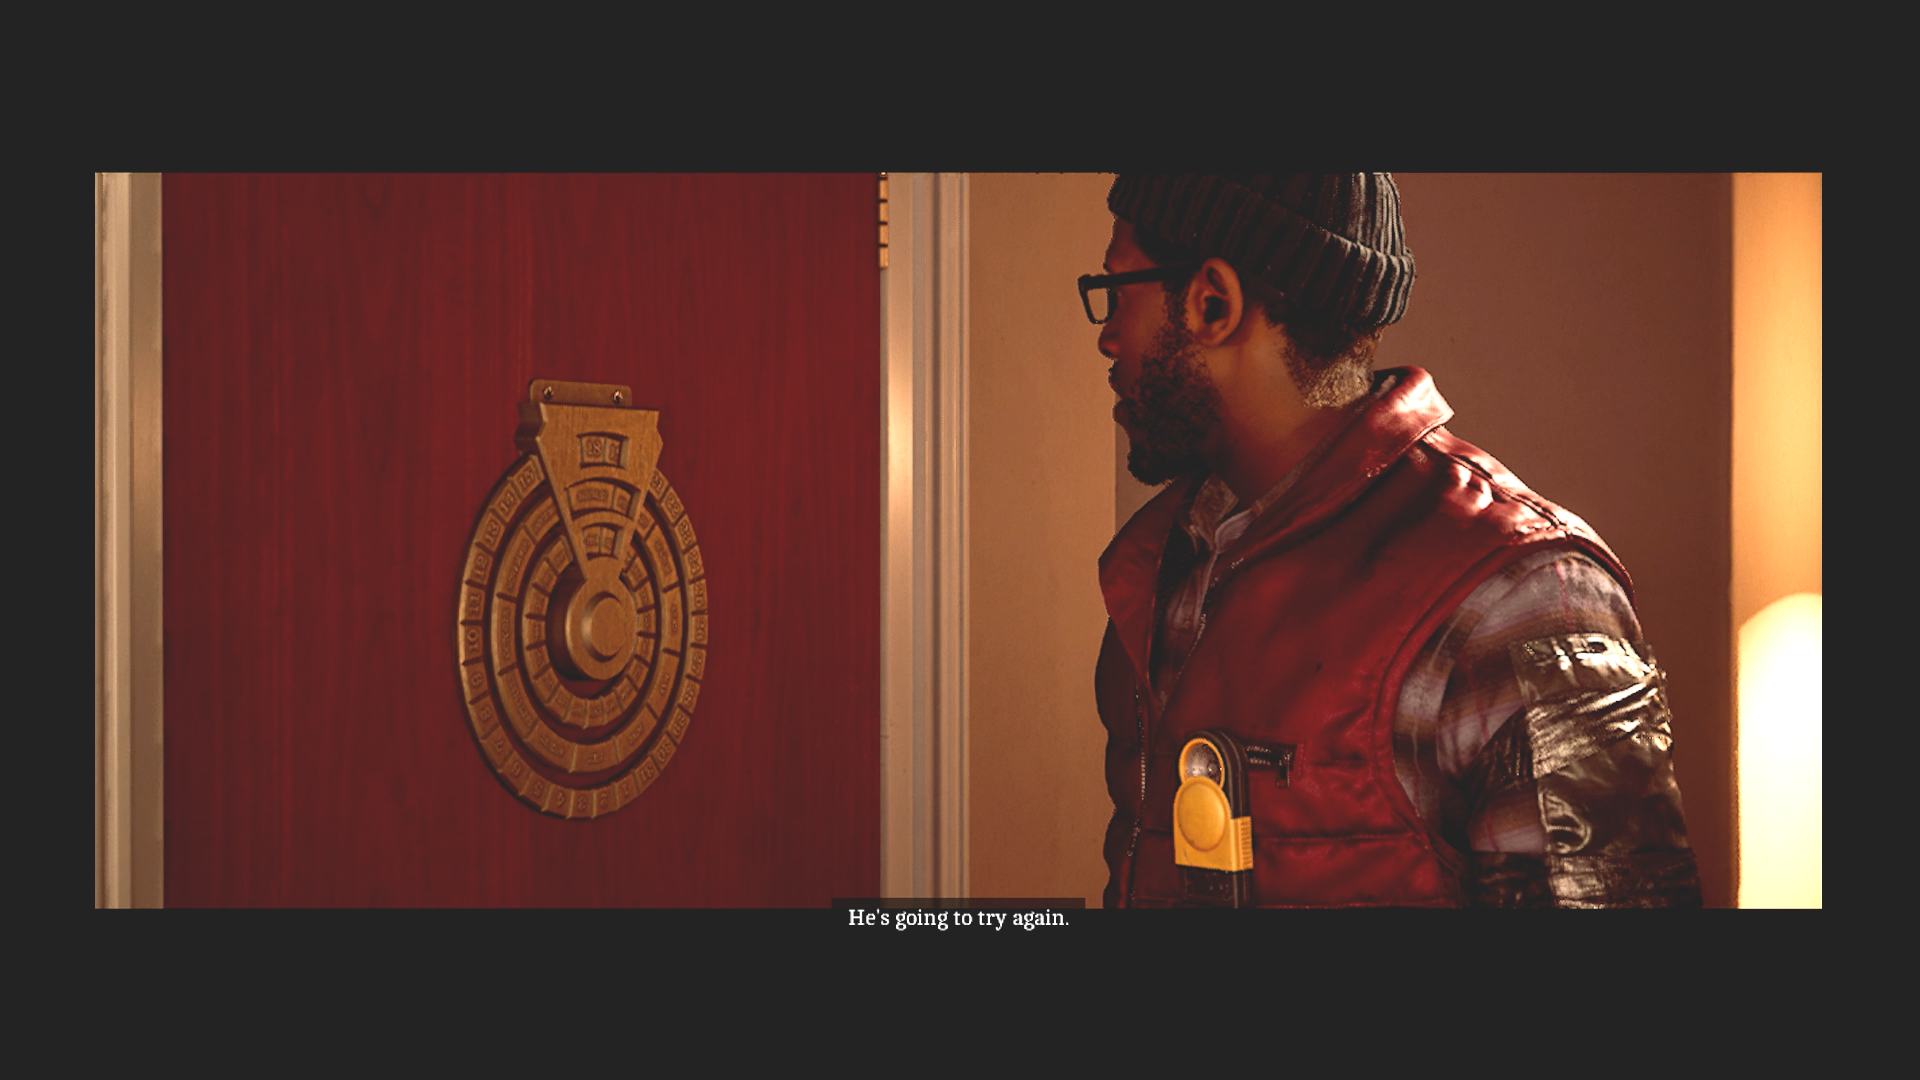
Surprisingly the door lock is not a puzzle. (Credit: Konami, Screen Burn Interactive)
Once there, Simon finds a file on him on the desk. Zoe is also in the office. He asks what she’s doing there and she says she’s been there the whole time. She’s holed up in a room with an elaborate lock on it and refuses to leave. She says that if she’d left, bad things wouldn’t have happened, but it won’t let her change things. She starts to explain why Simon can’t fix this when she’s interrupted by static from a big-screen TV. “He’s going to try again,” she says.
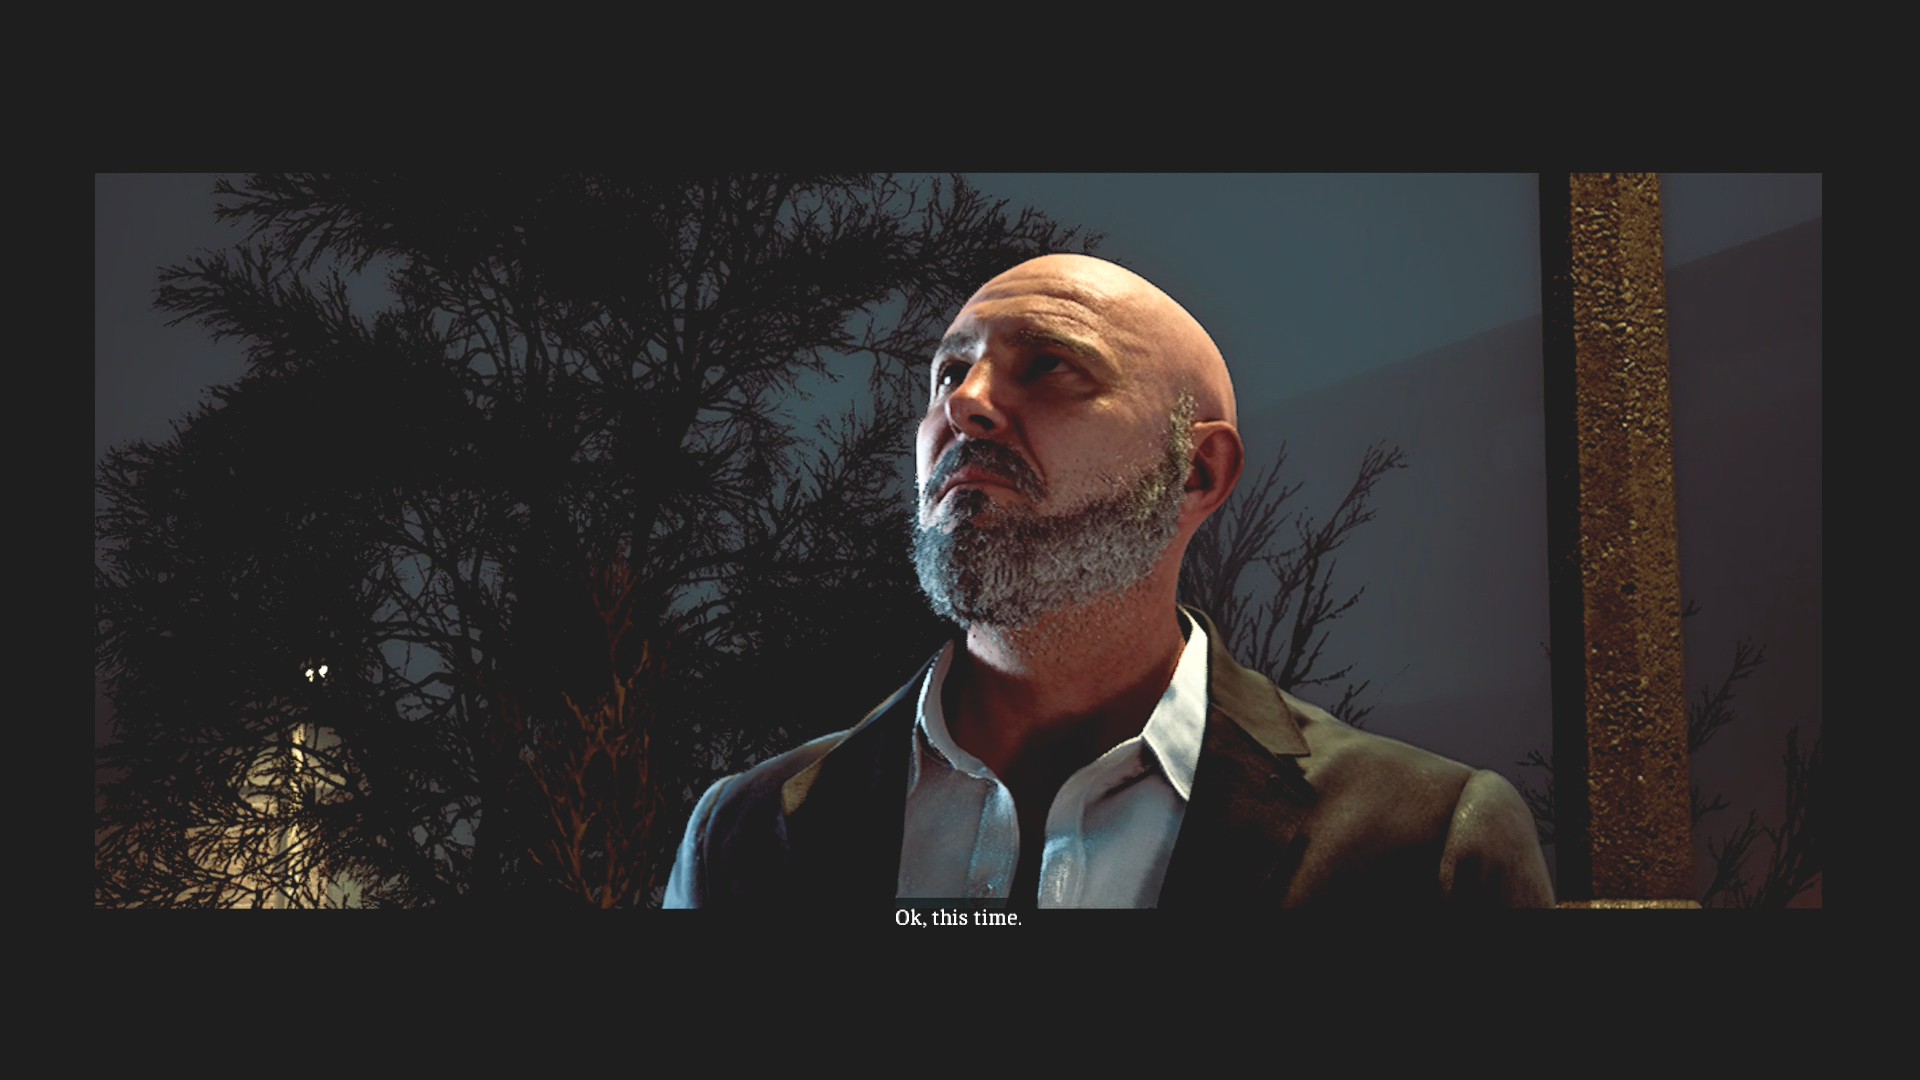
Now we play as Richard. (Credit: Konami, Screen Burn Interactive)
We then cut to a scene of Richard looking sad. We take control of Richard as he enters the CEG building, something he’s apparently done many times before. But he hopes this time will be different. This part of the game involves turning on a generator and powering a construction elevator so he can get into the building on the 5th floor.
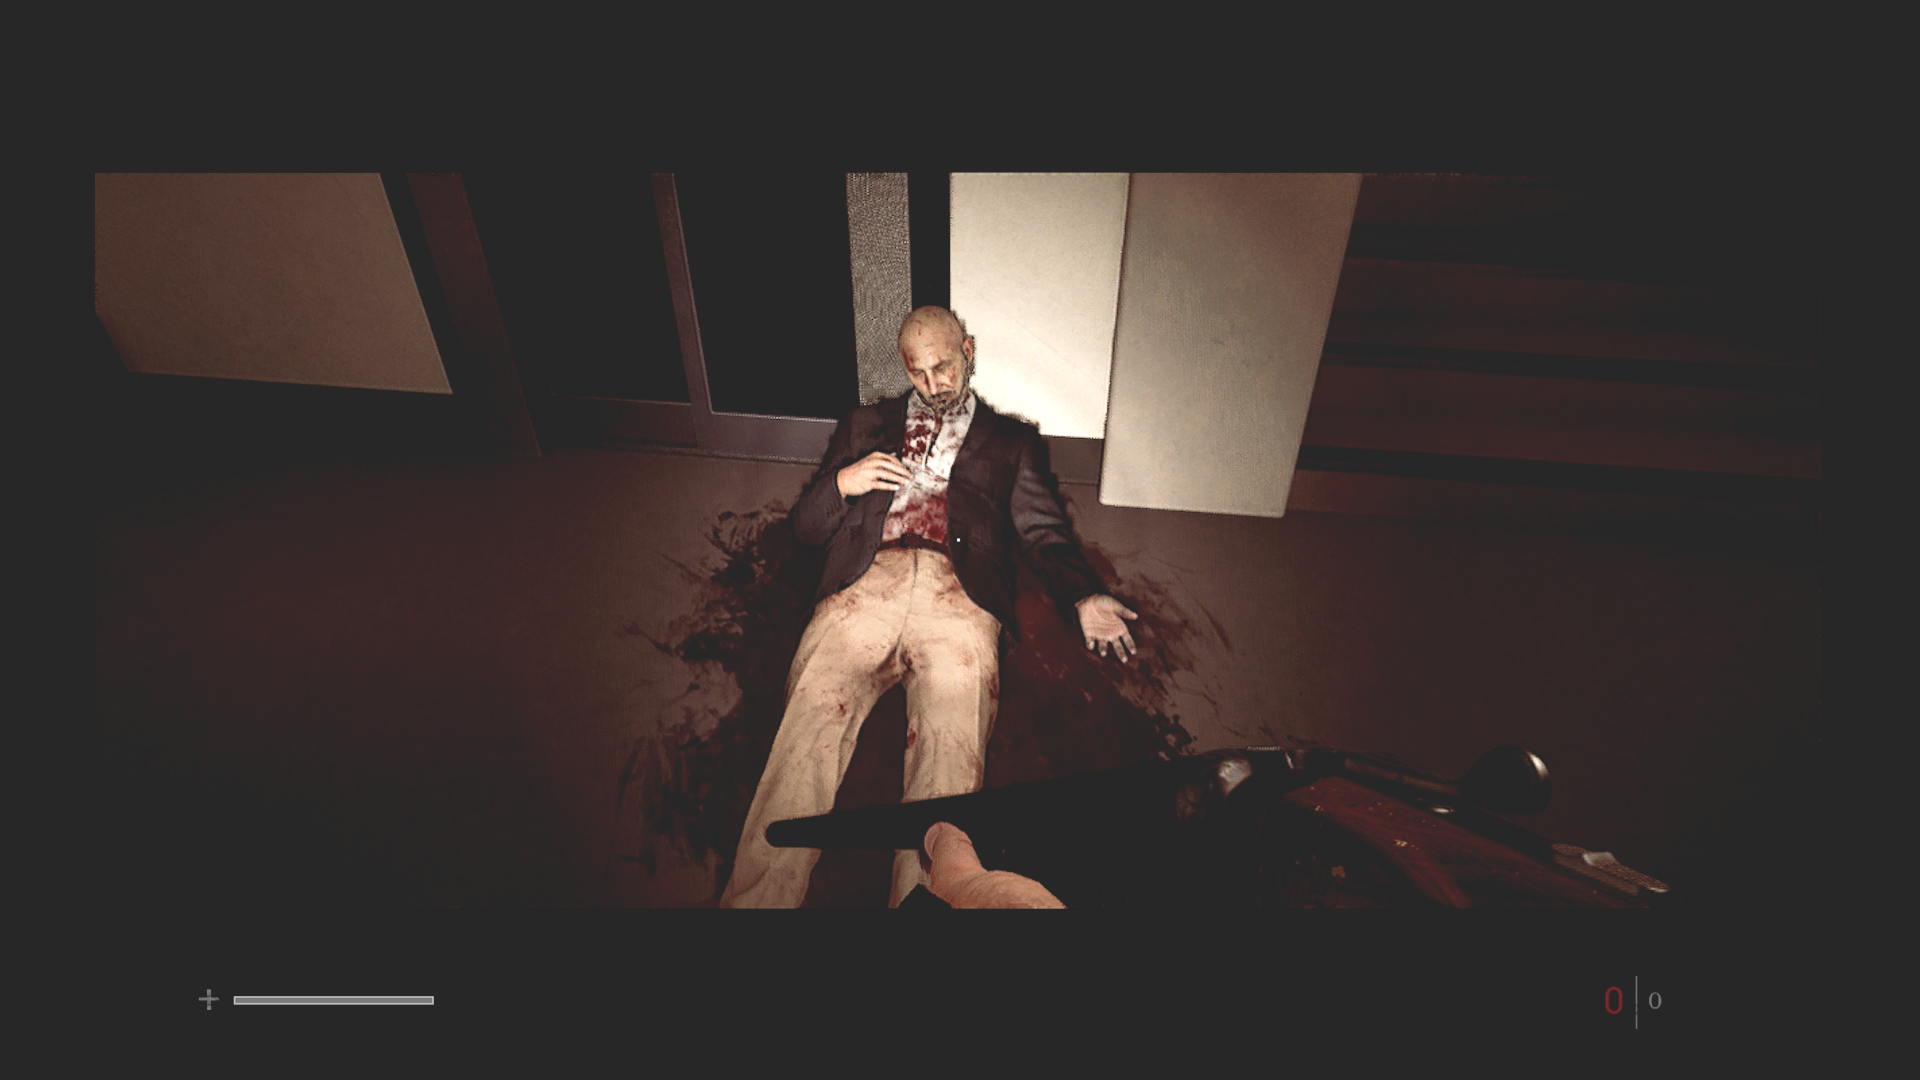
See? Told ya. (Credit: Konami, Screen Burn Interactive)
Once inside, Richard comes across his own corpse. Note that he’s not at all shocked by this. He gets a shotgun from the corpse, saying “Not the worst way to go.” (Which, incidentally, is what he said if Simon called his phone number in Clara Woods.) As he continues on his way, he sees more corpses, all having died in grisly ways. The corpses are valuable sources of healing items, bullets, and shotgun shells. Richard has no CRTV or pager, so it’s easy for him to get ambushed. Luckily he has the resources to deal with it.
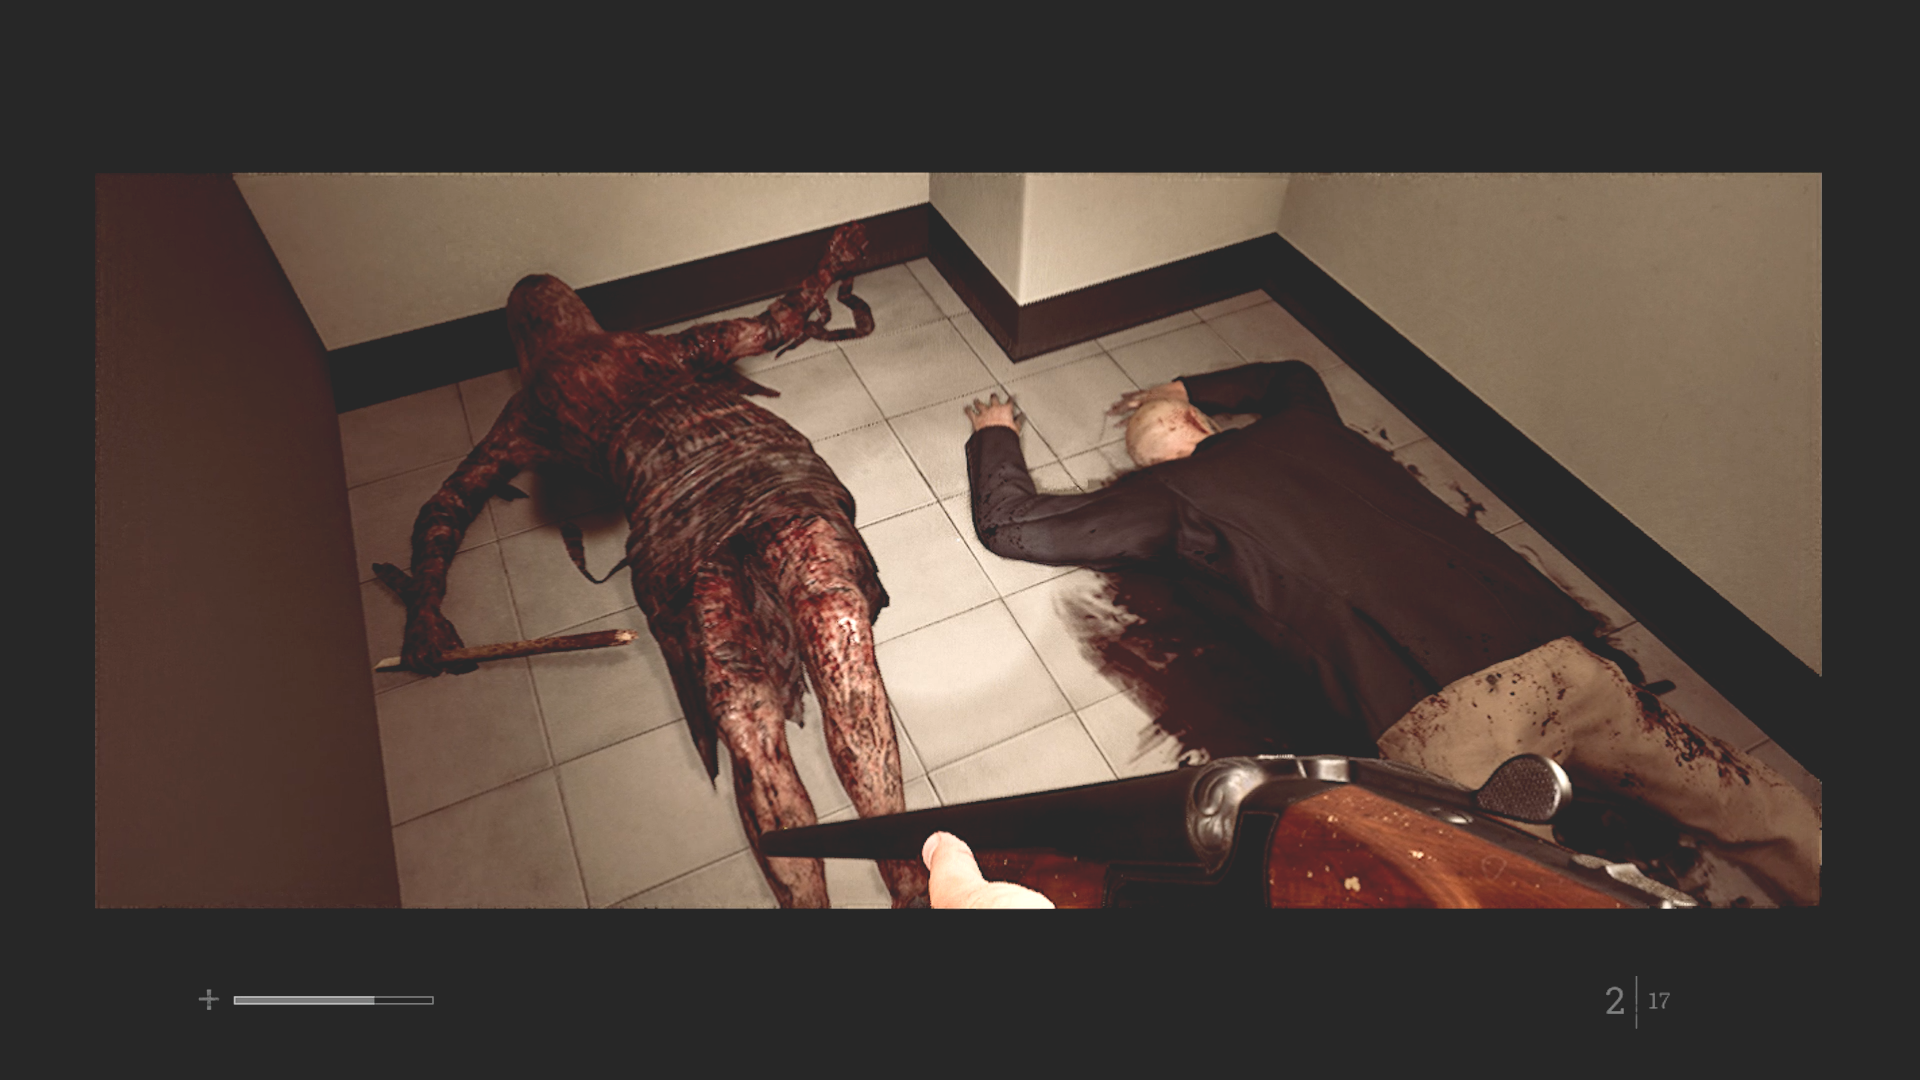
A new type of monster. (Credit: Konami, Screen Burn Interactive)
In this area is a new type of monster called a Widow. They typically run from Richard, hiding and waiting to spring on him. One shotgun blast to the head takes them out, but it can take two or three to the body and it’s not always easy to aim while they’re in mid-attack.
Lore-wise, we learn that some of the employees were protesting management. The CEO, Mr. Shaw, was furious and planning mass layoffs. The massive renovations planned for the CEG building were halted, making him even more angry.
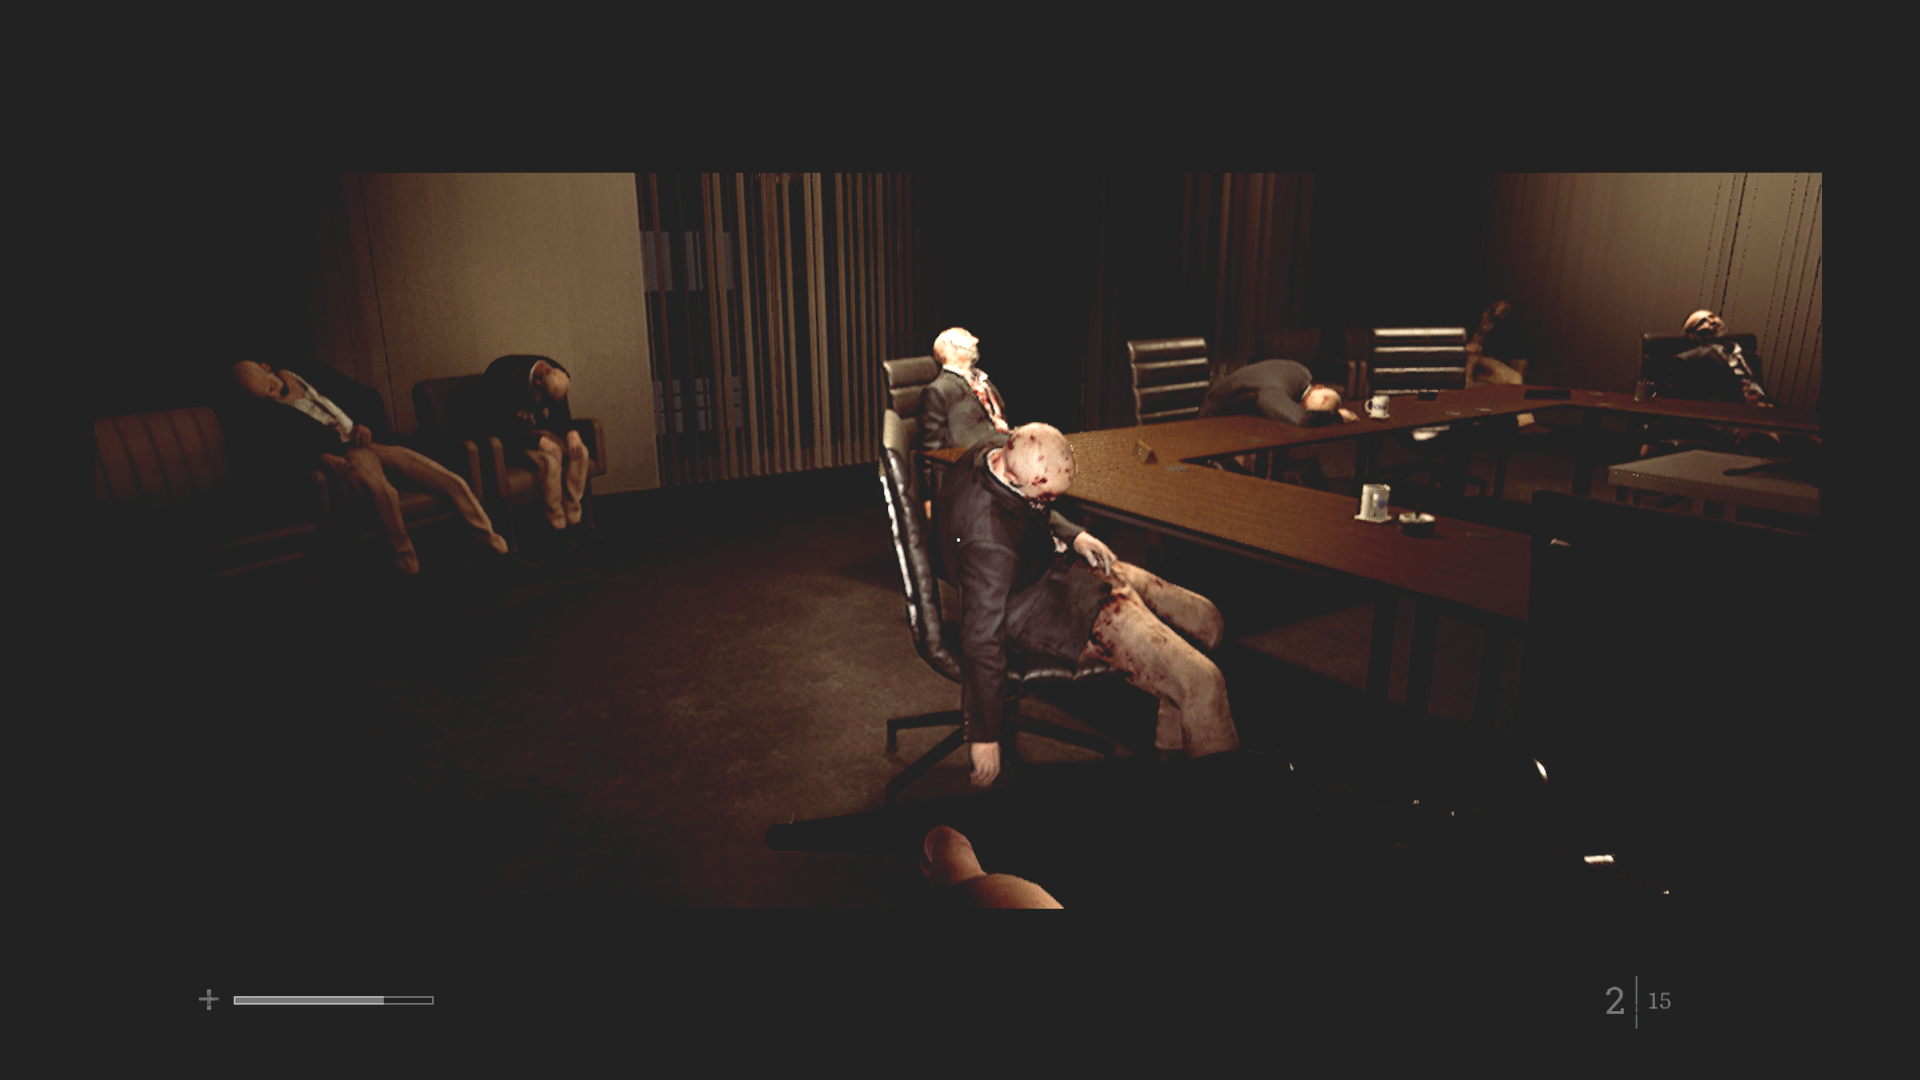
Looks like the meeting did not go well. (Credit: Konami, Screen Burn Interactive)
Eventually, Richard finds a board room where a presentation about his future with the company has been set up. (He wasn’t invited.) To continue, you have to locate replacement parts for the projector and the slides. This involves going up and down floors, avoiding or killing Widows, and searching the building.
While doing this, we get more pieces of the story. The CEO, without getting approval from legal, publicly blamed the disaster on the engineer we learned about earlier. Said engineer actually had nothing to do with it and was understandably upset about taking the fall. Some within the company were secretly attempting to protect him. We hear a statement given to the press by Richard, saying that he’d called in Simon as a witness to clear his name— apparently Simon had seen the disaster firsthand.
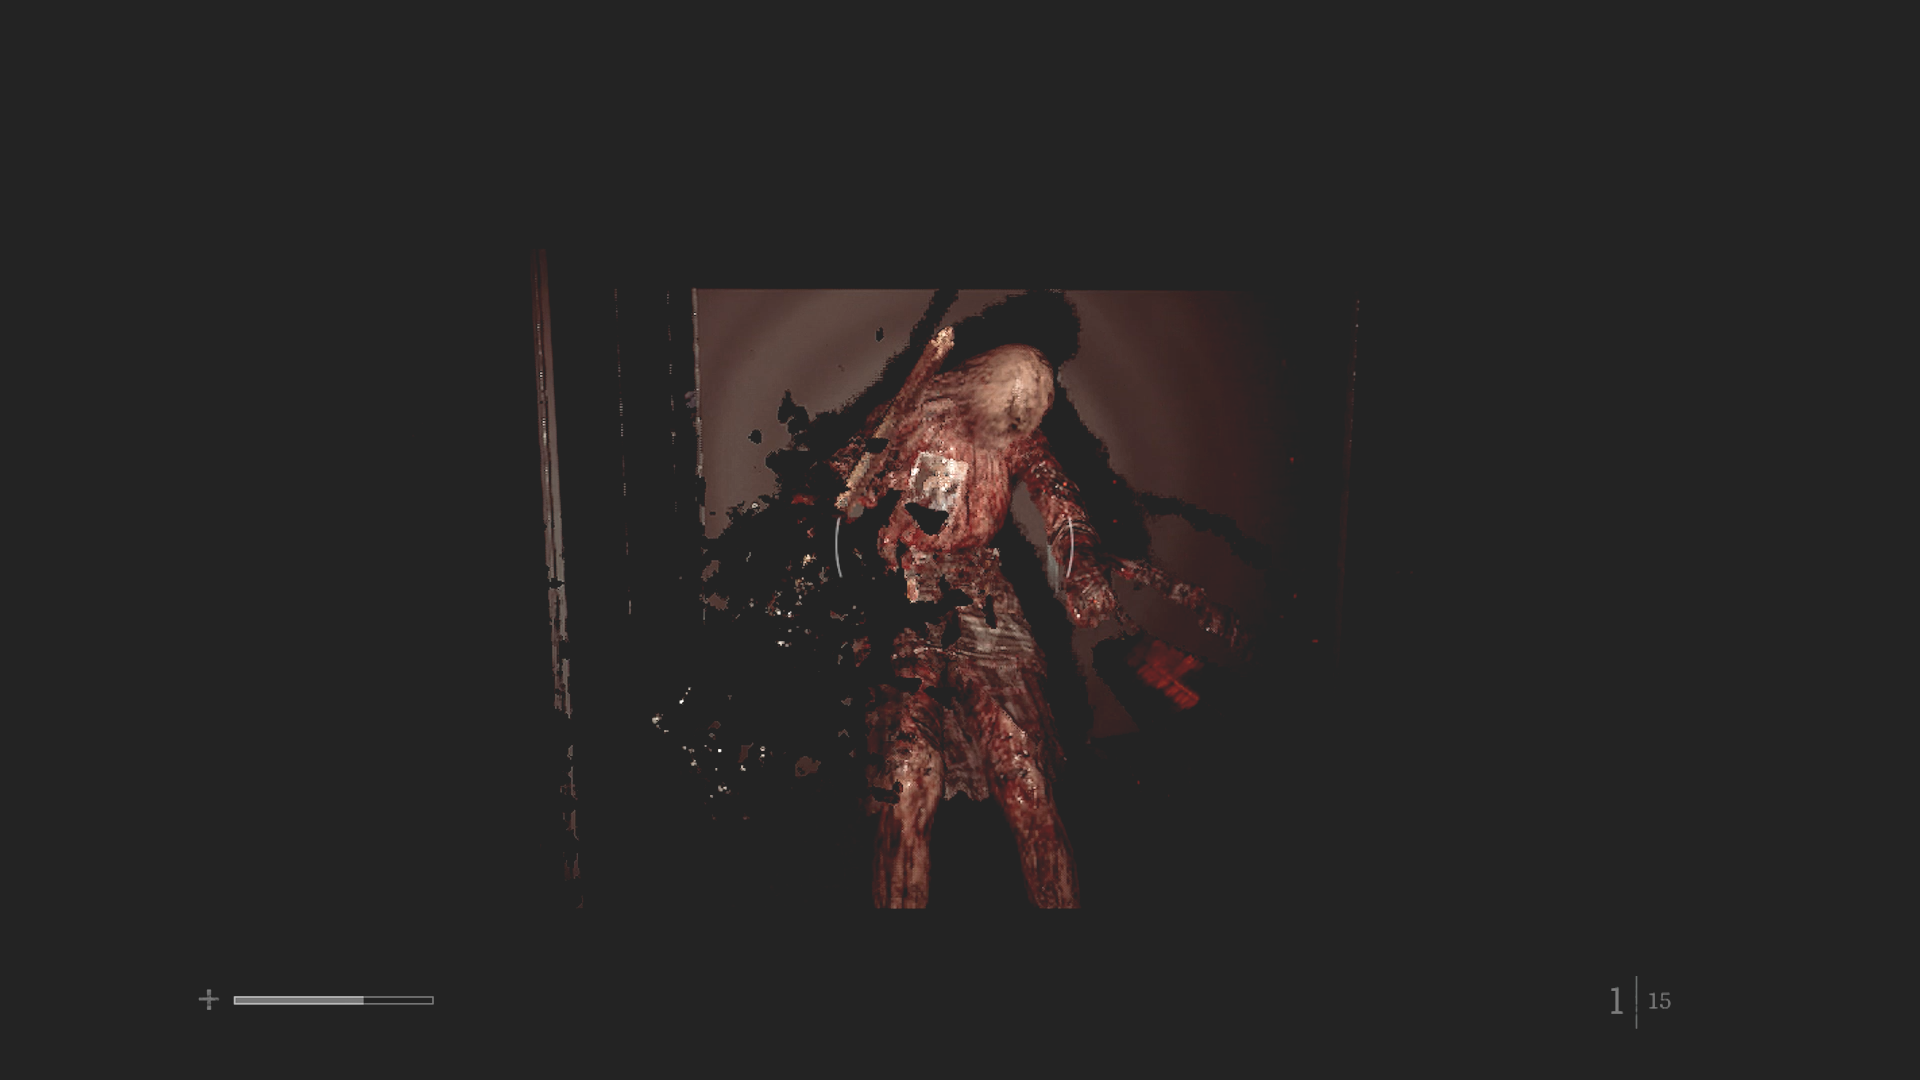
BOOM. (Credit: Konami, Screen Burn Interactive)
This part of the game was awesome. While the Widows were a pain, it felt good to be able to dispatch them without hiding. After an entire game of being helpful and sneaking around, here I was able to find ammo and healing items everywhere and blow the enemies away without fear. Plus it was more of that classic Silent Hill exploration and puzzle completion.
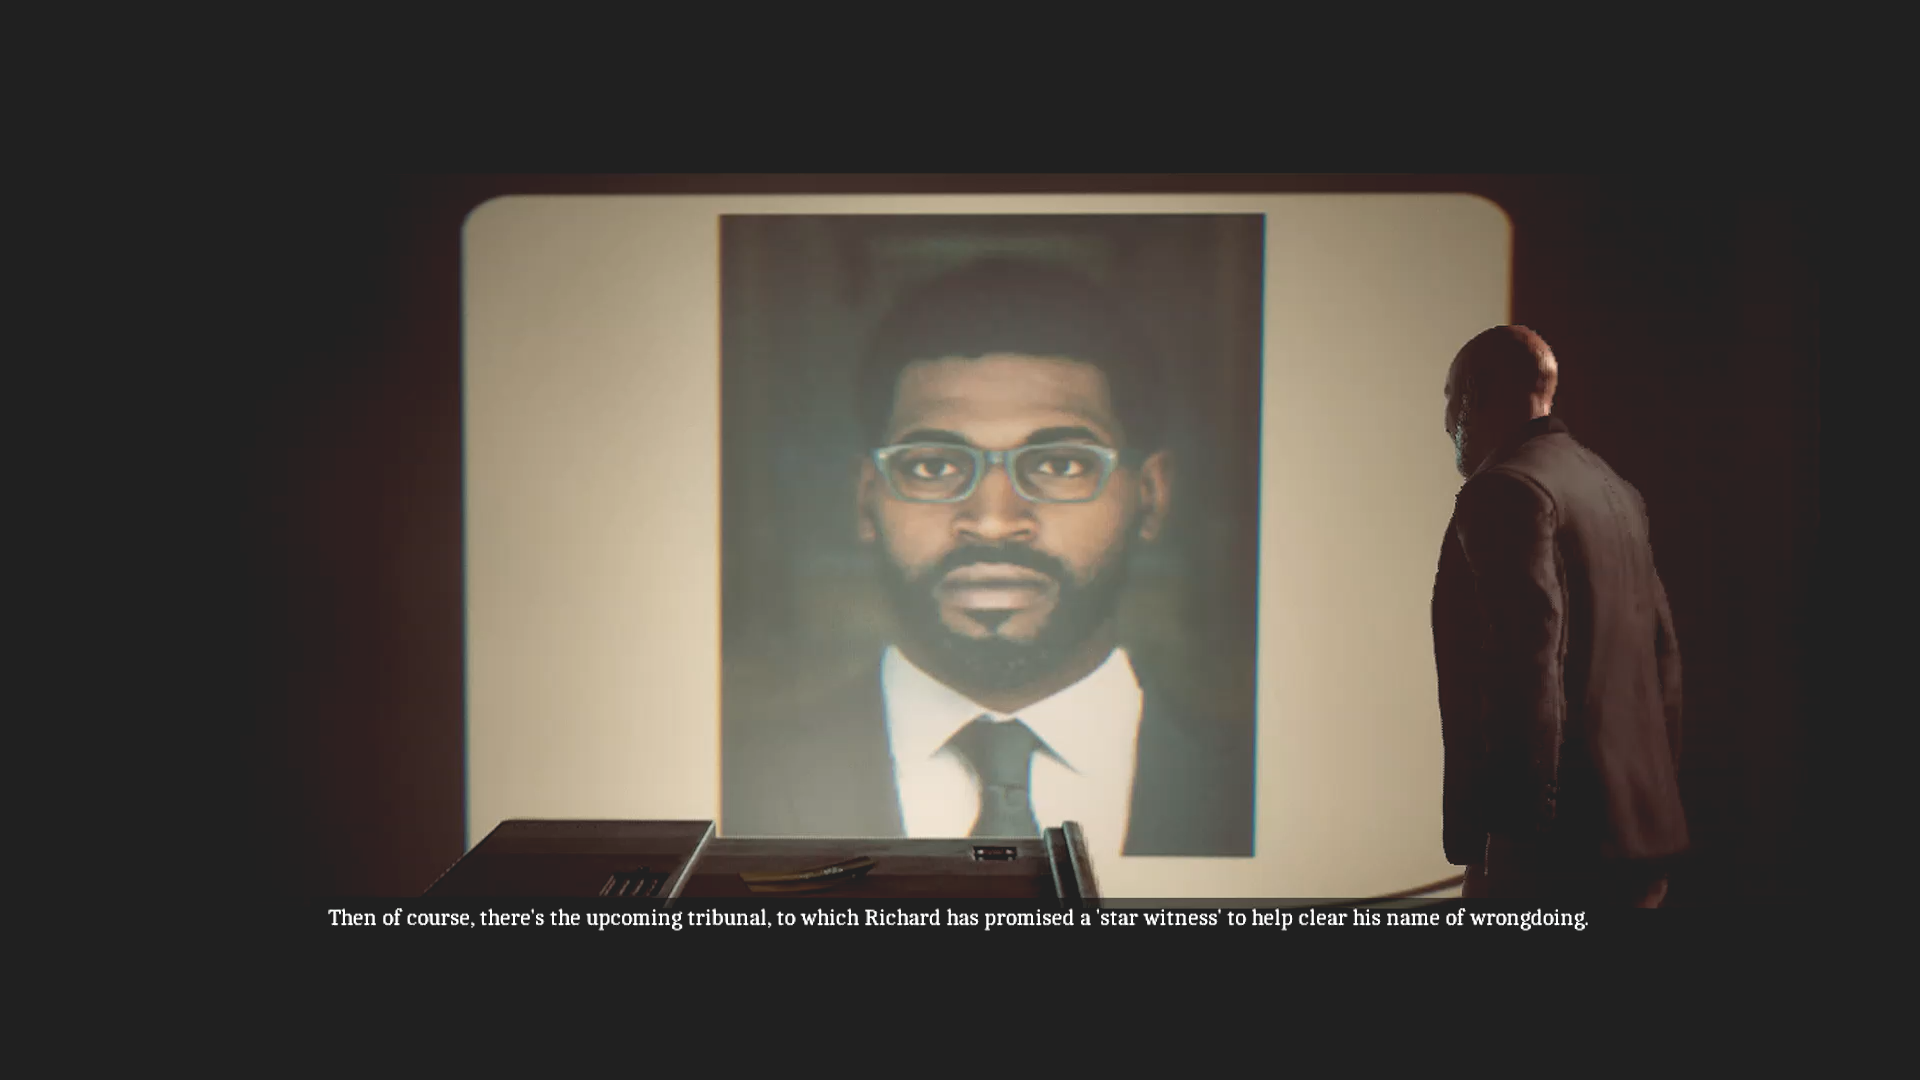
Simon looks fancy here. (Credit: Konami, Screen Burn Interactive)
There was one last puzzle involving putting the slides in order and we finally get to hear the presentation. The big reveal is that Richard is not the good guy we thought he was. Up to this point I’d assumed Richard was the engineer they kept mentioning. This was a misdirect. No, Richard’s last name is Shaw. He’s the CEO who caused all of this and was forced out by the board of directors. This entire thing was Richard’s attempt to get his job back. Richard gets his access card back and rides the elevator to the 10th floor.
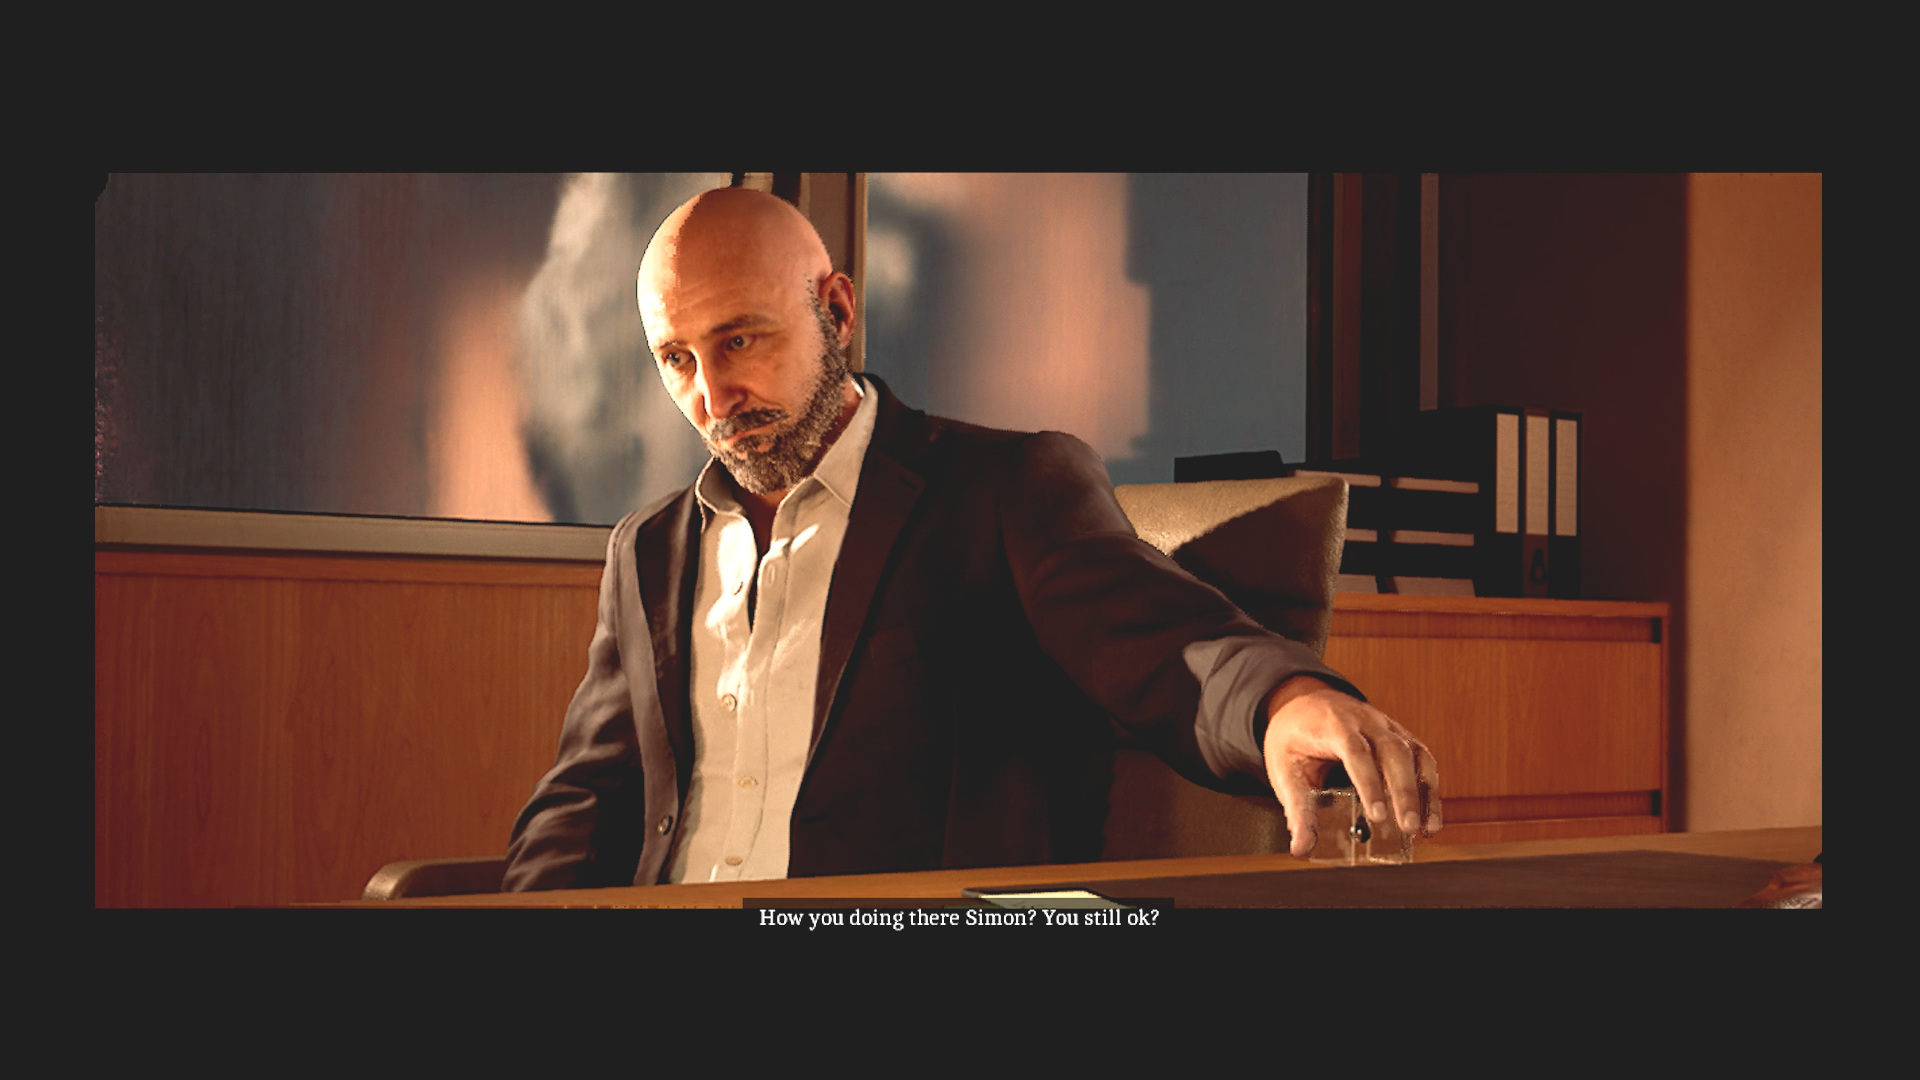
Okay, I guess Richard’s not such a good guy. (Credit: Konami, Screen Burn Interactive)
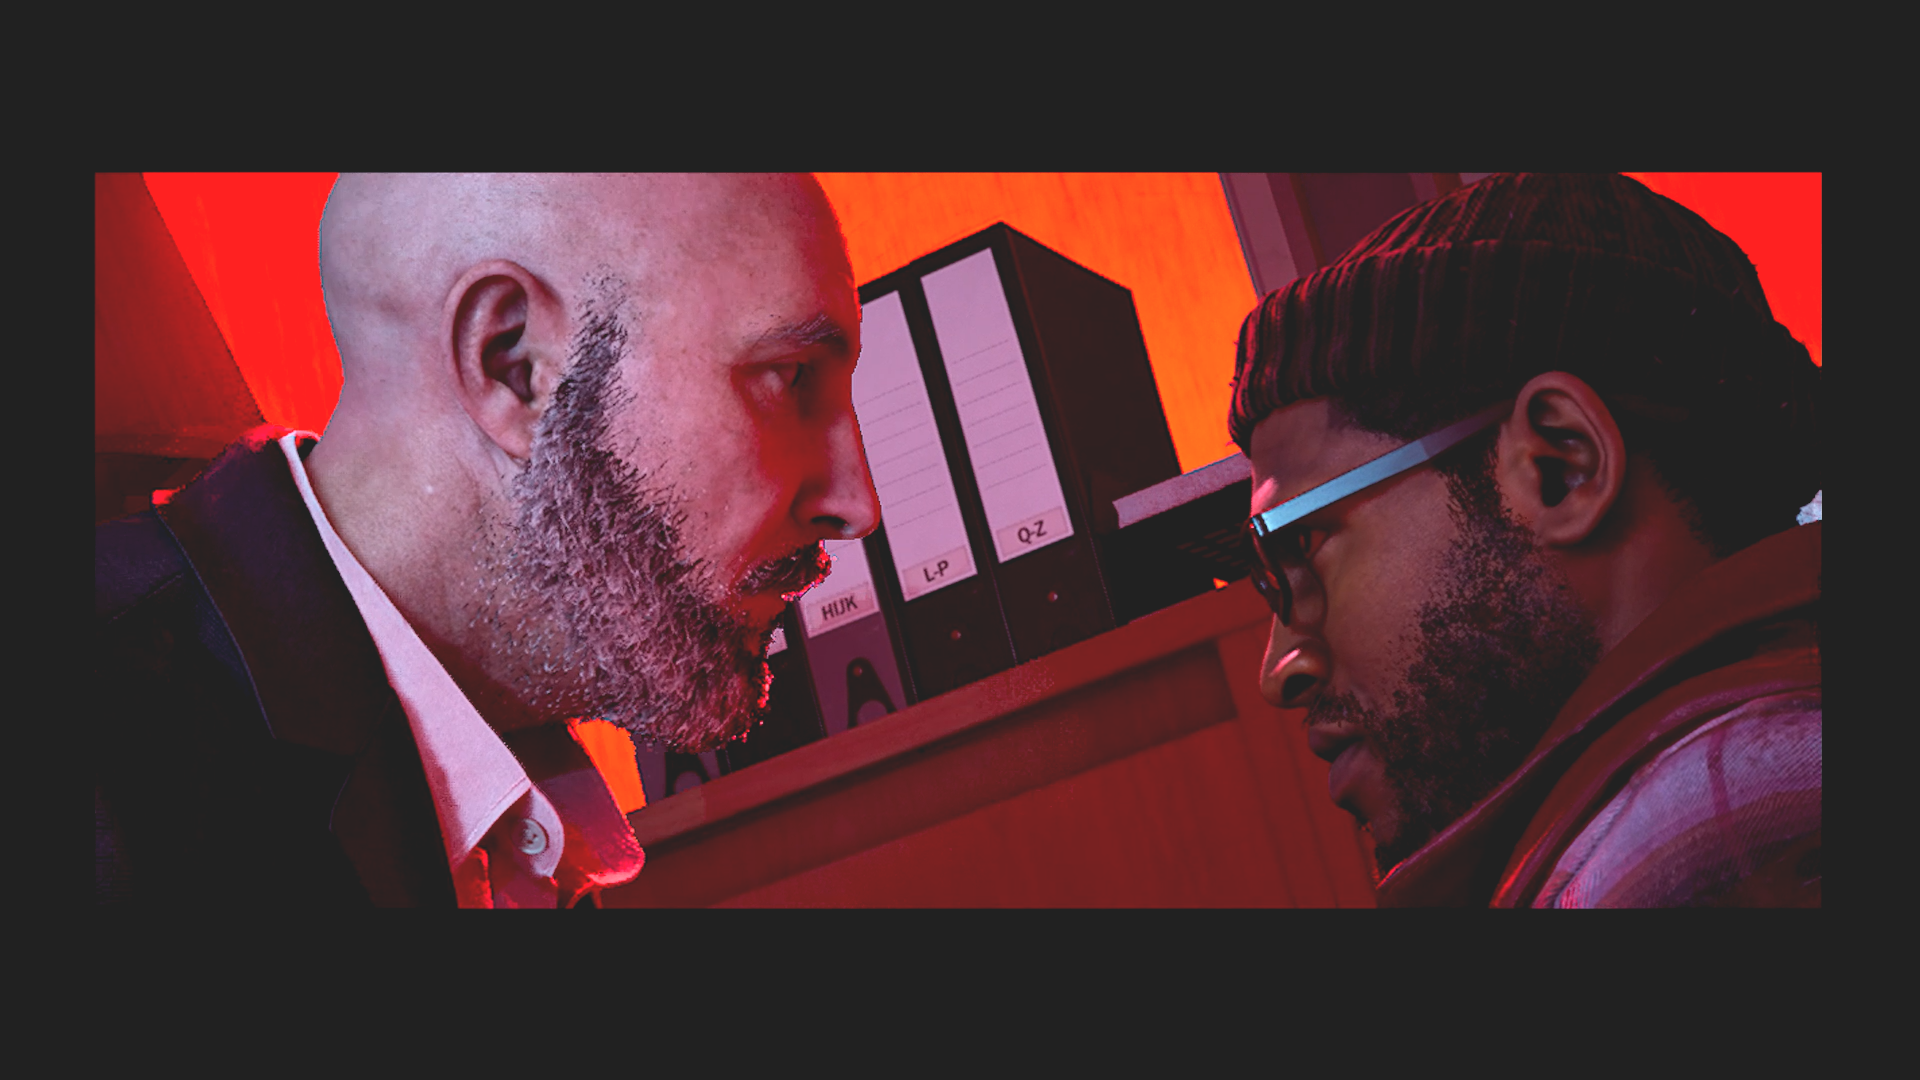
Inside his old office, there are more dead Richards . . . which means he’s gotten this far before. Simon appears and the two of them finally face each other. Simon wants to know what’s going on, but Richard evades all his questions. He says all he needs is for Simon to open the door to the room Zoe is in. Only Simon can open it. He asks Zoe what’s going on and he gets another headache that knocks him on his ass.
Richard berates him, saying that they had a deal and Simon needs to hold up his end. Richard again tells Simon to open the door and then stand back. I expected this to be a puzzle, but Simon opens it in a cut scene. I believe he dials in the date of the disaster, but I’m not certain about that. After opening the door, he lurches back and the room is bathed in that eerie red glow. Richard fires his shotgun into the room, killing Zoe. Turning back on Simon, he asks why he’s here. Simon first says to fix things, but then decides it’s to be punished. Richard laughs, but agrees. They’re both stuck in this place to be judged. But he thinks there’s another reason Simon is here. Richard doesn’t want to be anywhere near him when he figures out that reason. He says it would have been easier if Zoe had just let him die. Richard lays the shotgun on the desk and leaves. The shotgun has one shell loaded into it . . . the implication here is clear.
Simon looks into Zoe’s room and apologizes to her. The file on Richard’s desk explains that Simon was brought in from America by the union because he has clout and he’s not under Richard’s influence. The letter in the file suggests Richard get to him before he makes his statement just in case he saw anything that night.
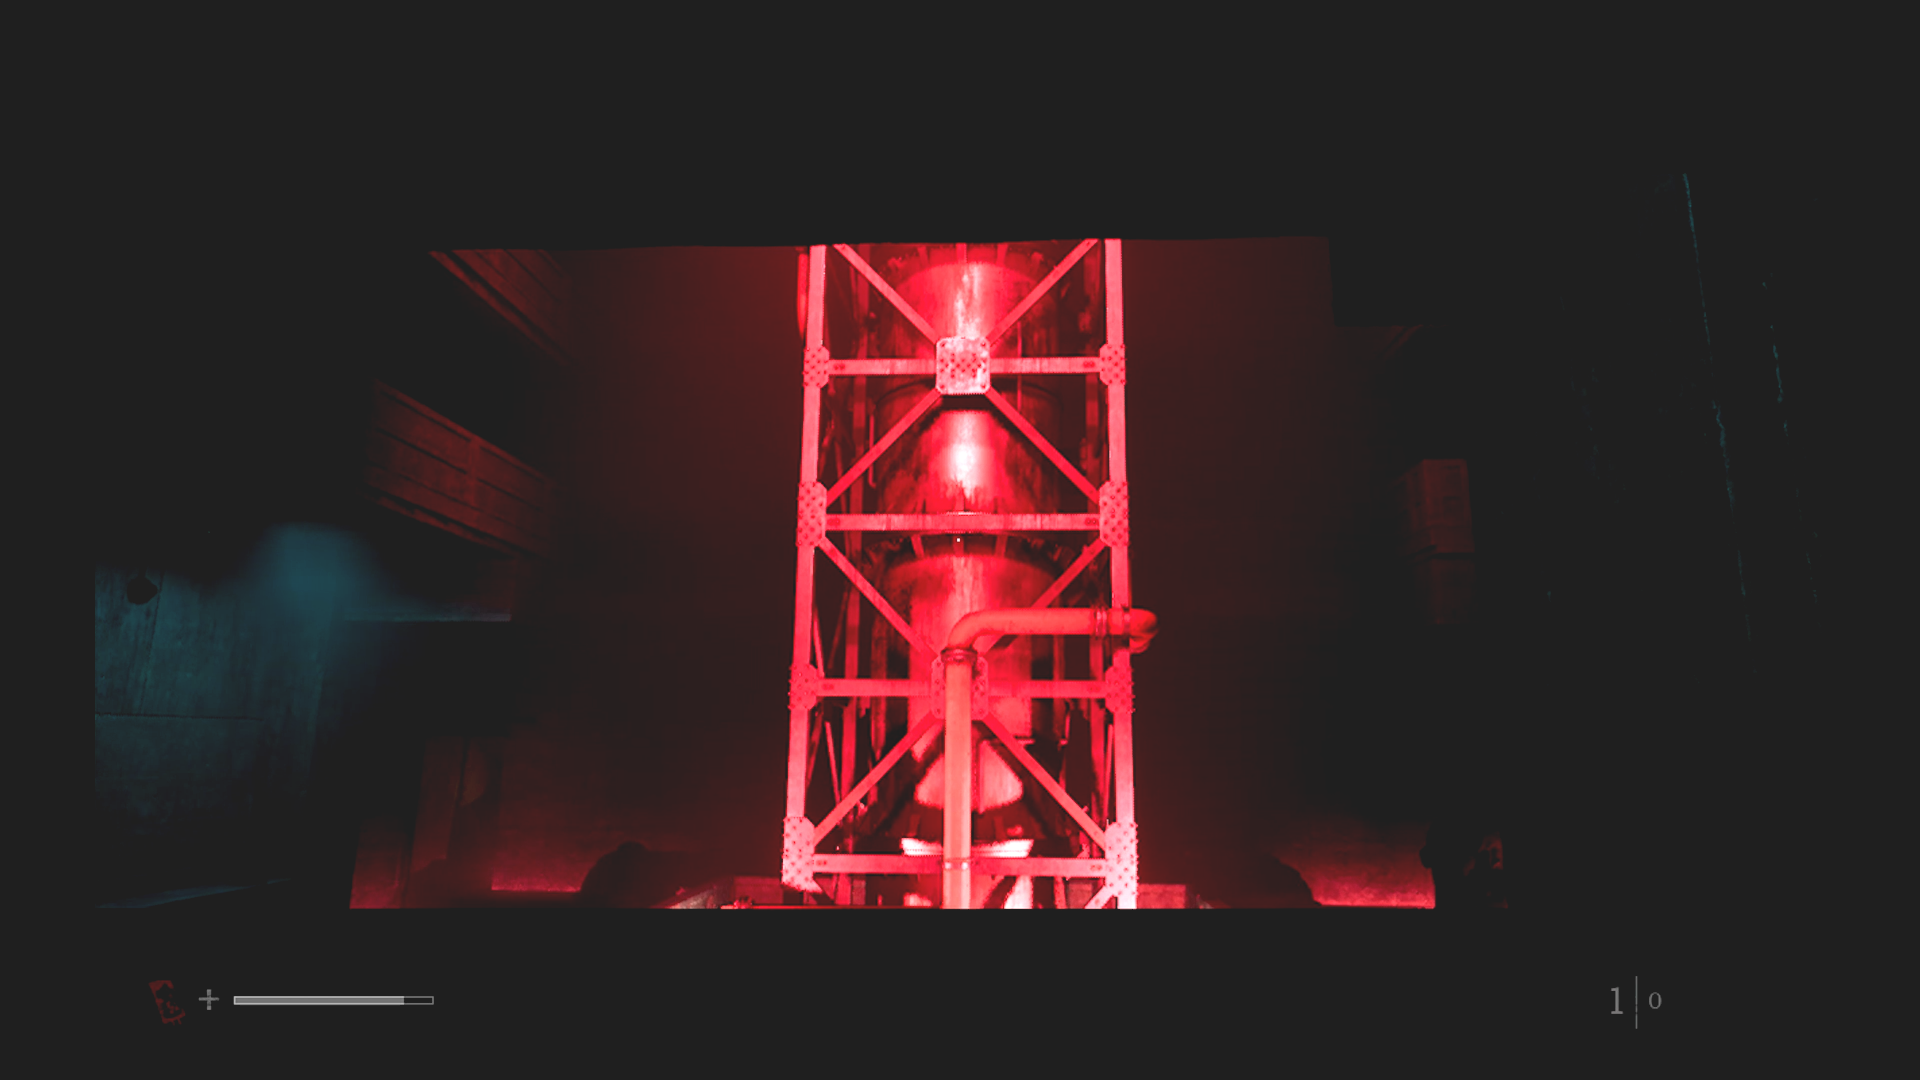
More puzzles. (Credit: Konami, Screen Burn Interactive)
Simon attempts to take the elevator to the ground floor but is instead taken to the red underground area. This represents the South Well Drilling Platform where the disaster happened. We get a small but vital piece of the puzzle in a CRTV signal from the workers. The part has failed and they decide not to contact Simon and mention that Richard has been pressuring them. Any delays could cost them their jobs. We also learn that Richard didn’t sign off on needed repairs because taking the pumps down for the time the repairs would take would cost millions. This shows that the disaster could have been averted at least twice, but decisions were made both by Richard and the workers.
There is a series of puzzles here as Simon relives the disaster. First he has to shut off an alarm and line up pipes on a tower. Then he crawls through a maze of pipes where the Fallen grab at him. Then Simon has to start a generator to prep the next puzzles.
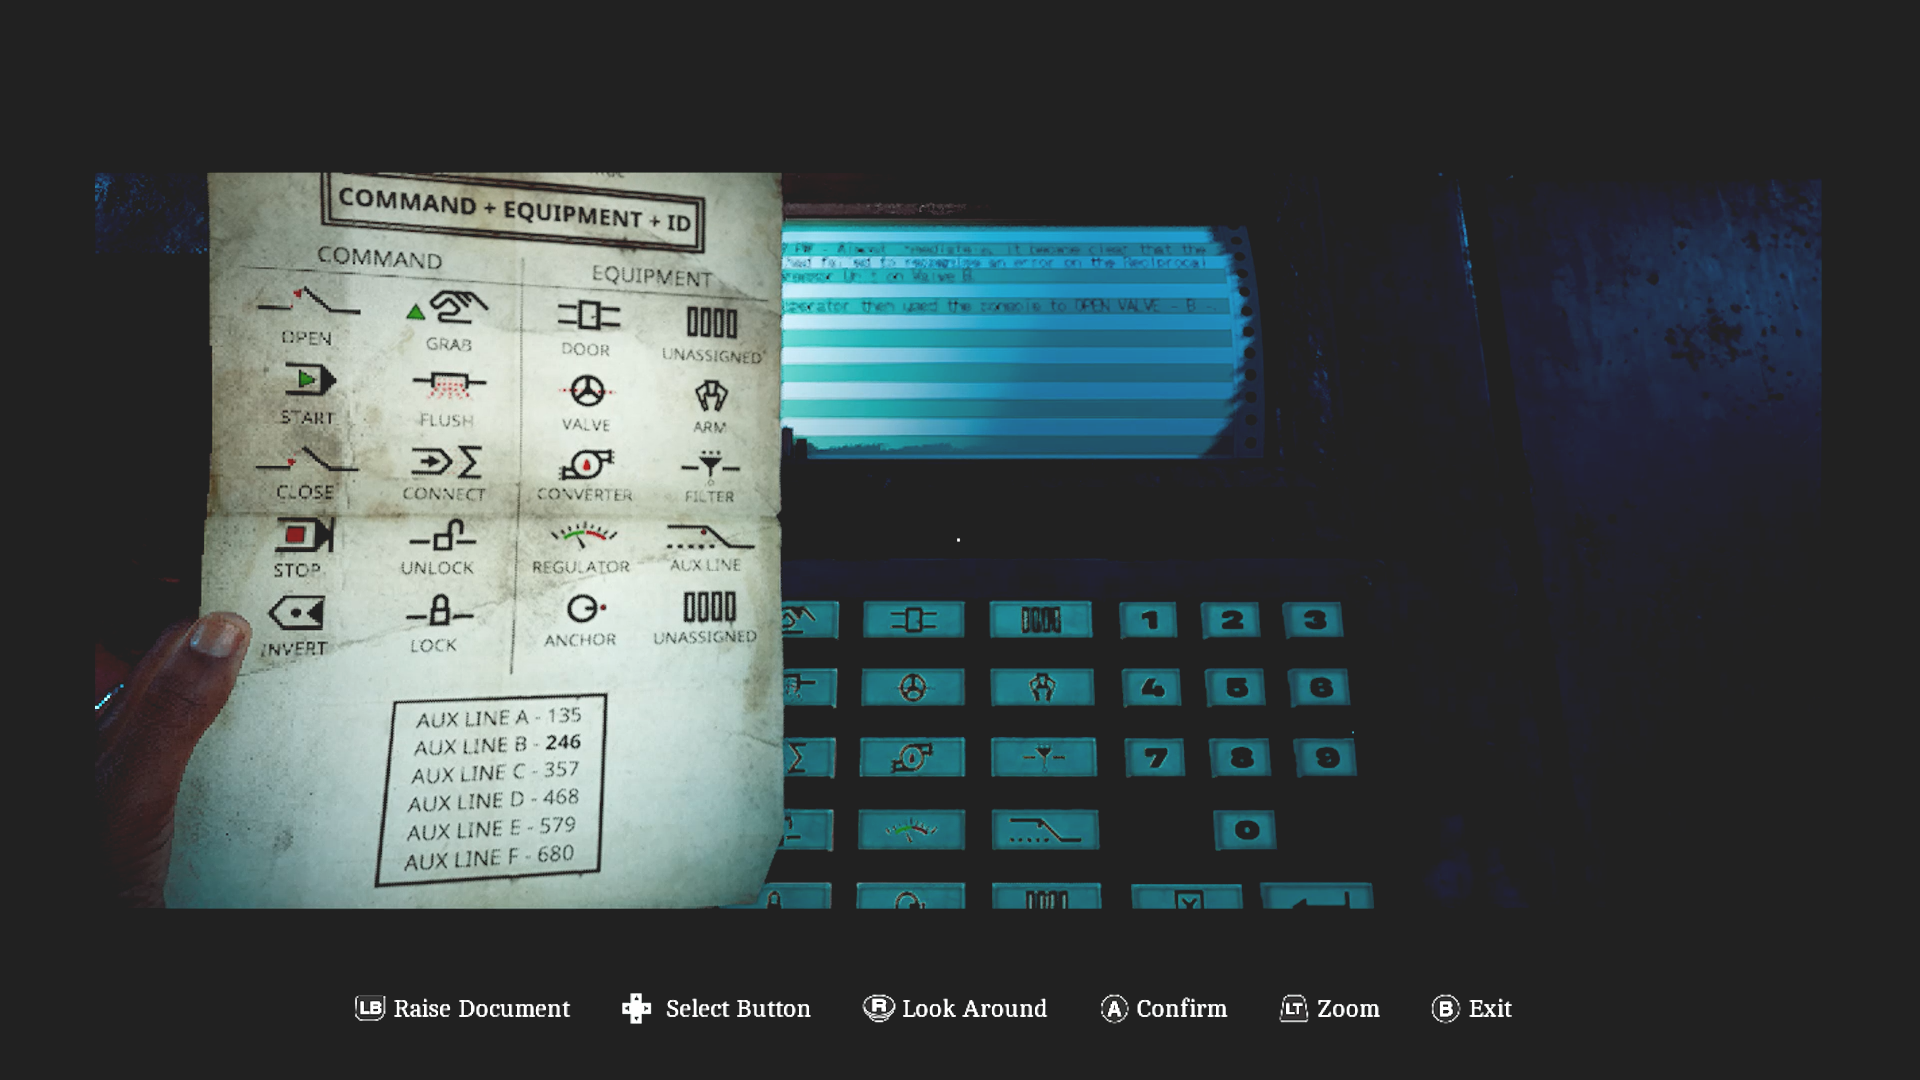
And more puzzles. (Credit: Konami, Screen Burn Interactive)
This part was complicated. It involved going up and down floors to gather a key and a key card, gaining access to a control room where you have to use a document, a series of cameras, and a complicated control panel to relive the attempts Simon made to avert the disaster.
During this, monsters and the Weight lurk around, waiting to attack you. This whole section took me a lot of reloads and there were times that I just had to run for it, ducking out of sight when I could and occasionally fighting enemies.
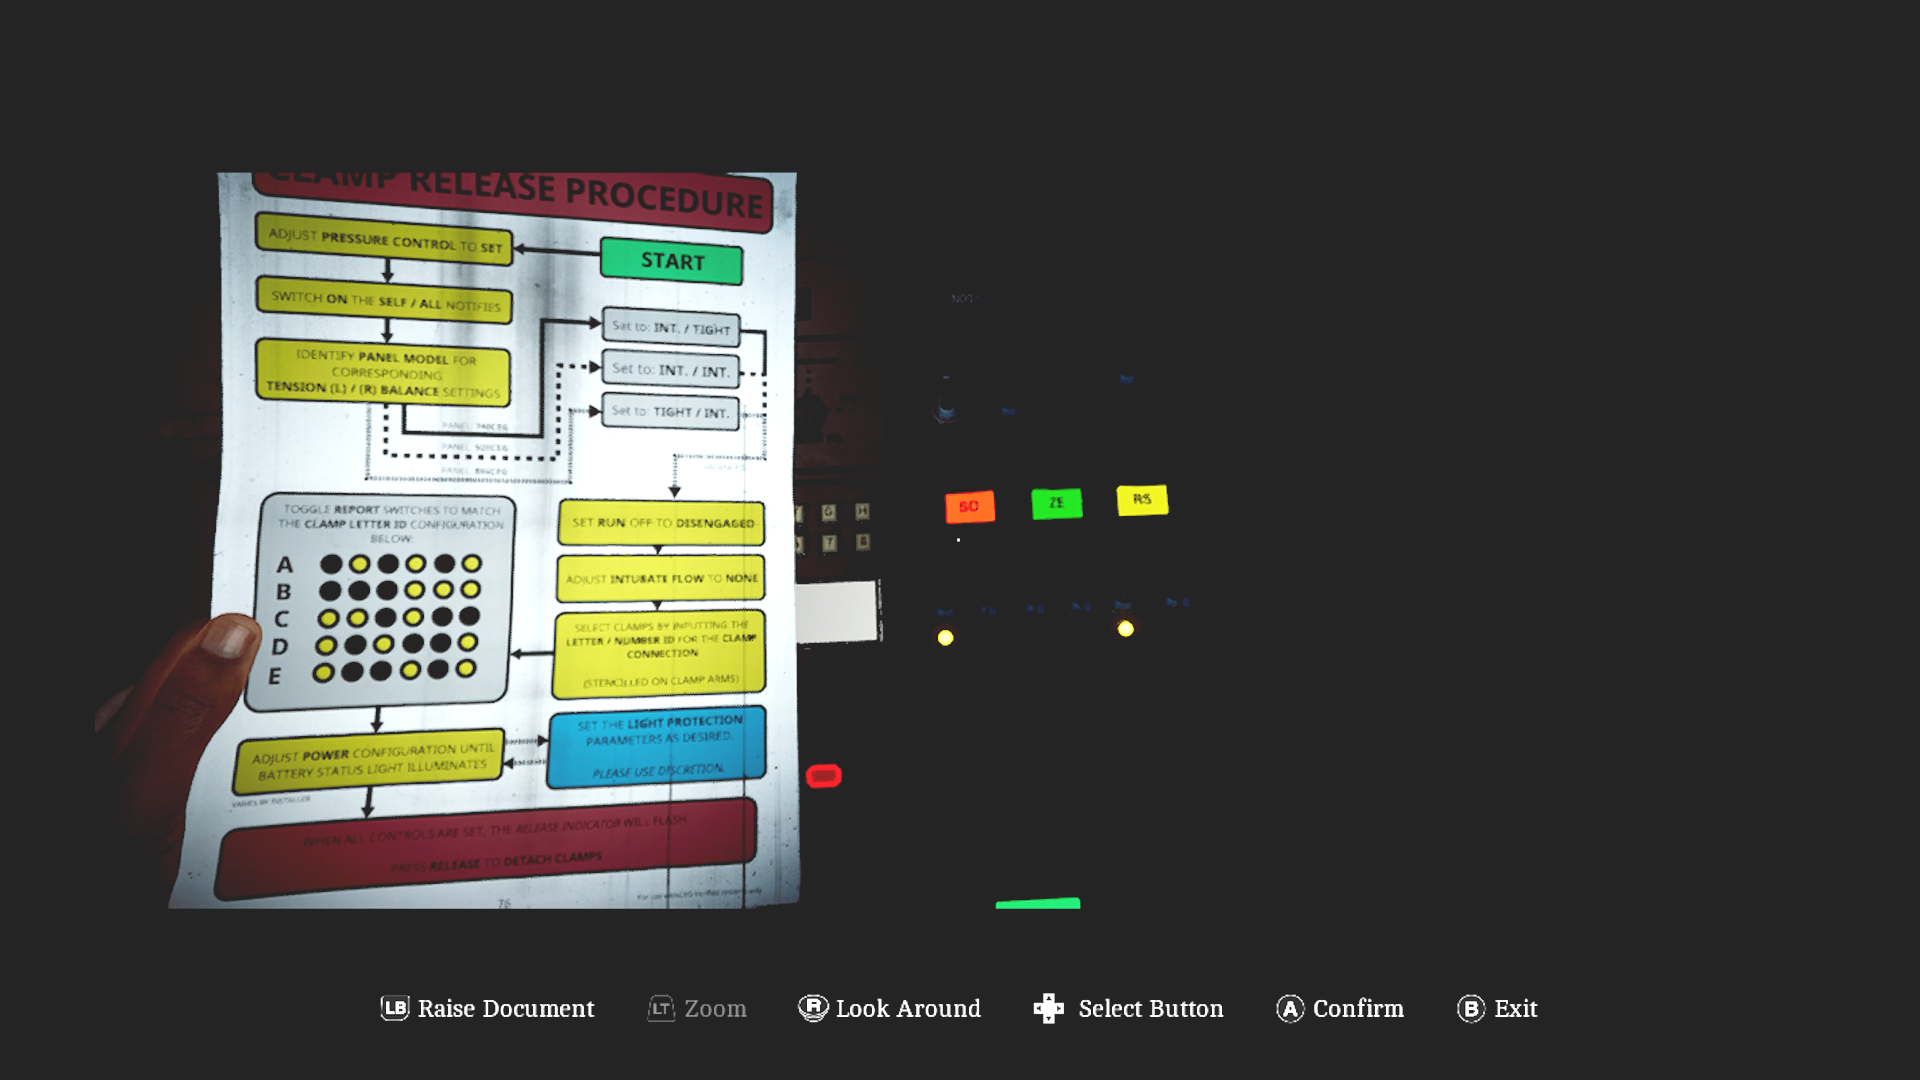
That’s right… more puzzles. (Credit: Konami, Screen Burn Interactive)
After all that was done there was more backtracking, getting a key and a locker combination, solving more puzzles and using another document to get the settings just right on a second control panel. After all of this is done, the monsters are gone and Simon can turn the valve to release the clamp on the machine.
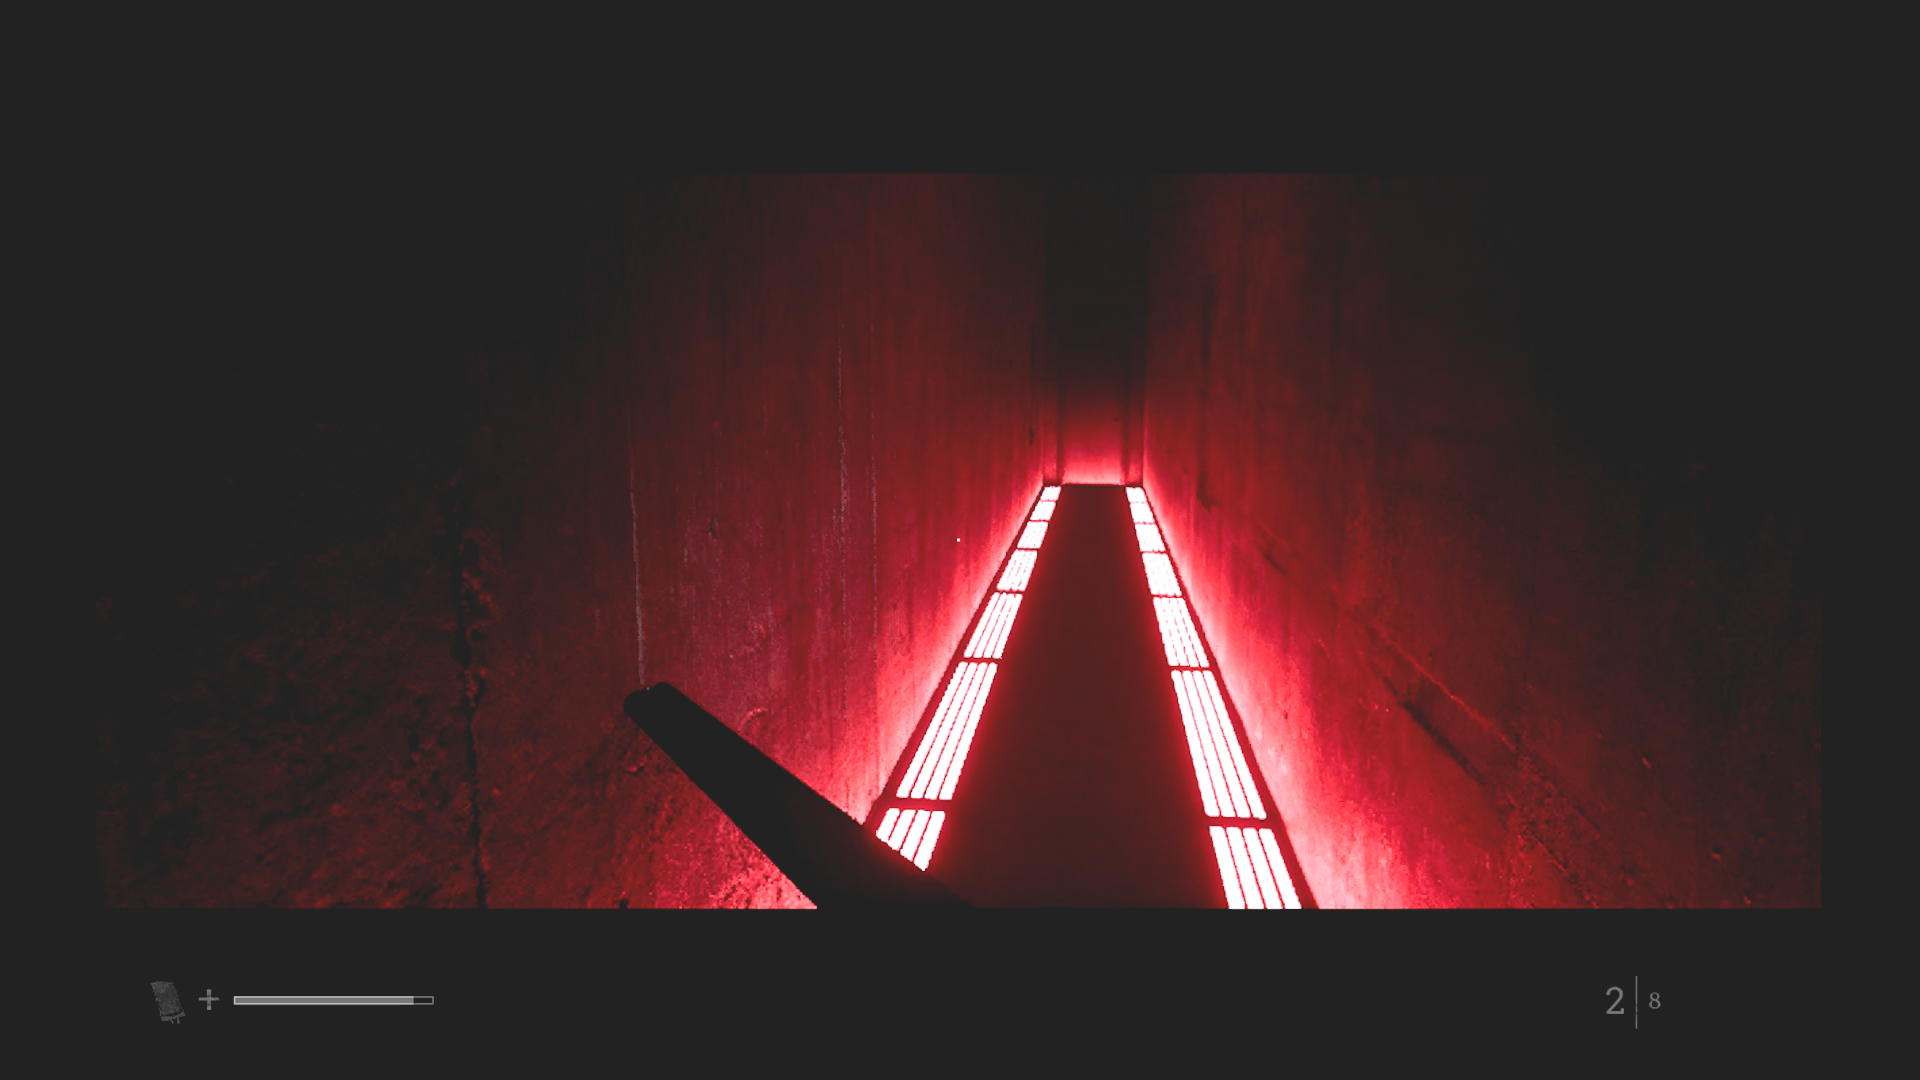
Near the end now. (Credit: Konami, Screen Burn Interactive)
The next area is comprised of long, branching hallways, empty except for the screams of the victims all around Simon.
Now can we get rid of this thing? (Credit: Konami, Screen Burn Interactive)
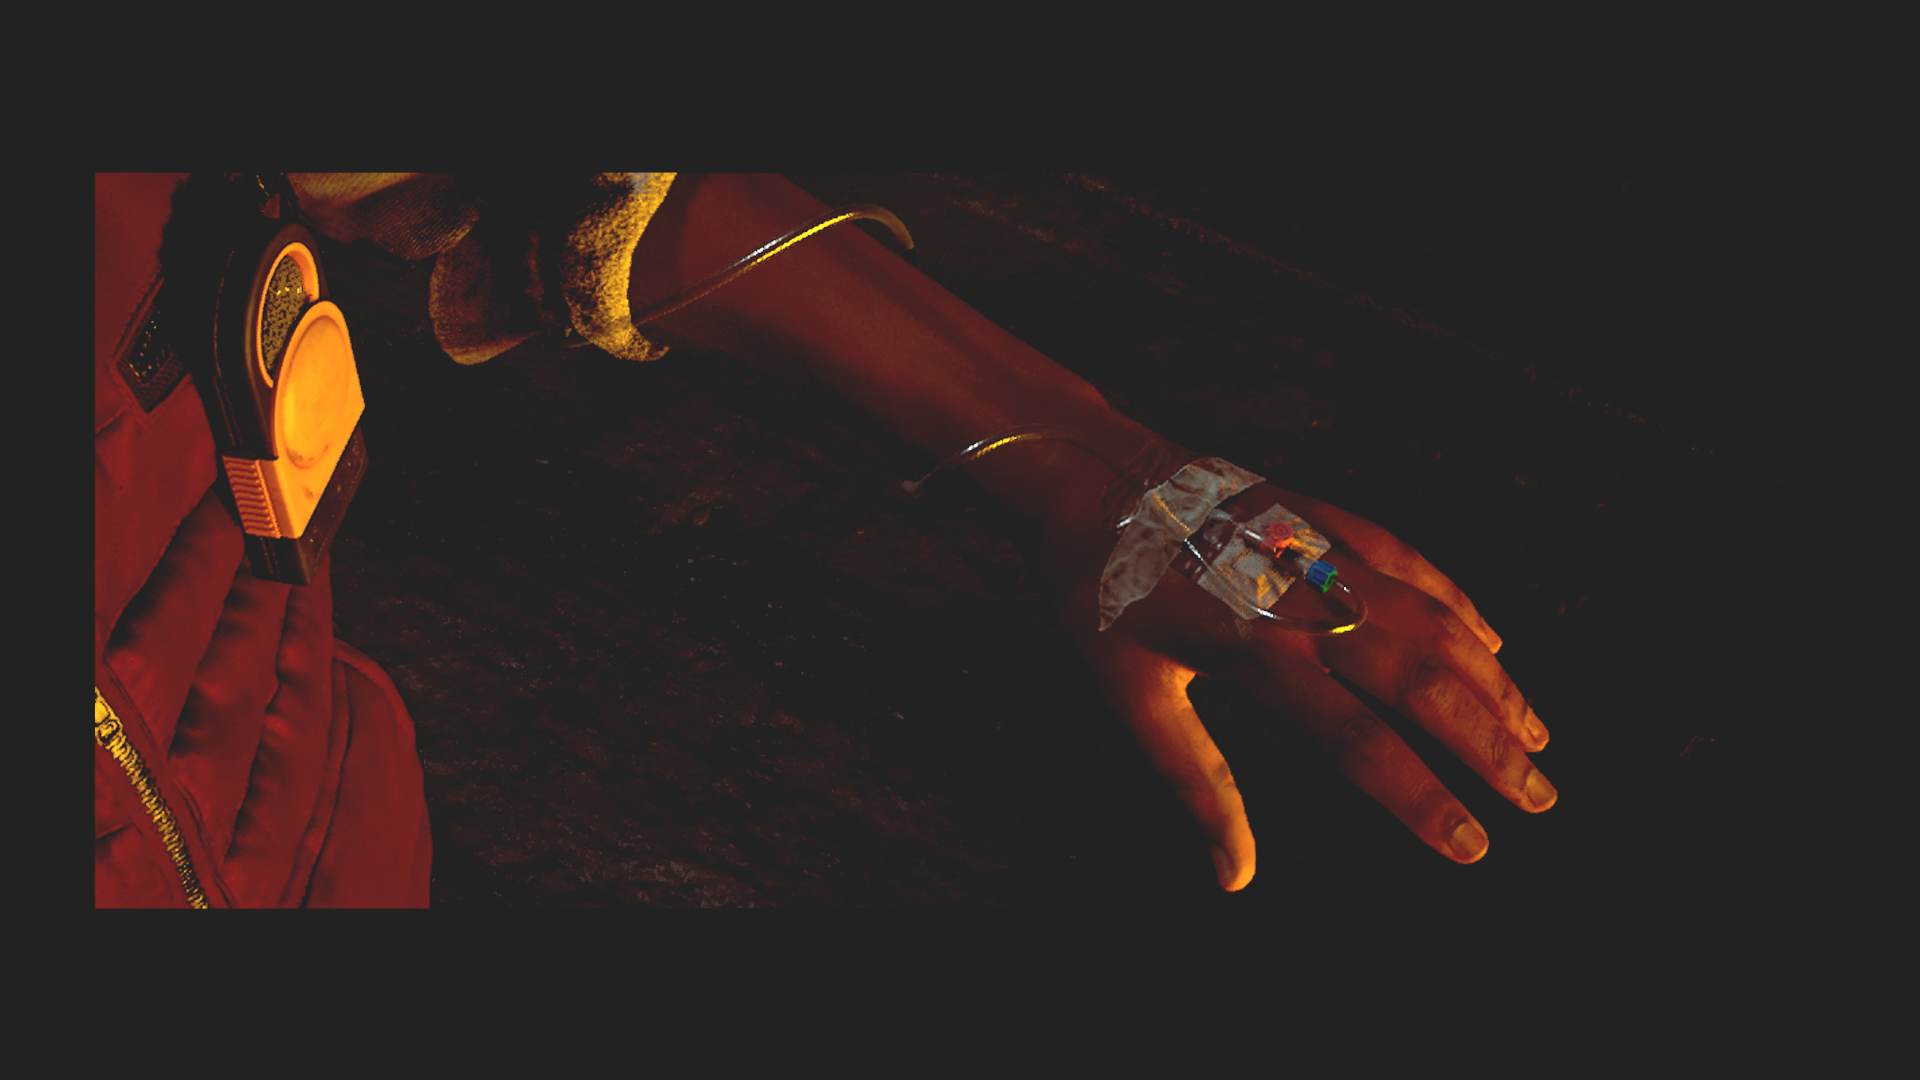
At the end of the path is a gaping abyss. Simon can go no further. He drops the CRTV and says that it wasn’t his fault. Zoe speaks from the CRTV and agrees that it’s not his fault but he carries the guilt around in the back of his hand. Finally having enough, Simon rips the cannula from his hand. He screams and thrashes about.
Some backstory. (Credit: Konami, Screen Burn Interactive)
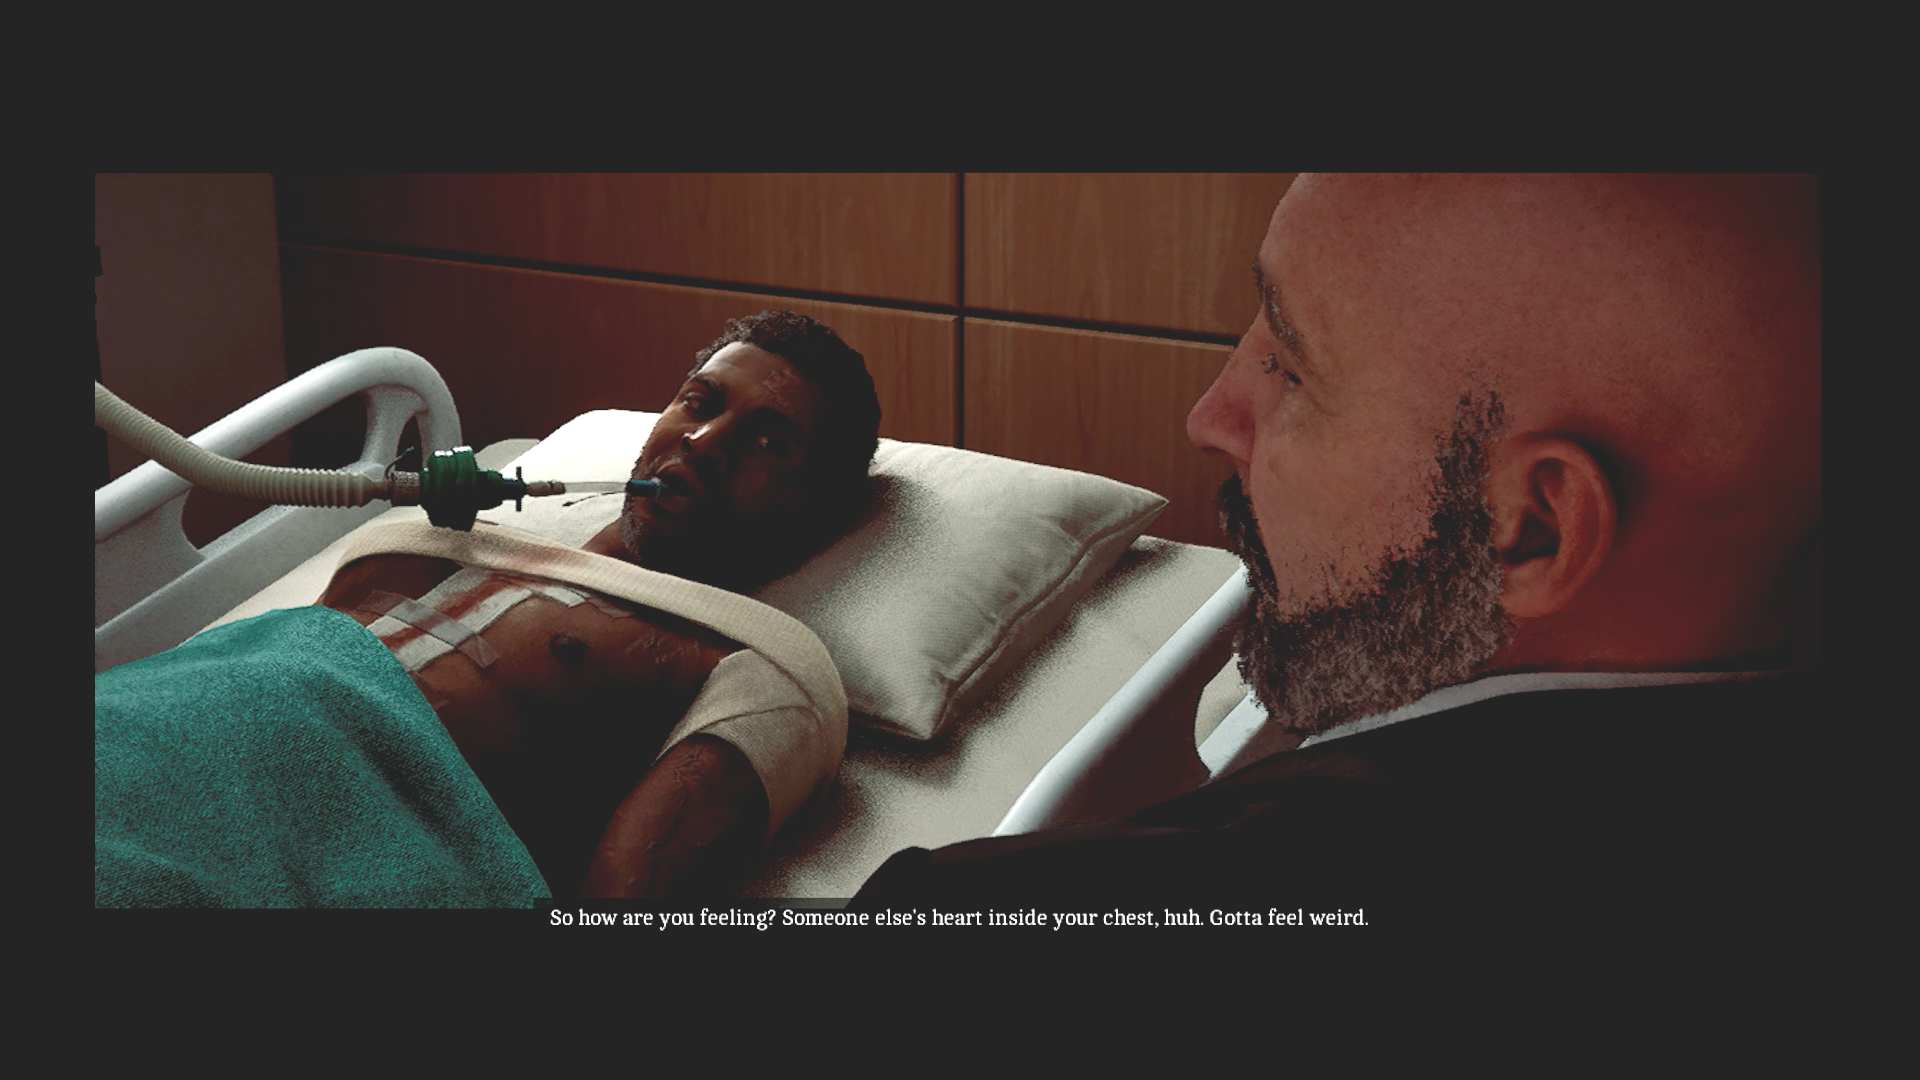
Simon awakens back in his hospital bed with Richard at his bedside. This is a flashback to after the disaster. Richard has been paying for Simon’s treatments and gave him a new heart. Simon is regretting their deal. Richard is telling him to tell his version of the truth but Simon feels guilty and wants everyone to know what really happened. Richard tells him that the heart beating in his chest belongs to him and he can take it right back out of him. (Cut it out and give it back.) He lays a scalpel on the bedside table. (Probably the scalpel Simon has been using as a key throughout the game.) We also see the CRTV on the table, looking worse for wear— as thought it had been through a fire. Simon grabs the scalpel and we cut to a new scene.
Bye Zoe. (Credit: Konami, Screen Burn Interactive)
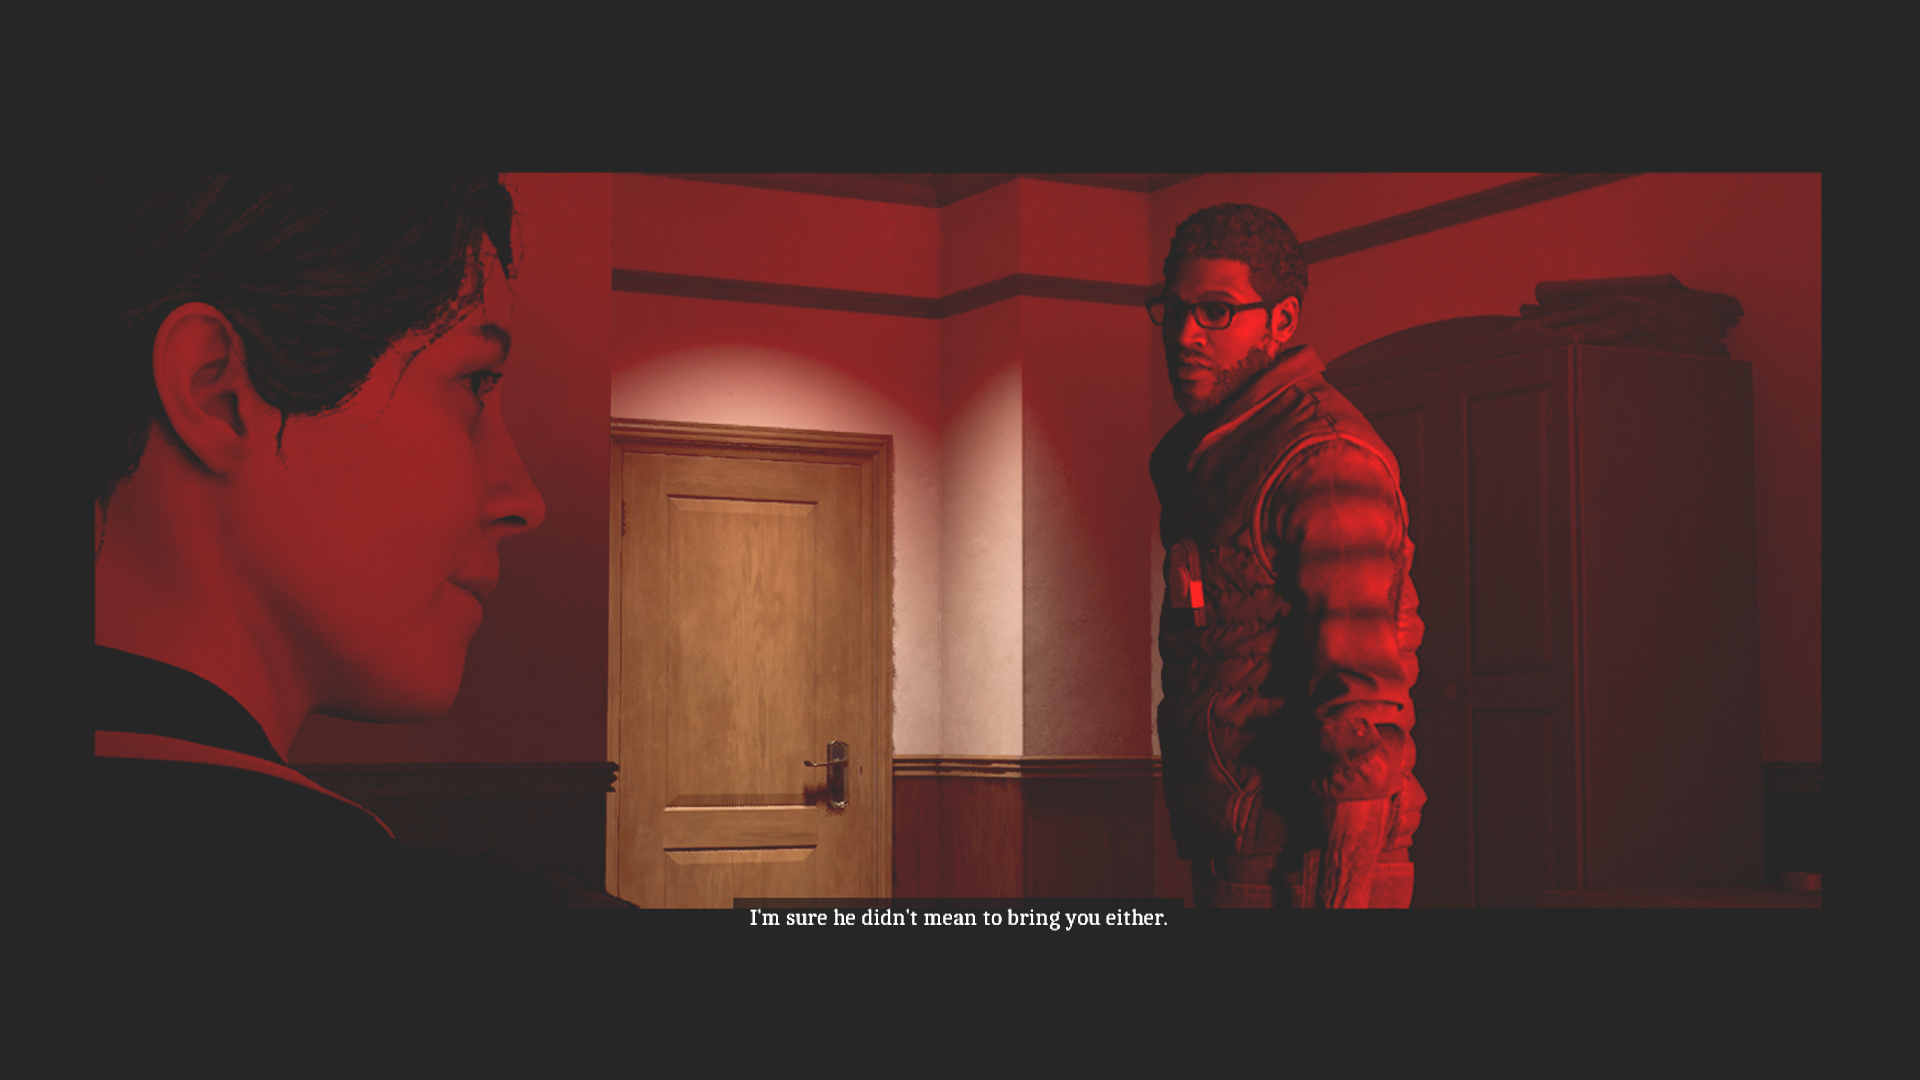
Zoe and Simon are back in Room 204. There is a scar on Simon’s arm where the IV line was, showing this takes place after everything else. He’s surprised to see Zoe is alive again and she explains they’re in a loop. None of them can change things but they keep trying. Zoe is clearly changed by her experiences. She’s calm and reasoned, seeming to have come to terms with everything and maybe even forgiven herself. Simon repeats that he’s there to be punished. Zoe says no, this is after the punishment. This is where the answers are. They’re here for each other. Zoe has realized that she did everything she could. She gave Simon every chance to do what was right. Did he do everything he could? She tells him to go, see for himself. If this doesn’t help him understand, nothing will. He apologizes for bringing her back. She says she’s sure that Richard didn’t mean to bring Simon back.
Simon leaves the room and Richard talks through the TV. The town wanted someone to blame. It should have been Joe— the dead worker. But Simon didn’t stick to the script. The CEG building is all corrupted and filled with pipes, blocking off the side paths. Outside the sky is red and the Collapse keeps dropping bodies. Richard says he doesn’t understand why Simon came back, he can’t change things. Simon says he can’t go through with it.
The Weight is injured. (Credit: Konami, Screen Burn Interactive)
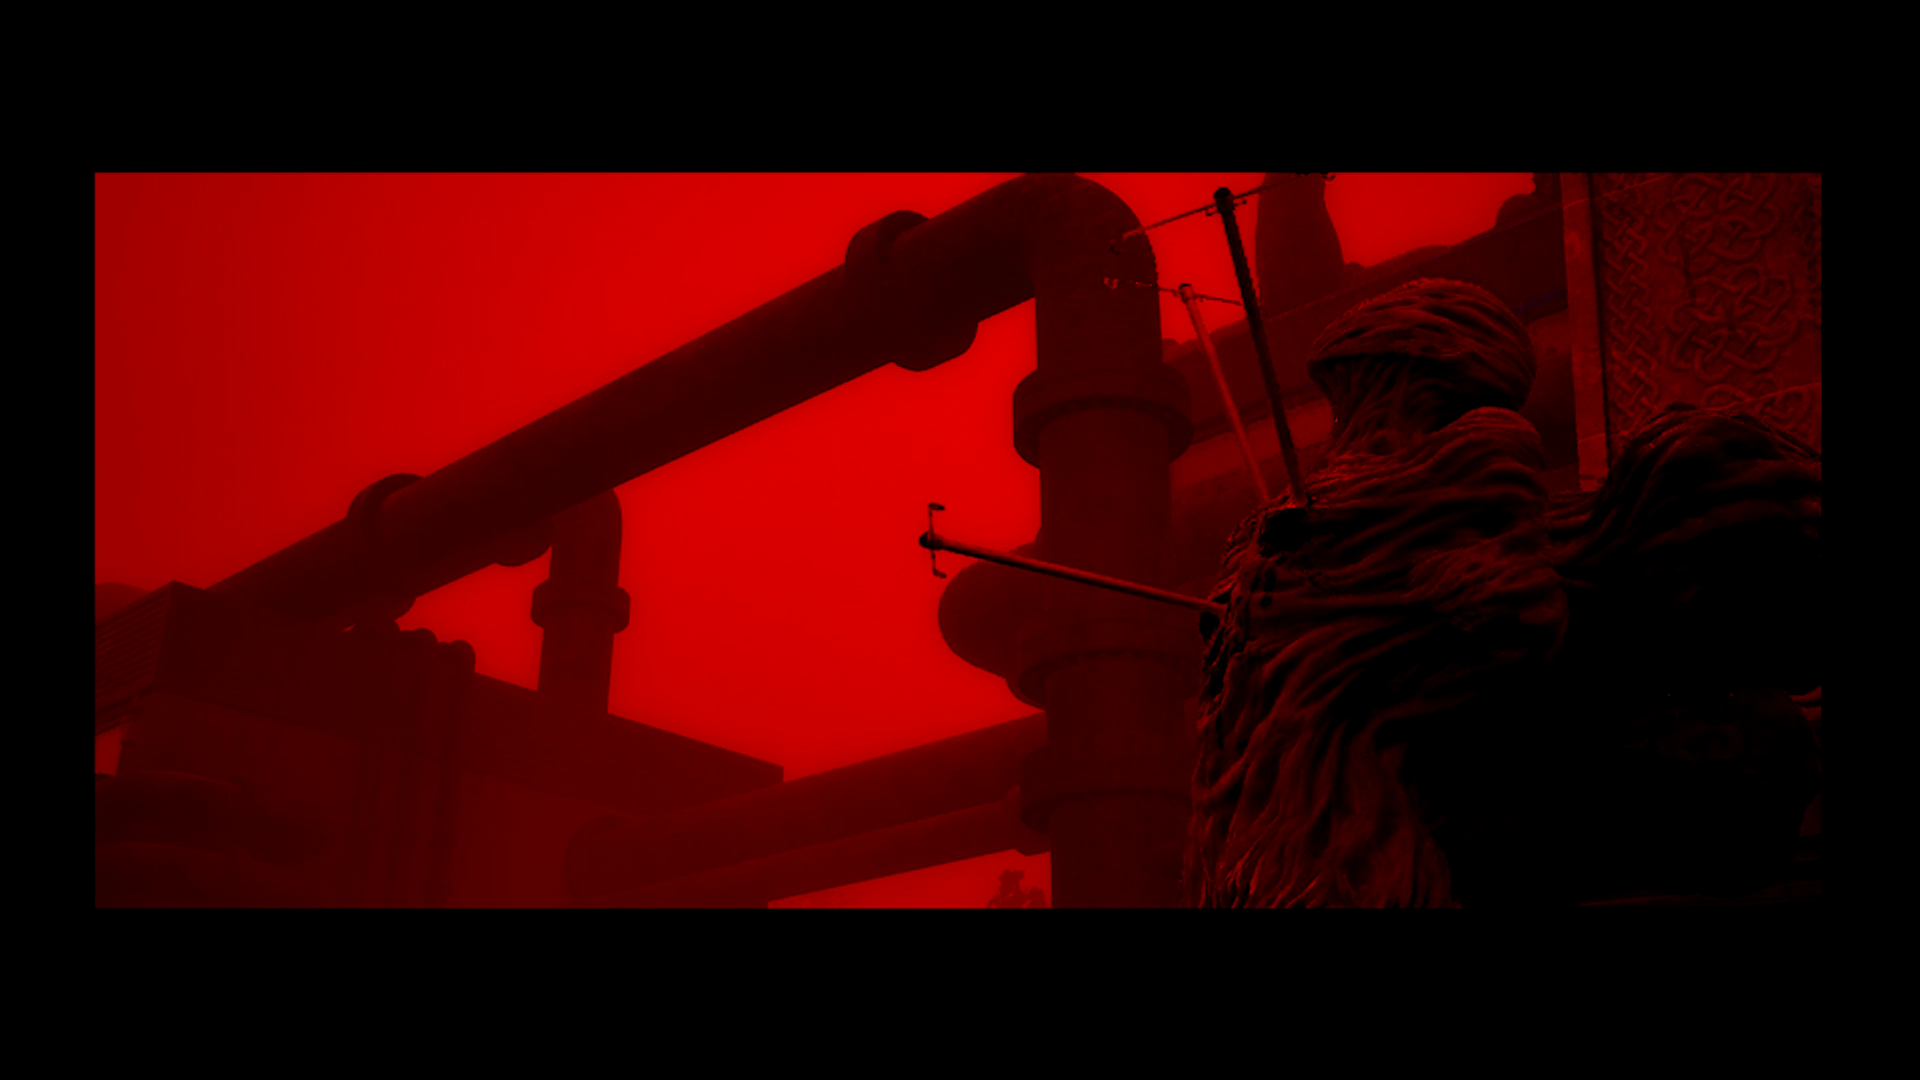
Ahead of him is the Weight, with three IV stands sticking out of him. The final boss battle has begun, and the Weight is actually vulnerable now.
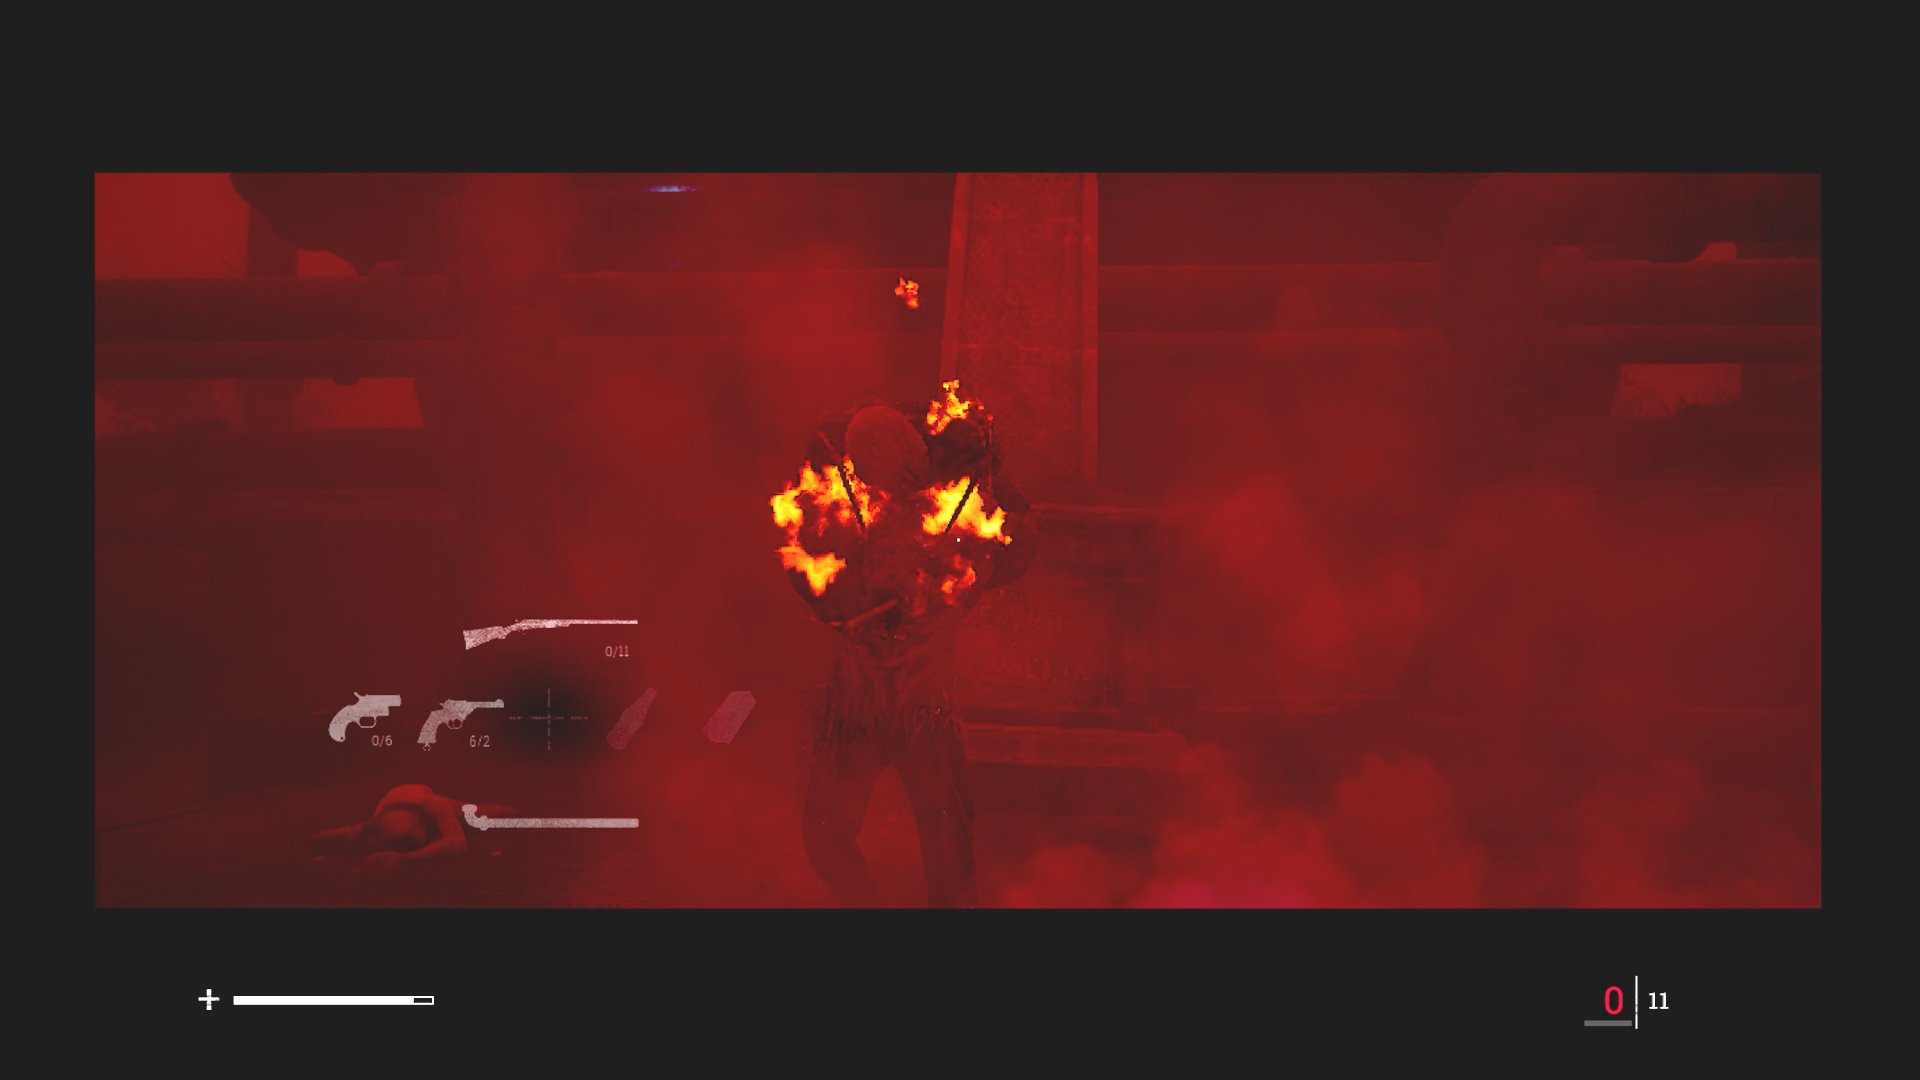
I love the flare gun. (Credit: Konami, Screen Burn Interactive)
This battle was pretty cool, and took several tries. It’s all about unloading on him with all your weapons and running away while reloading. There are medical cabinets on either side of the area and monster bodies all along with item drops to collect. Periodically, new monsters drop with more items.
The throwables and the flare gun stagger the Weight, giving you time to get away or fire. I mostly used the shotgun for this part, collecting more shells as I ran out. The flare gun was a lifesaver. It would envelop the boss in flames, making him stop moving for a few precious seconds. It was difficult to keep my shotgun and flare gun loaded, but fortunately the Weight was a bit slower here than earlier in the game.
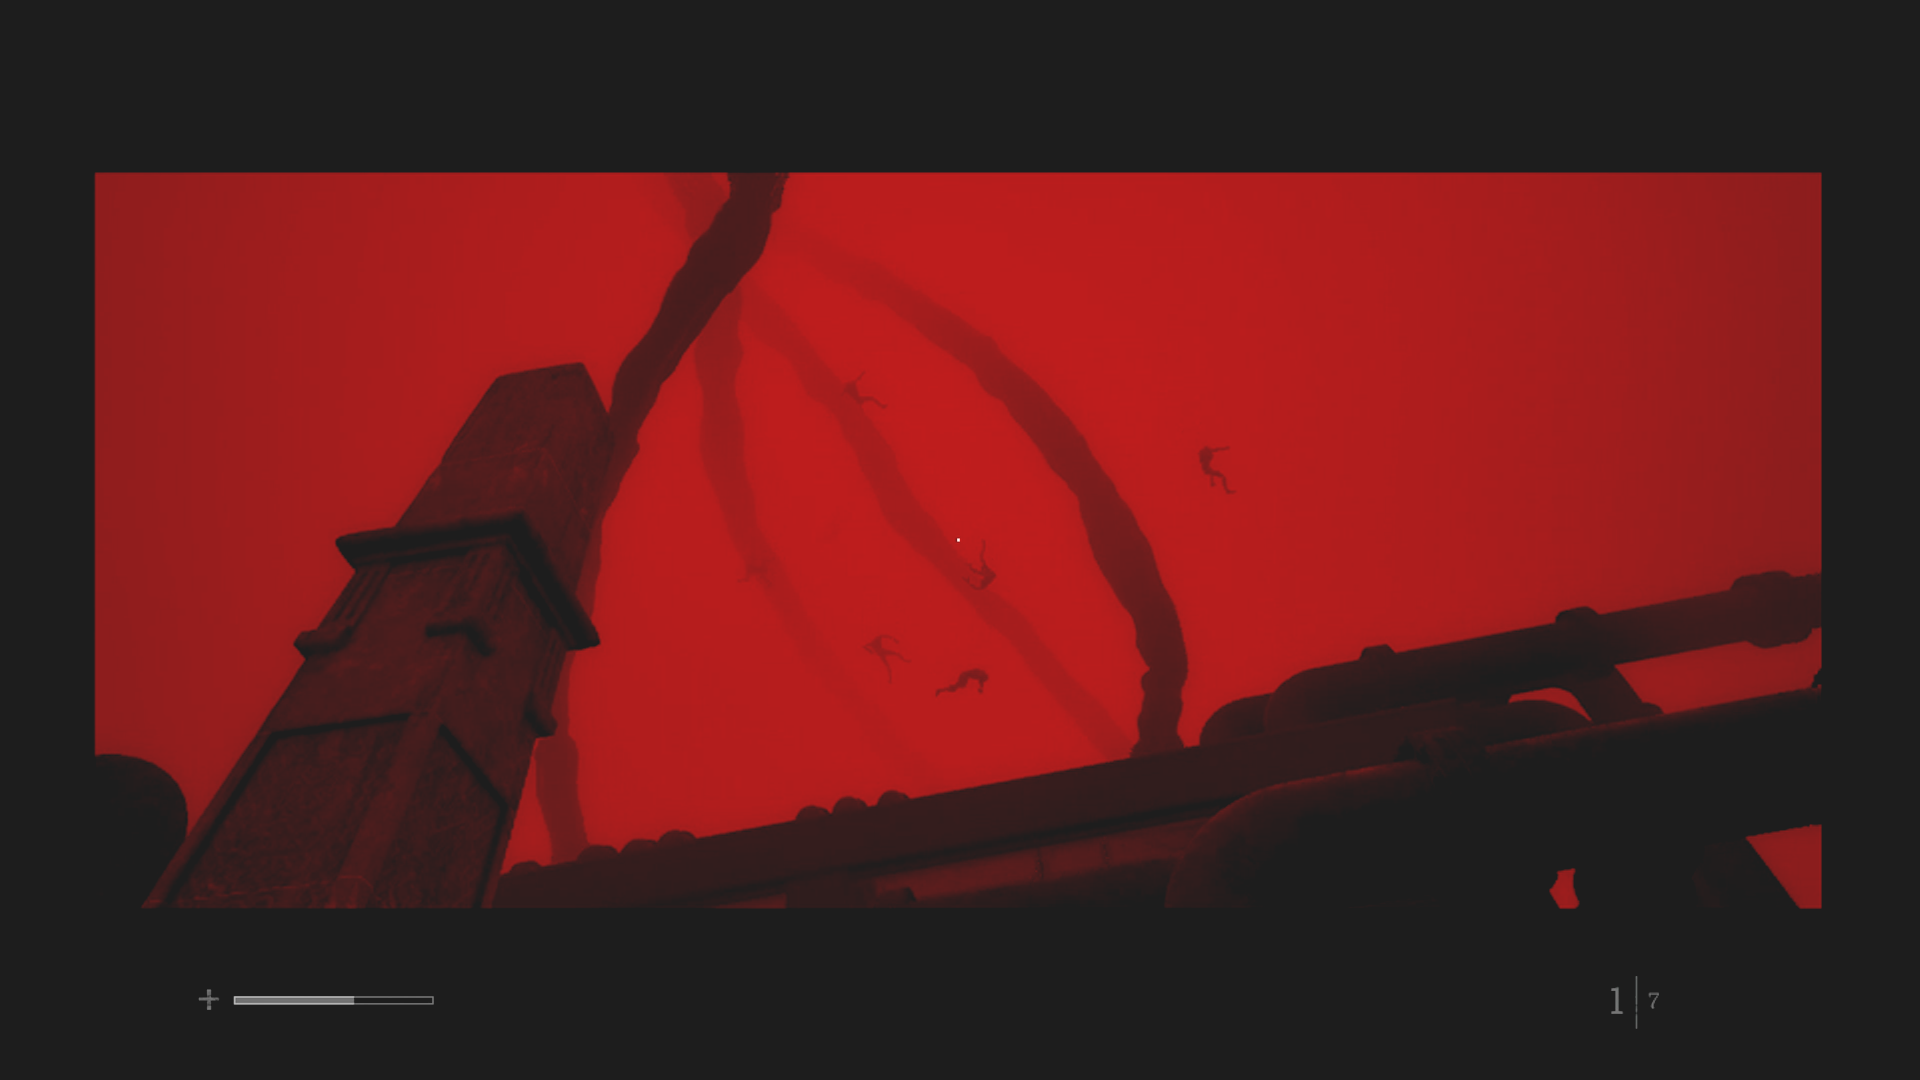
I can finally hurt the big monster. (Credit: Konami, Screen Burn Interactive)
After doing enough damage, Simon gets another headache and the Weight seems to be suffering the same headache. This gives Simon time to get around to his front and pull out one of the IV stands. This makes the Collapse shudder, seemingly injuring it. This has to be repeated three times to win. Thankfully, after each phase you get an automatic save and when you die there’s the option of continuing from that point or starting over.
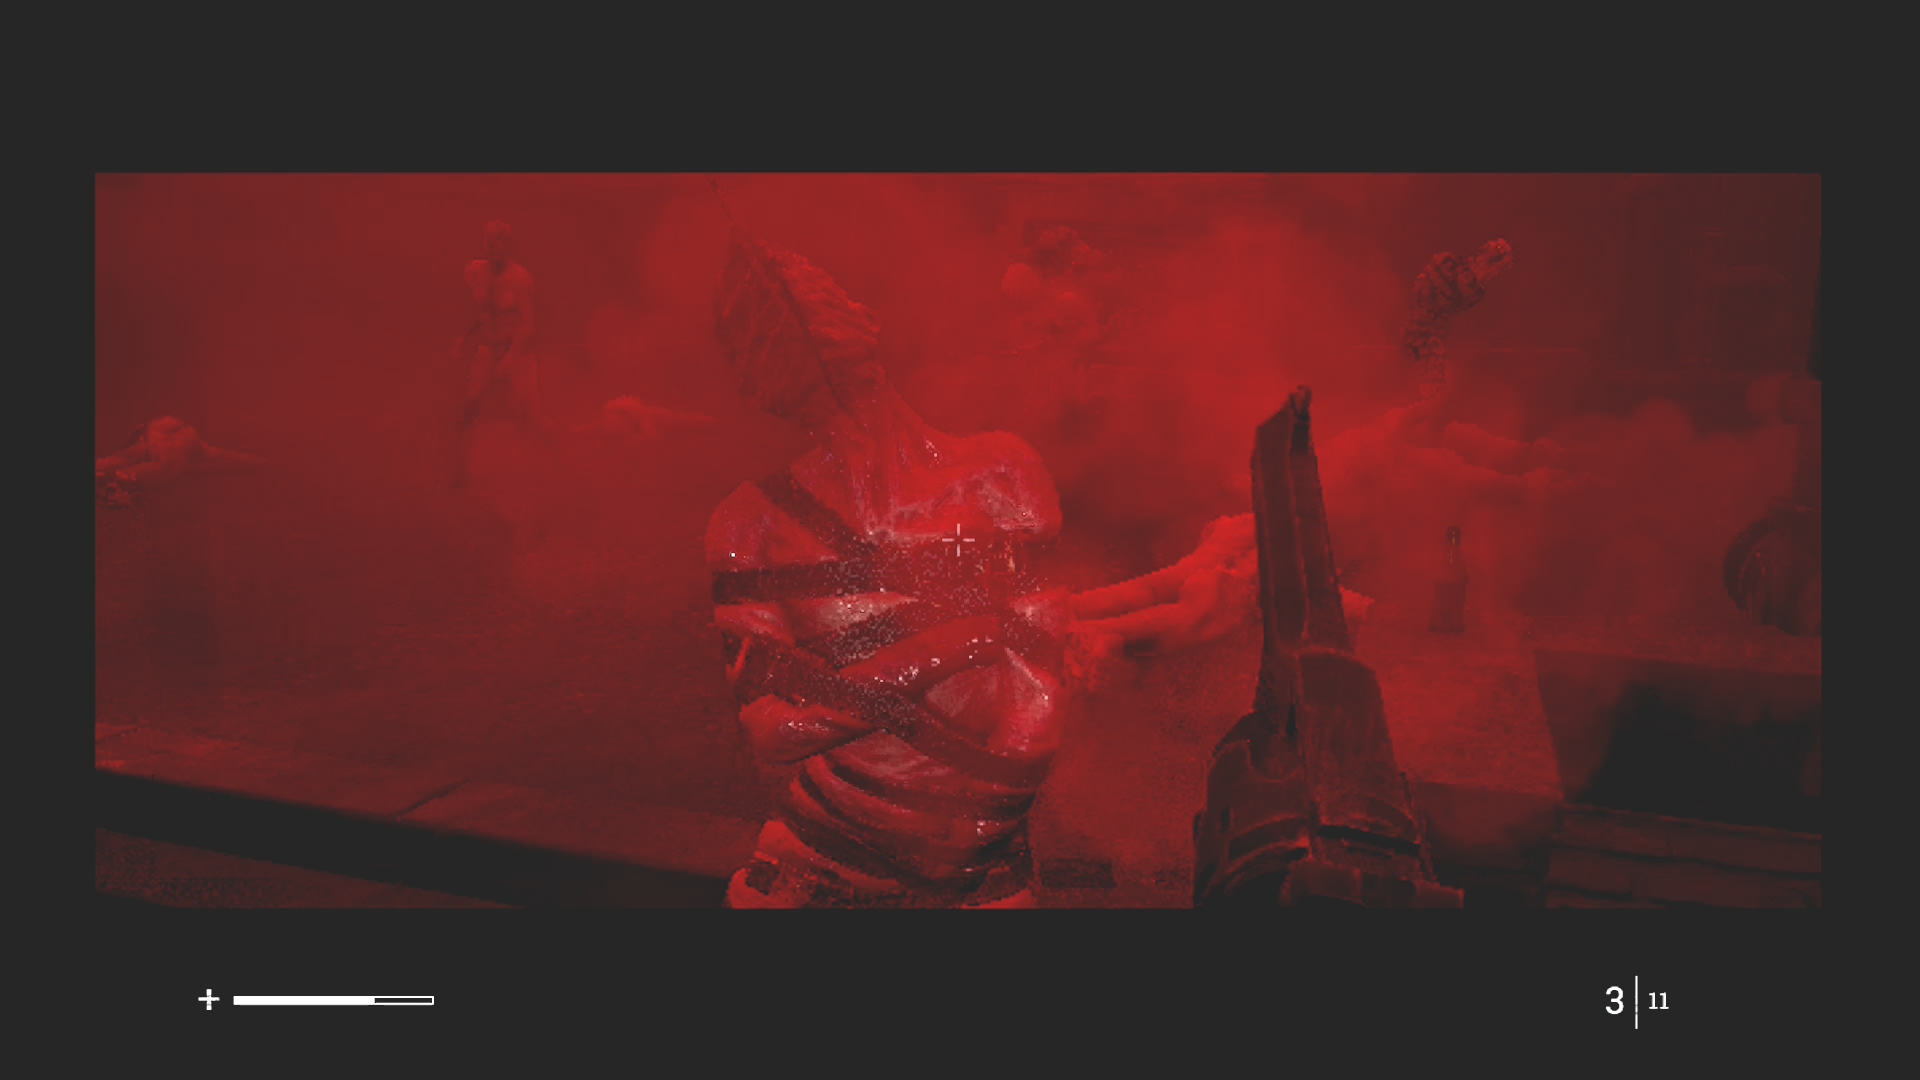
Swarmed! (Credit: Konami, Screen Burn Interactive)
As the fight goes on, more and more monsters drop until, in the last phase, Simon is in danger of being swarmed. It’s pretty difficult to take care of them and the Weight at the same time, so by the last phase I had to just avoid them and focus on the boss.
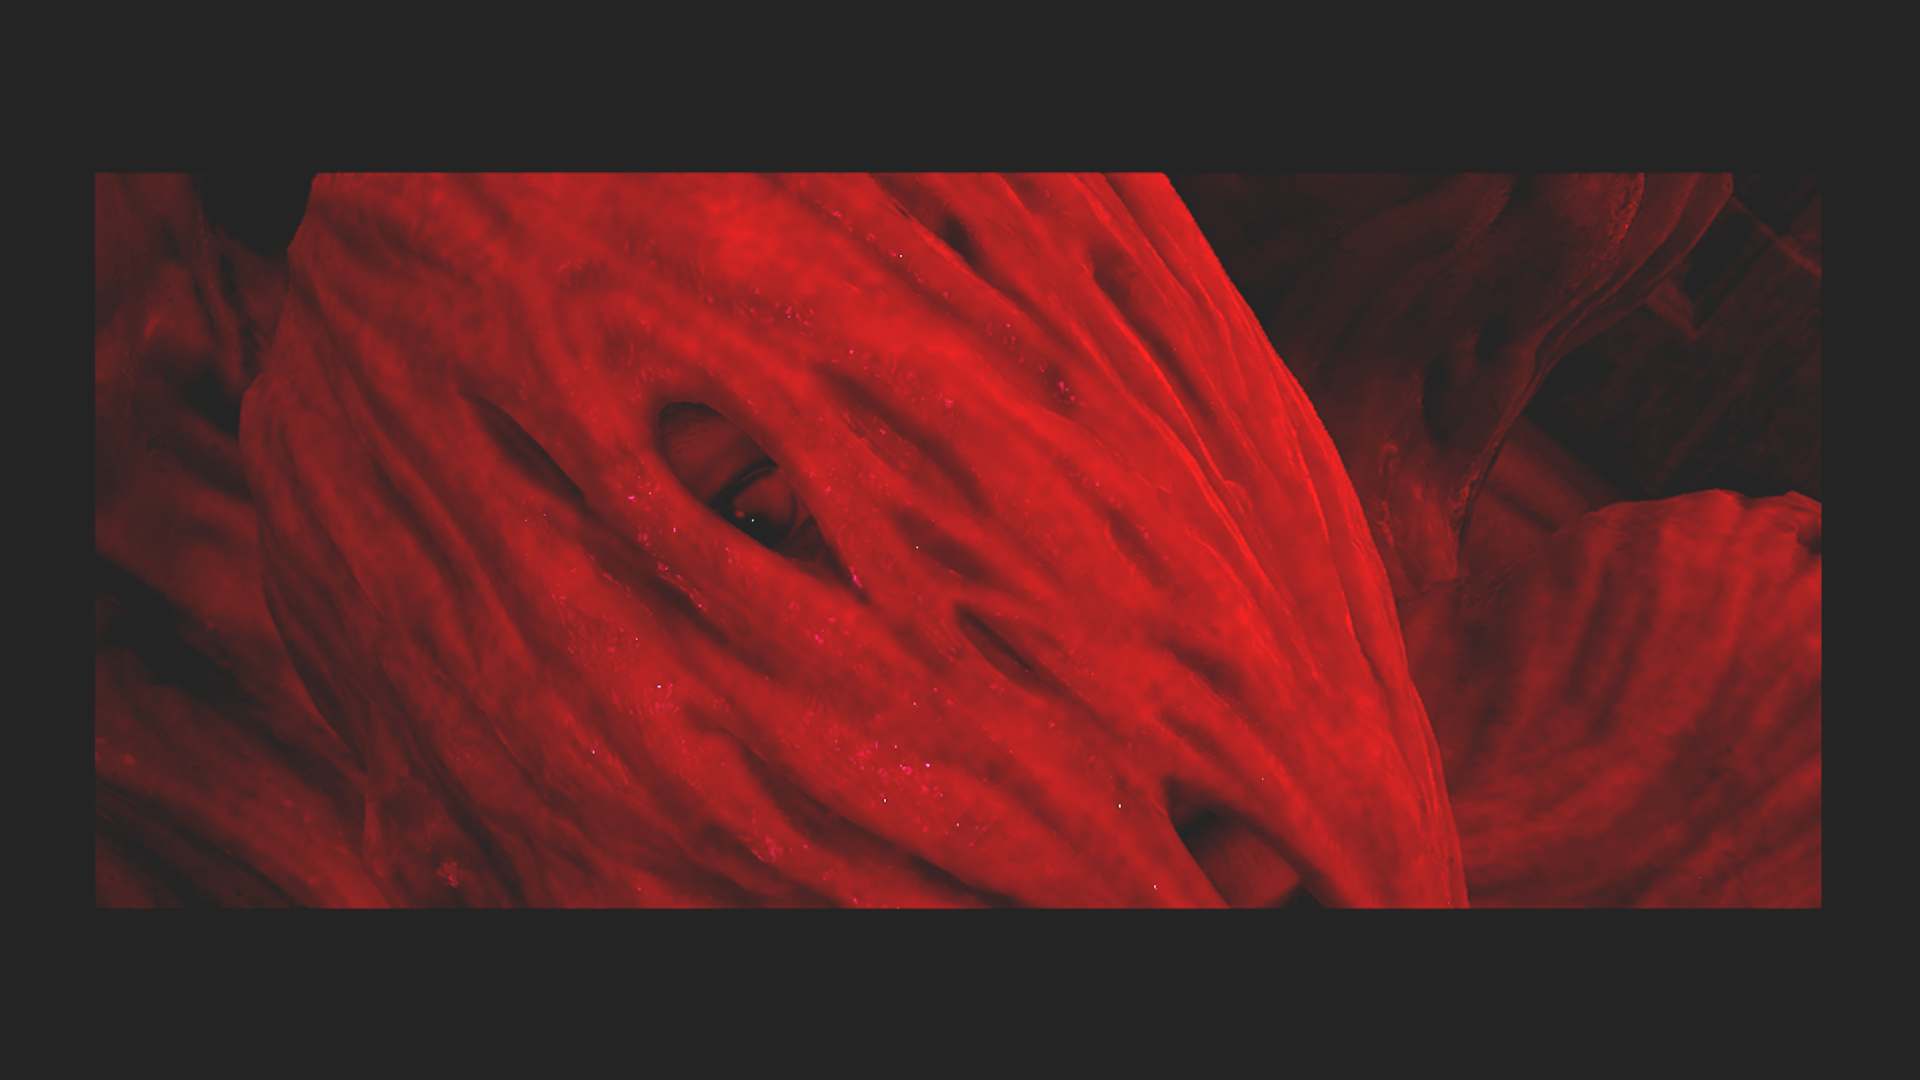
Hard to tell in the screenshot, but that’s a human eye peeking out. (Credit: Konami, Screen Burn Interactive)
After the Weight finally falls, Simon approaches it and sees what looks like his own eye peeking out from beneath the scar tissue that coats the monster.
Simon walks out into a normal-looking but empty St. Amelia. He comments on how quiet it is. Zoe says it’s been like this for so long. Simon walks along the edge of town and back to the dock, all the way back to the starting point.
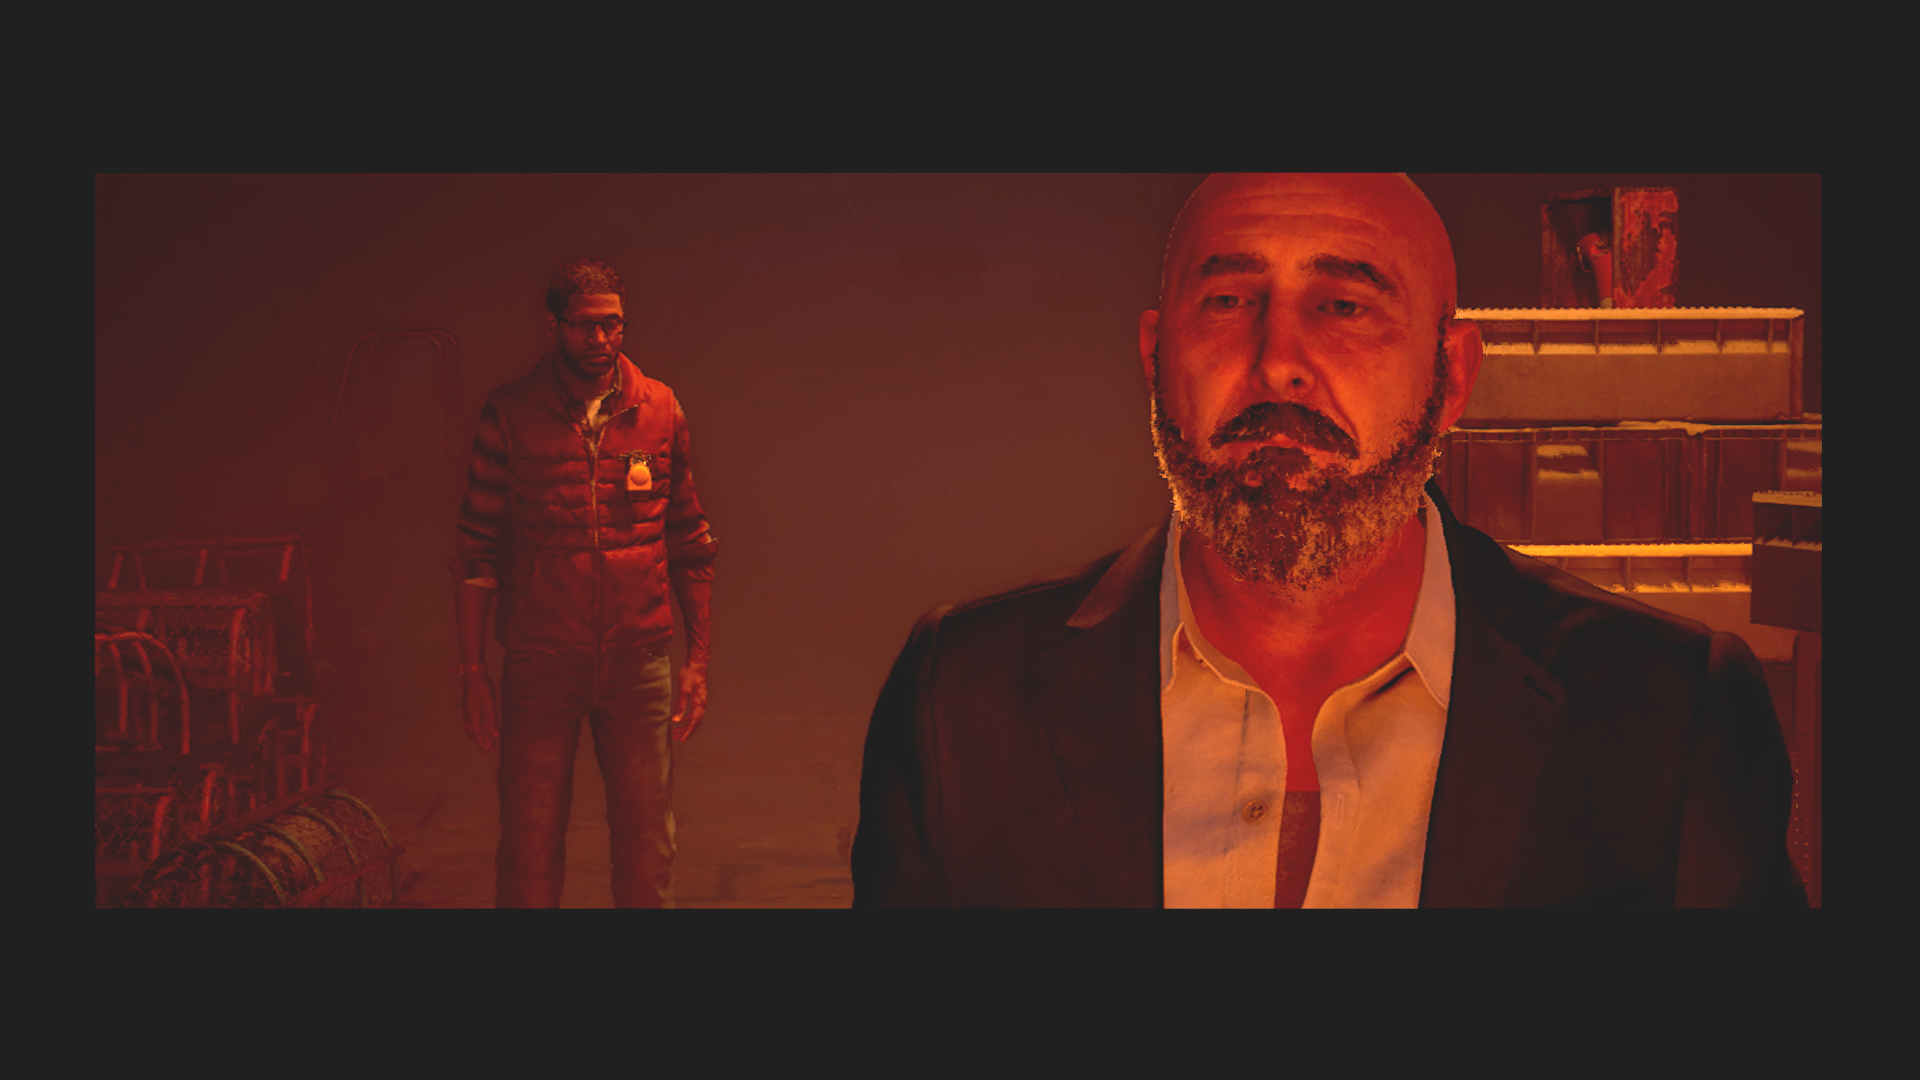
Richard has such a punchable face. (Credit: Konami, Screen Burn Interactive)
Richard stands at the end of the dock, spouting off about how it all turned out. He refuses to let it go. He says he built this town and it’s nothing without him. He says he gave everything to the town and they just want to blame him.
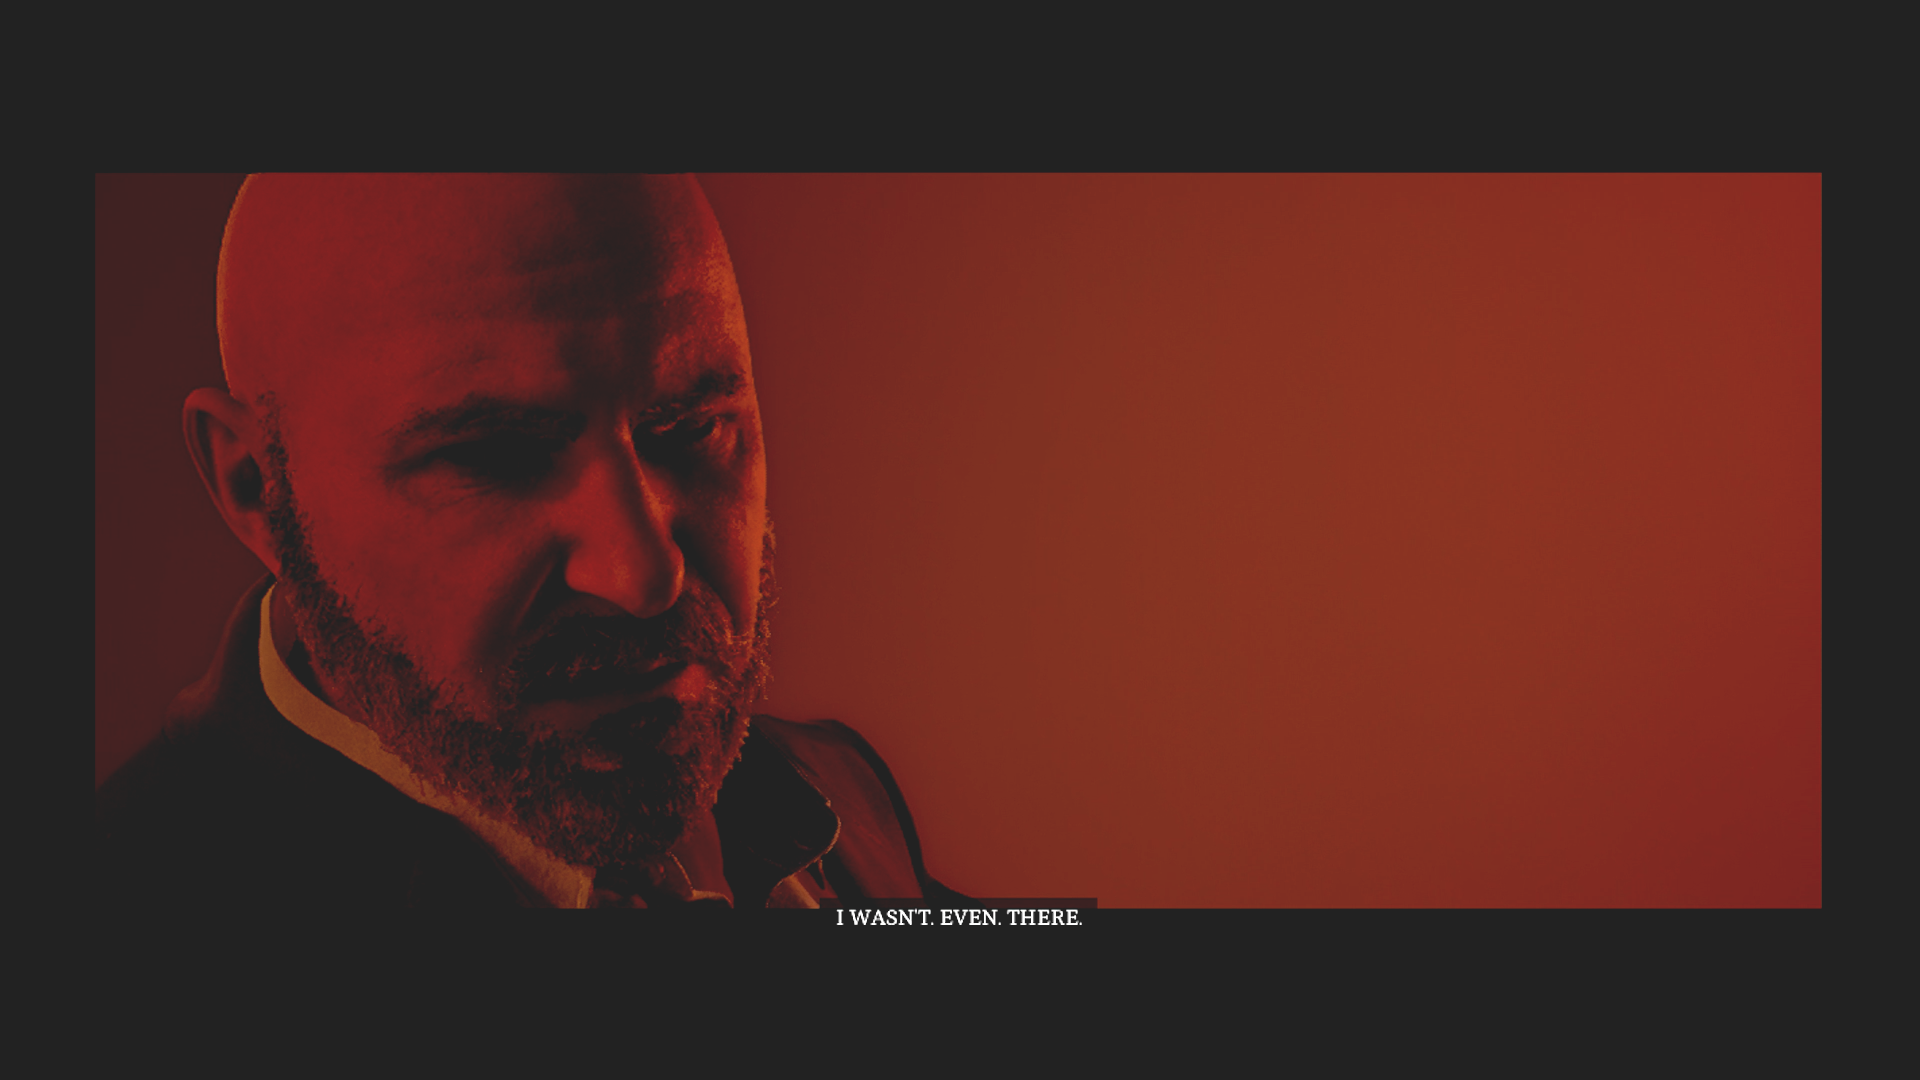
This guy’s a petulant ass. (Credit: Konami, Screen Burn Interactive)
He says he wasn’t even here when it happened! He refuses to take any of the blame.
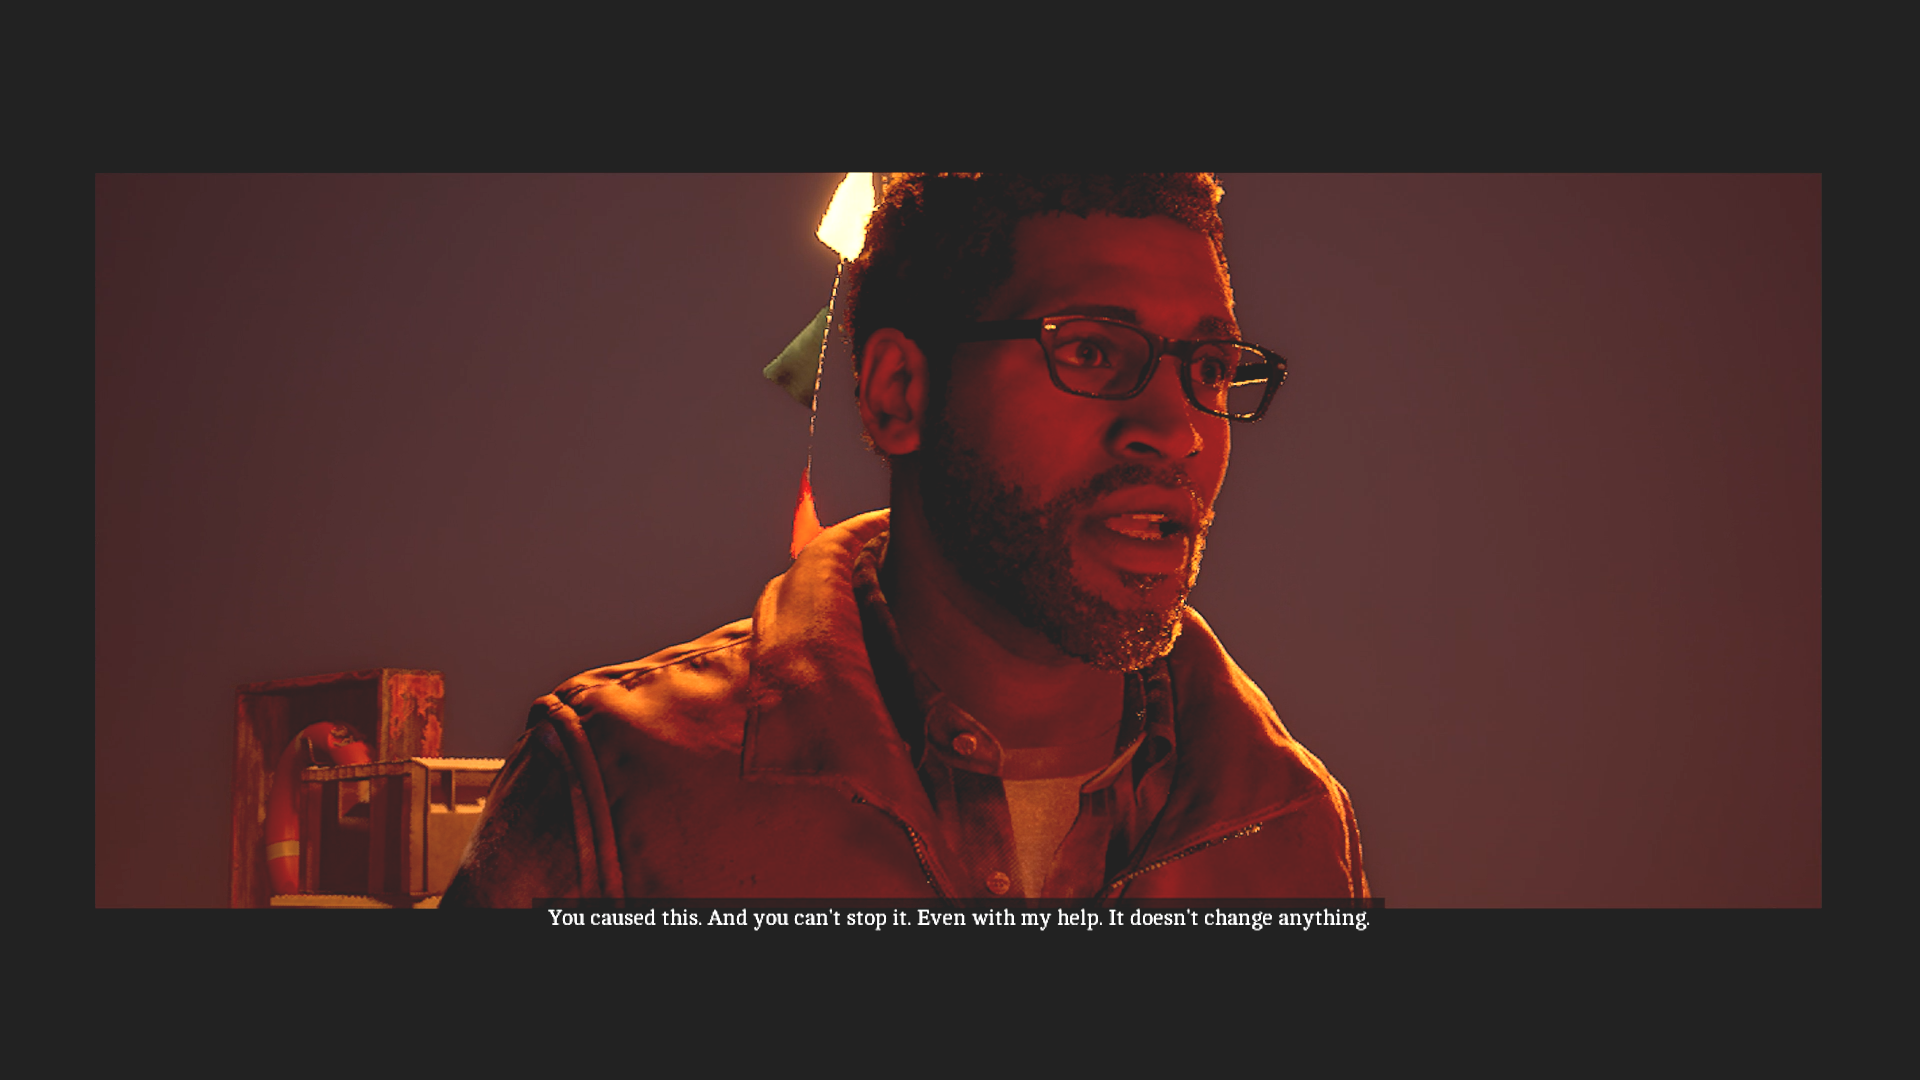
Simon’s sick of Richard’s shit. (Credit: Konami, Screen Burn Interactive)
Simon loses his patience, explaining to Richard that it was his fault and he can’t change things. It’s already happened. He tells Richard that he’s going to give the town back to the people.
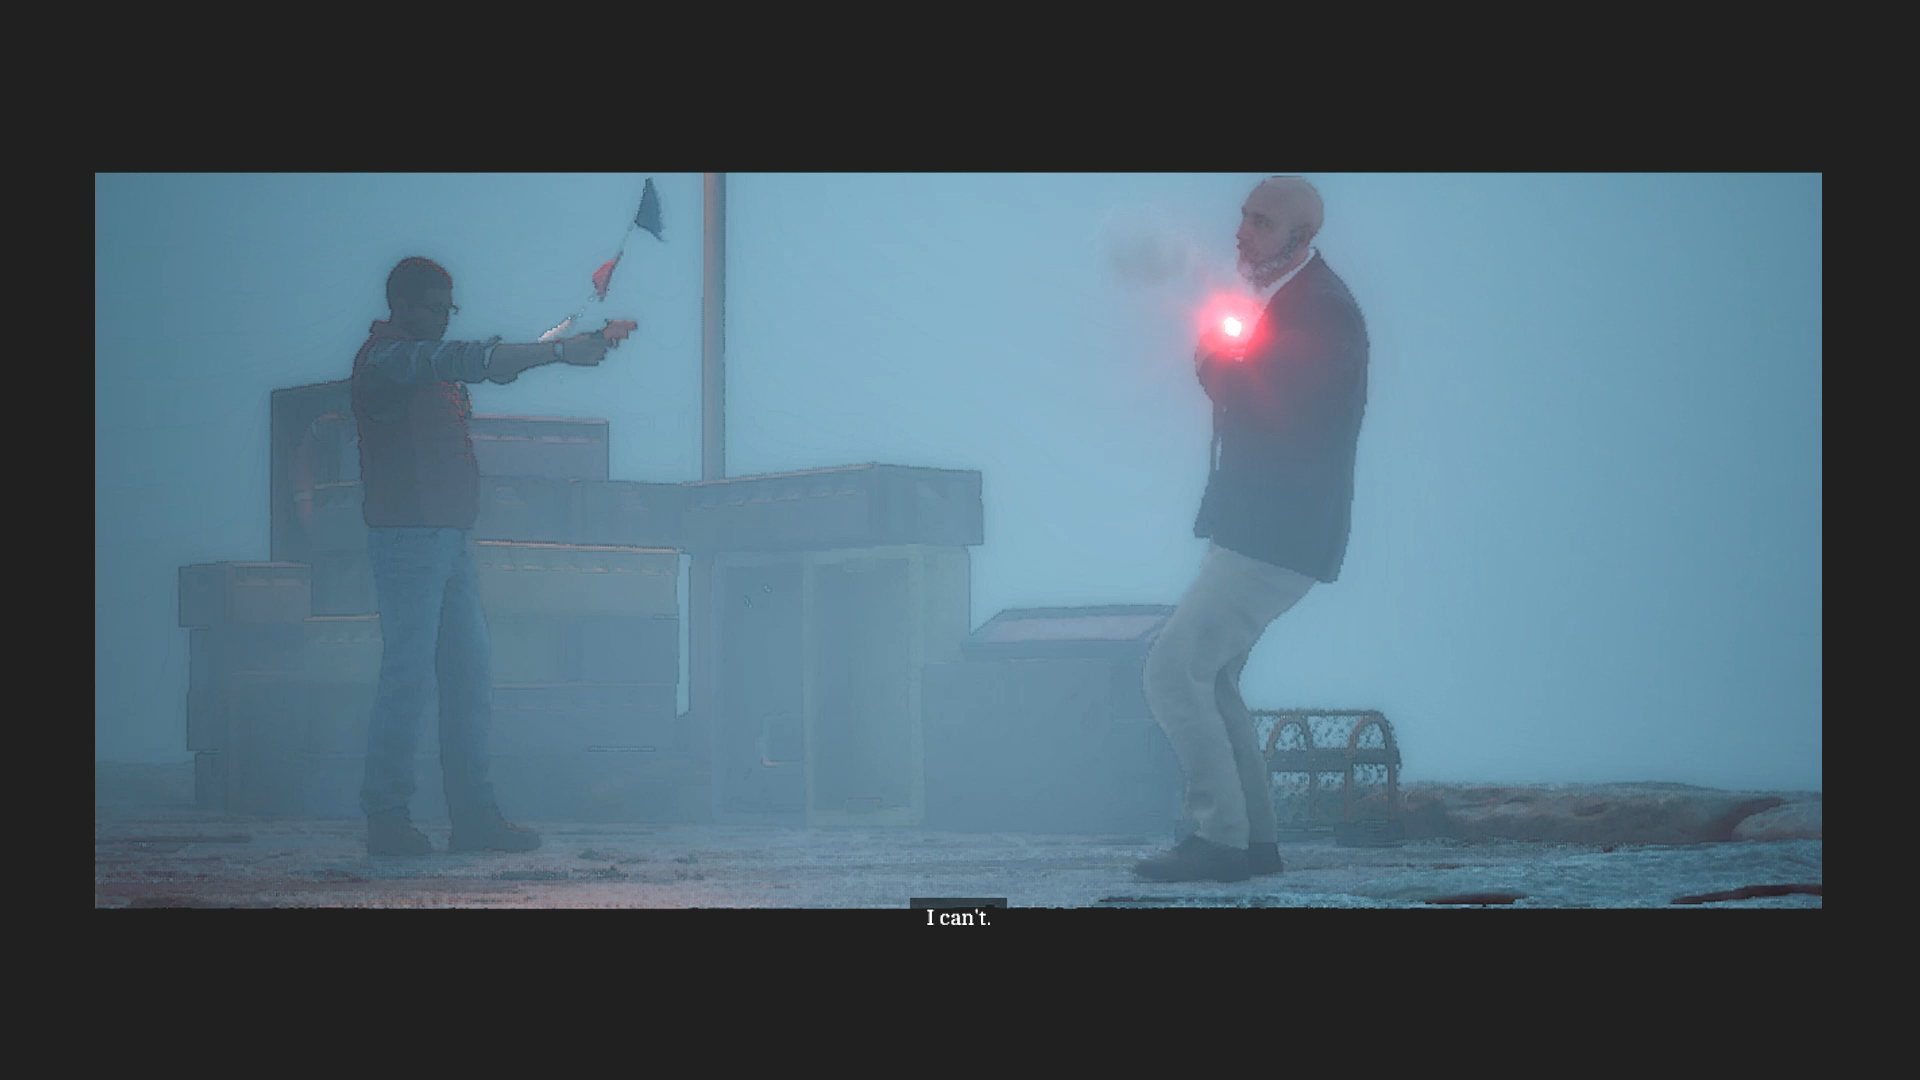
Bang. (Credit: Konami, Screen Burn Interactive)
Simon shoots Richard point blank with the flare gun, killing him.
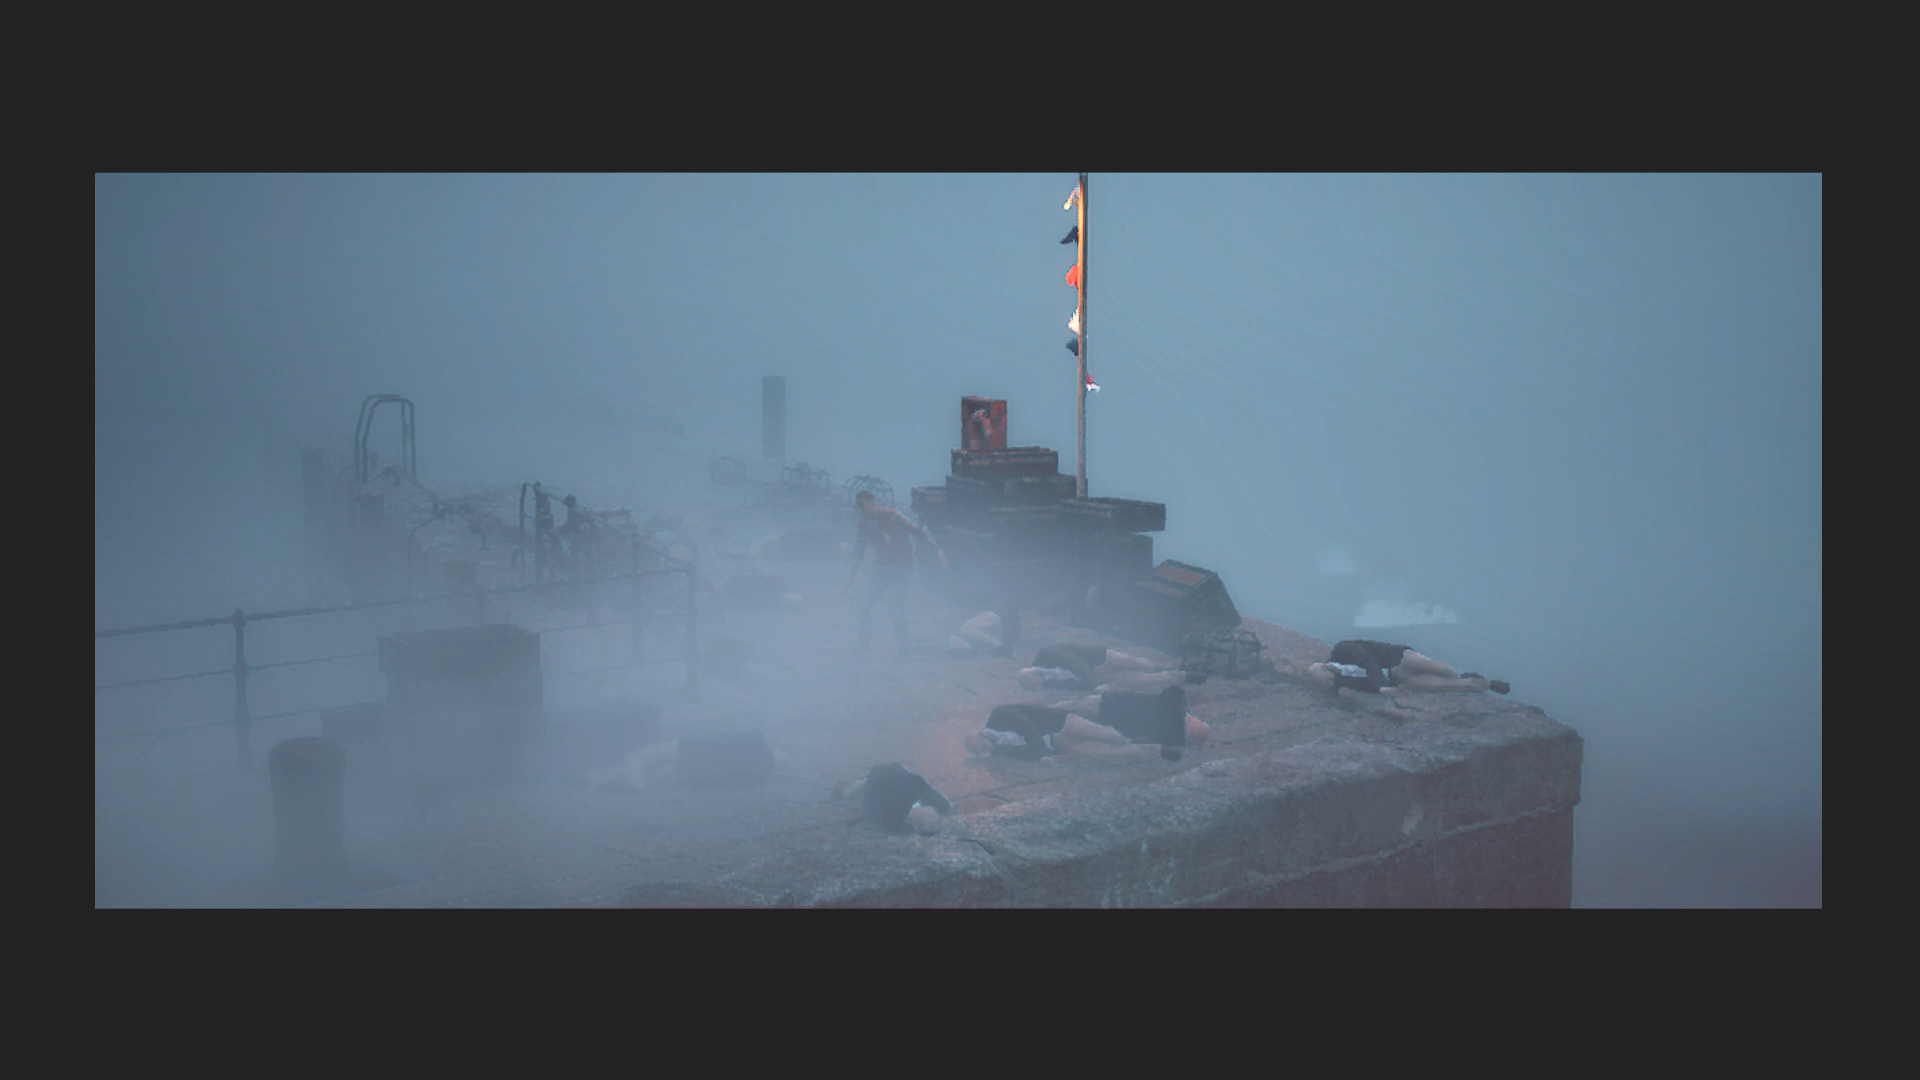
Ohhhh, snap. (Credit: Konami, Screen Burn Interactive)
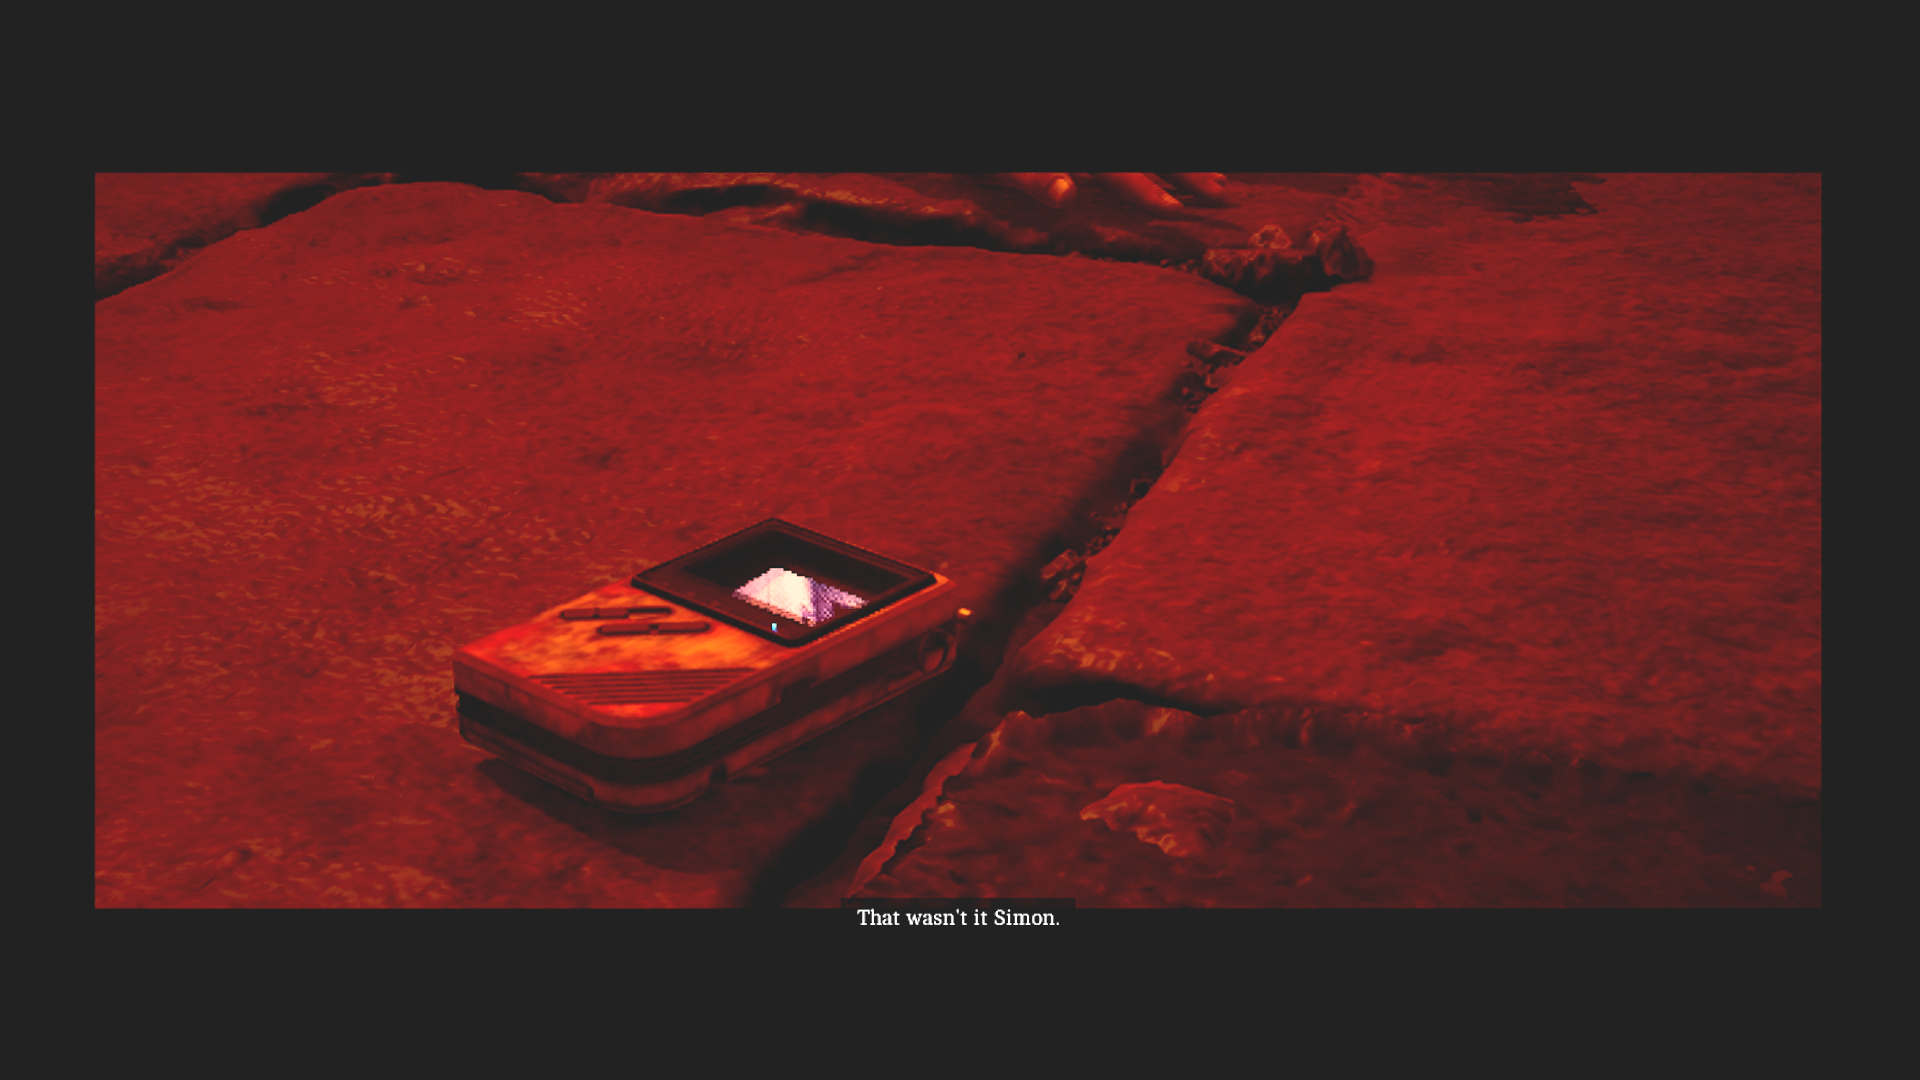
Simon looks around him, shocked to find more Richard bodies lying around. This has already happened. Simon has made this choice before. He drops the CRTV and Richard says from the screen, “That wasn’t it, Simon.” Simon falls over the edge of the dock into the water, hearing Zoe repeating that things can’t change. You can’t fix it. You can’t change what you did.
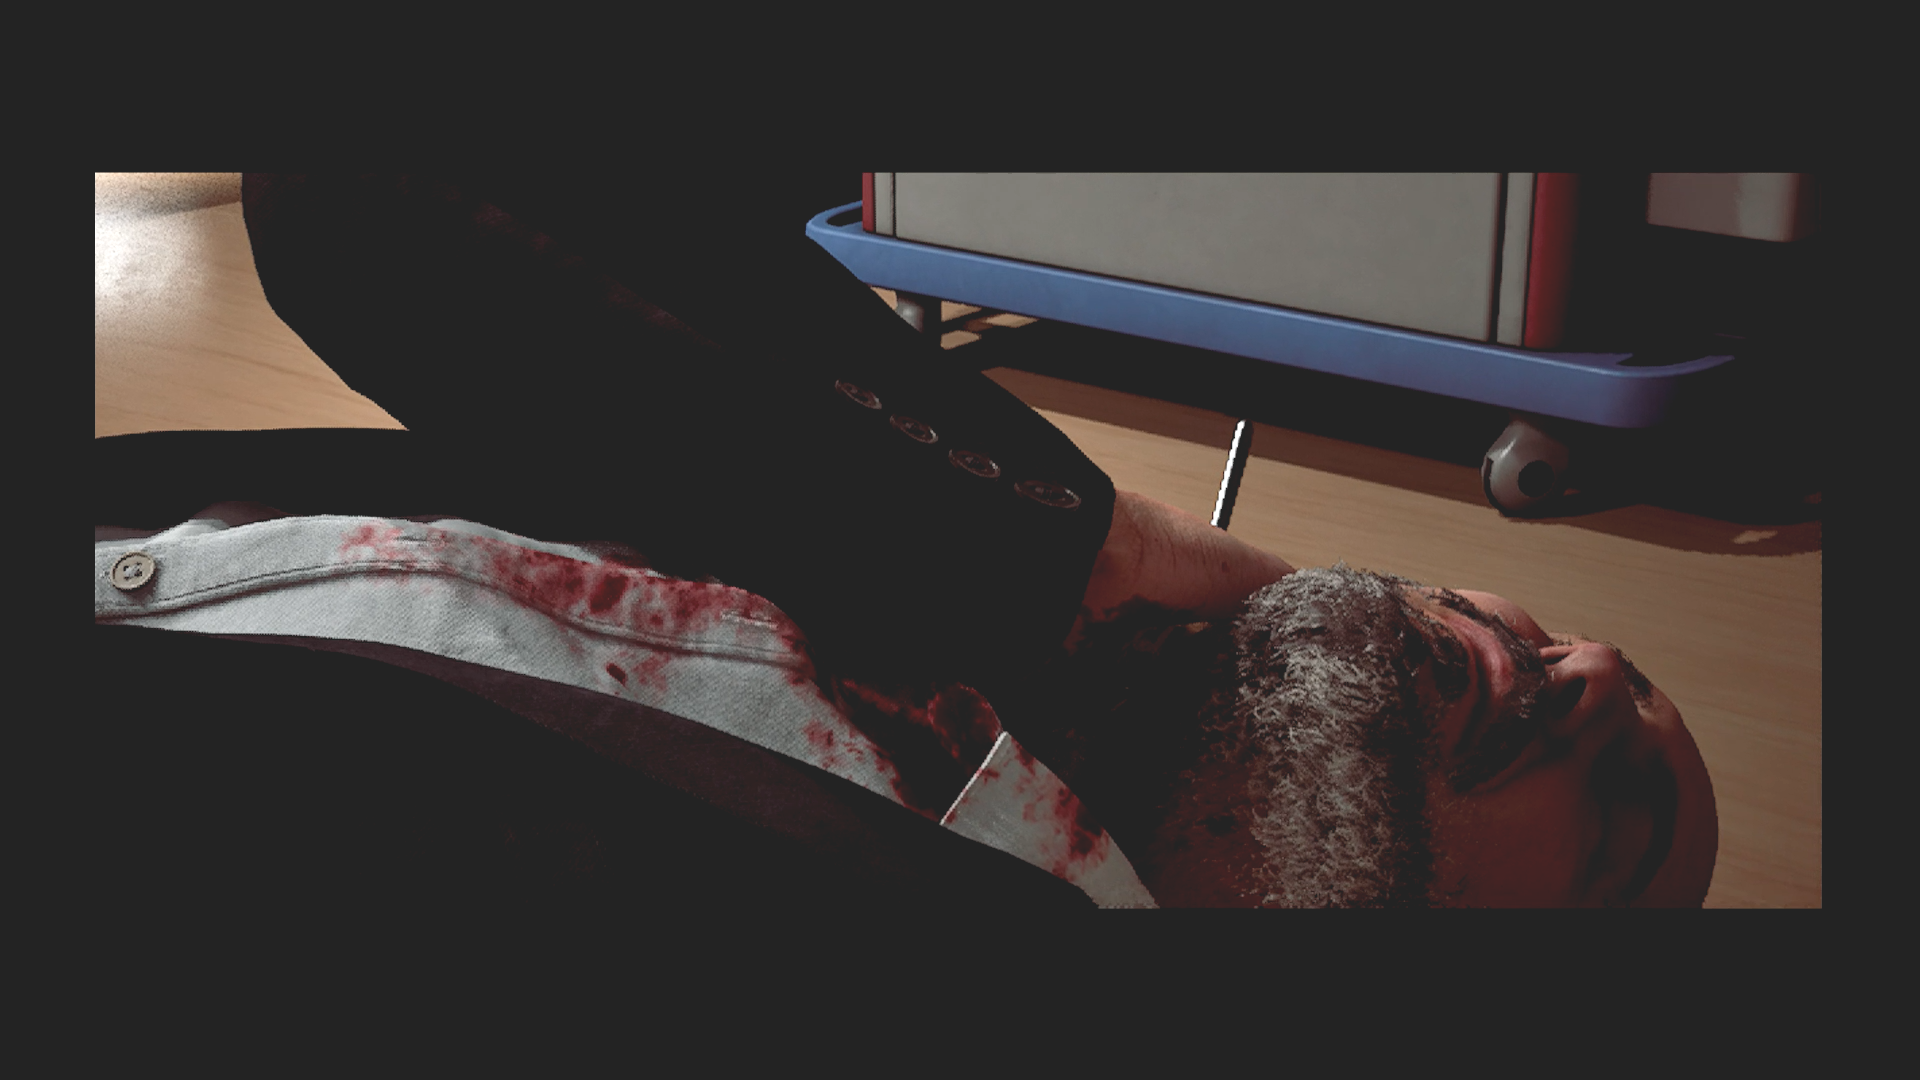
What really happened. (Credit: Konami, Screen Burn Interactive)
We flash back to the hospital room and see that Simon has stabbed Richard in the jugular with the scalpel. Simon sits beside the bed and watches him bleed out. Medical professionals are heard outside the room, panicked. At least that was the ending I got. Roll credits.
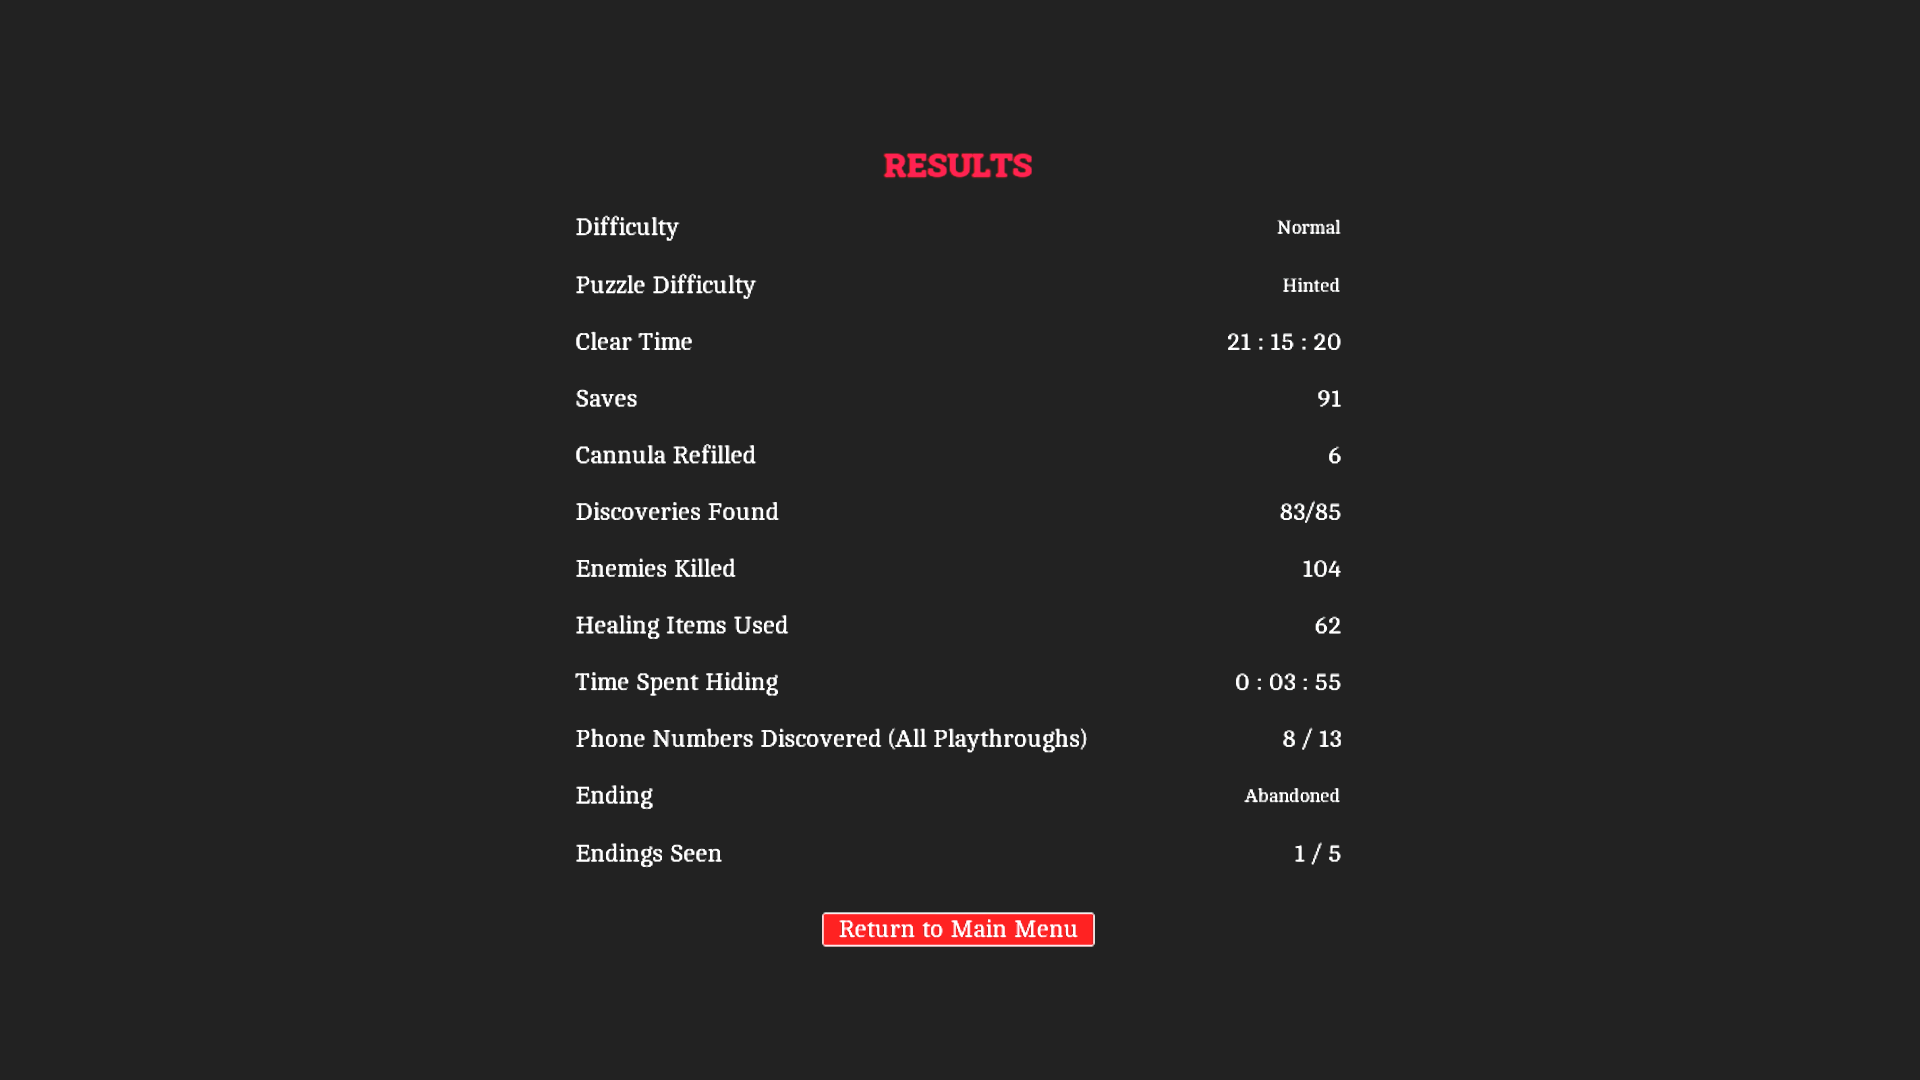
Stats. (Credit: Konami, Screen Burn Interactive)
Here’s my stats for the playthrough. Apparently I got the bad ending. I don’t feel too down about it, though. From what I can see online, this is the most likely ending for a first playthrough. The endings work on a point system. The documents and clues you find add points, while each kill and revive with the IV bag deducts points. Zoe’s and Richard’s kills don’t affect your score, but Zoe’s mistakes in surgery also deduct points.
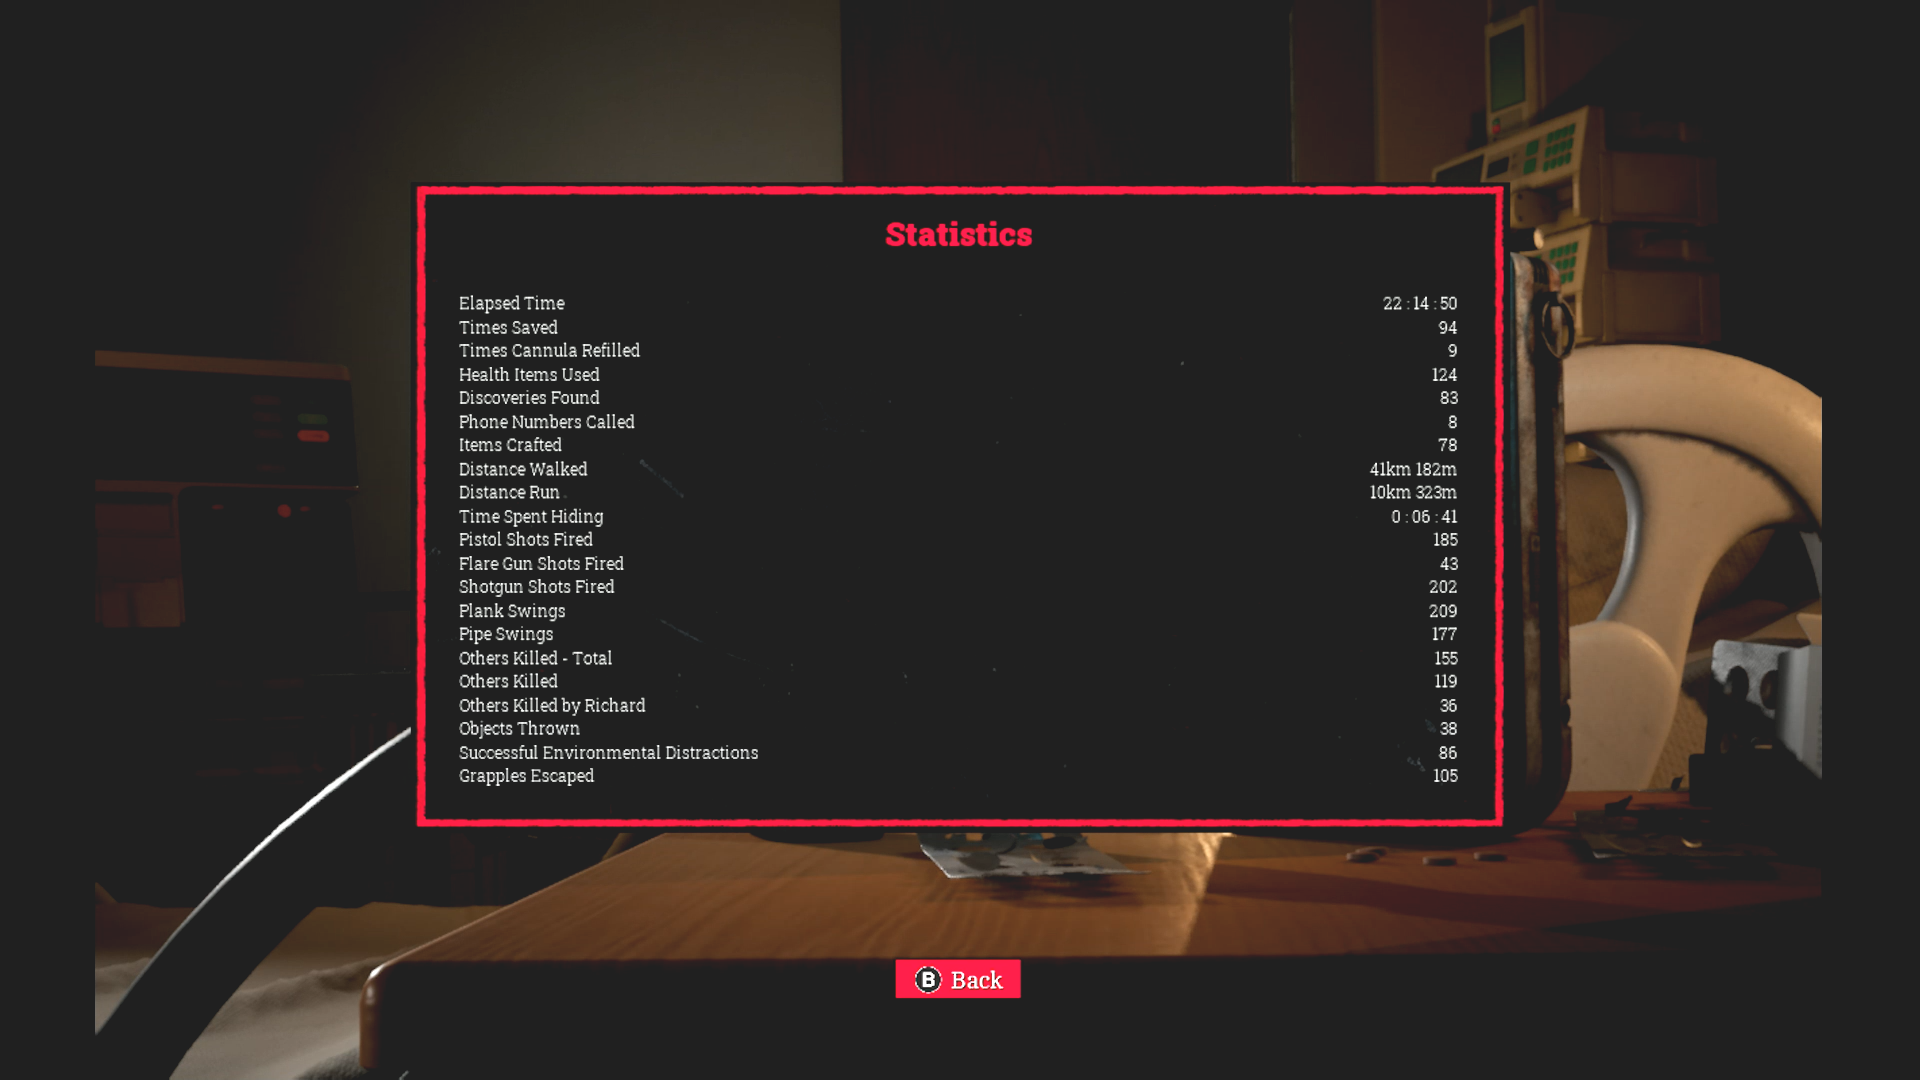
More stats. (Credit: Konami, Screen Burn Interactive)
There are five endings in the game, three standard ones and two novelty endings. From what I understand you can get all the endings on two playthroughs using multiple save files. The idea here is to get a high score to get the best ending, then reload to tank your score a bit to get the mid ending. Then reload twice more to fulfill the requirements for the novelty endings. The other two endings are the UFO ending and the Dog ending, so you know I have to see those! The UFO endings are always great and the Dog ending in Silent Hill 2 was so memorable and weird.
That’s a wrap! (Credit: Konami, Screen Burn Interactive)
So that was Silent Hill: Townfall! This was not an easy one to get through, mostly due to time constraints and exhaustion. If you read my previous post, then you know I’ve had a lot going on recently. There were times that the rigors of the game were too much for me and I had to quit playing much sooner than I had planned, so it took me several weeks to get through it. At times it really felt like I wasn’t going to get through the game and this post in time for Halloween, but somehow I pushed through and did it.
I liked this shot. (Credit: Konami, Screen Burn Interactive)
This was a bit of a different game from the previous installments in the series. And at times I wasn’t sure how I felt about it. But by the end I was fully on board. I can certainly see why they went this route with the gameplay. The first person camera puts you more in Simon’s head and the stealth aspect is a choice that actually lends itself well to the themes and plot. That’s not to say it was all good. But more on that later. First let’s do our plot analysis.
Good question. (Credit: Konami, Screen Burn Interactive)
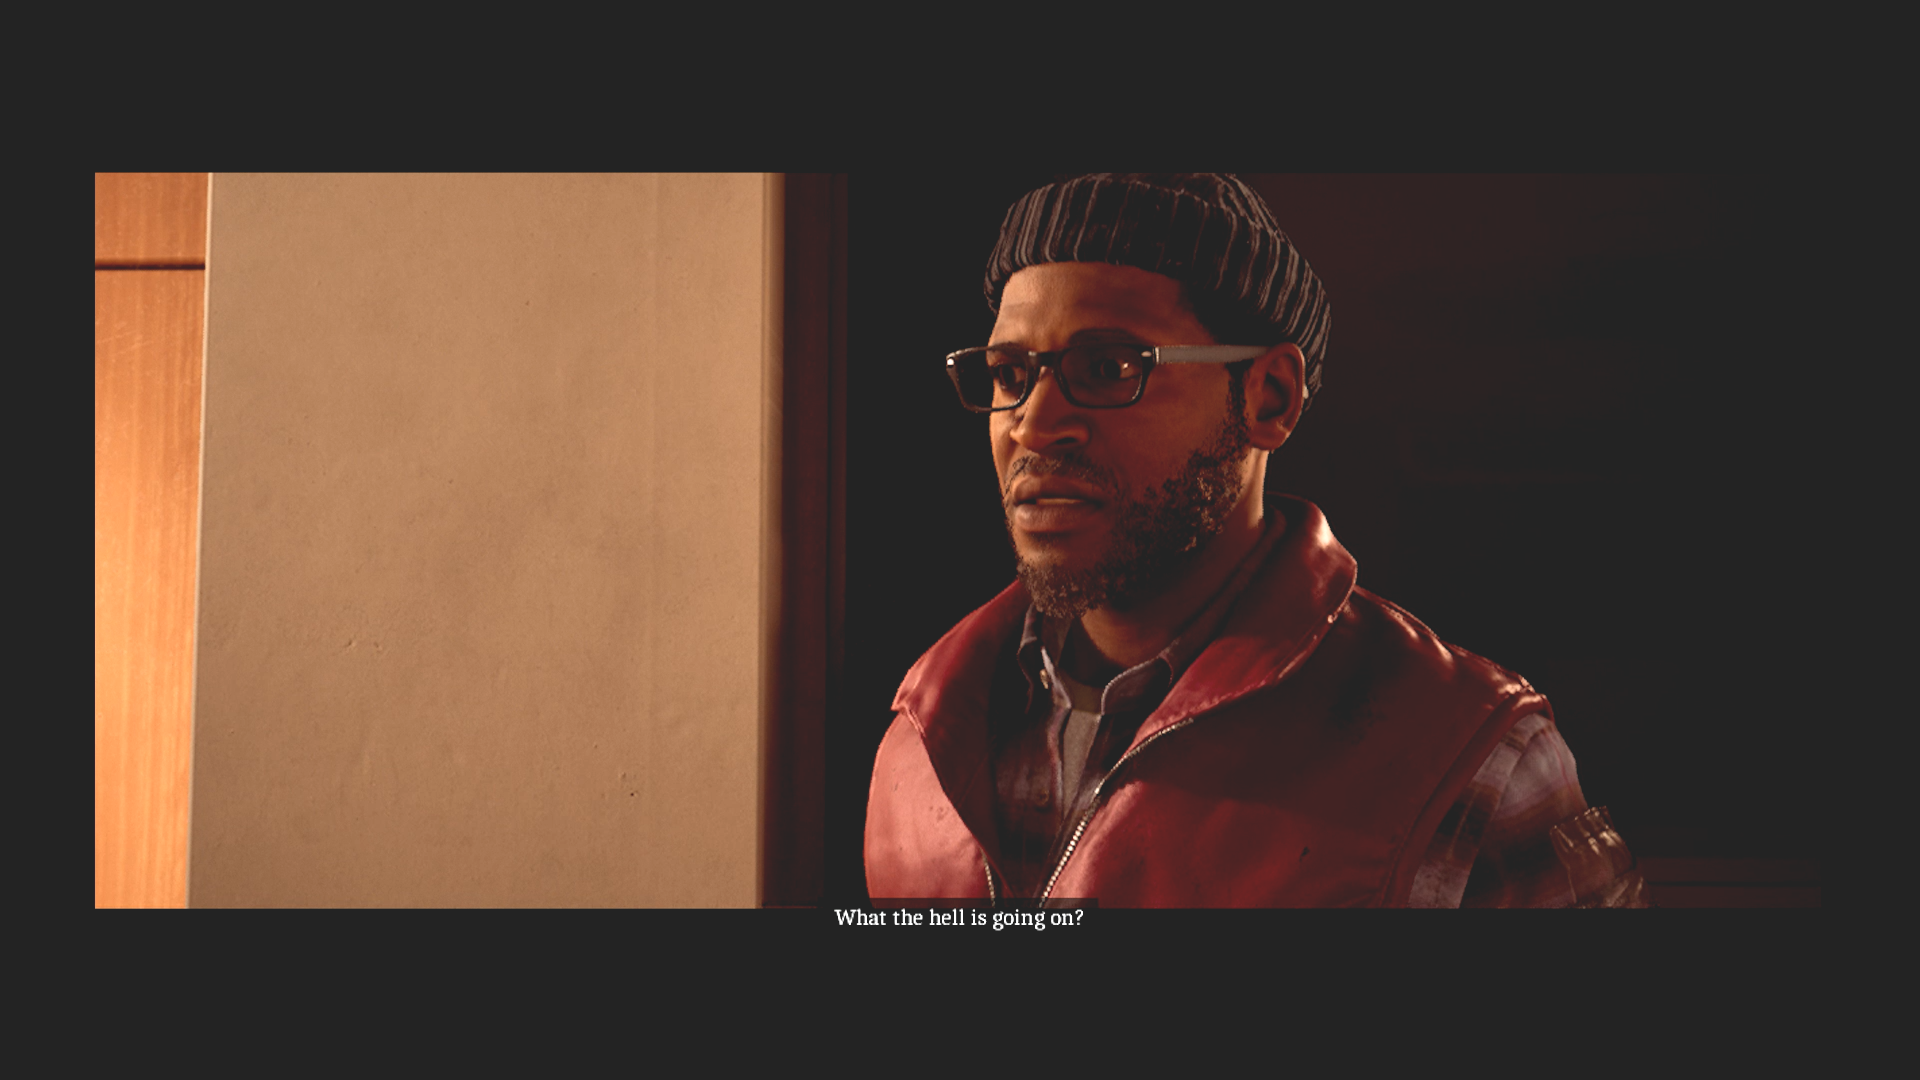
As with any Silent Hill game, once we finish we’re left with one question: what the hell? Story-wise, actually, this Silent Hill is a lot more straight-forward than previous installments. While it starts mysterious, it all gets pretty much laid out for you clearly by the end.
Basically, Richard was negligent in his duties and to save money, neglected the drilling platform and the machinery. The disaster struck, killing 88 people, contaminating the water, and causing the island to be closed off from the mainland. Initially Richard blamed the engineer, causing public backlash. Simon and Zoe were caught up in the middle of the fallout of the disaster, unsuited for the positions they were forced into, but still did all they could to help others. Simon barely got out of it alive and needed Richard to pay his medical bills and arrange a heart transplant. Richard did not do this out of the goodness of his heart, but rather to make a devil’s deal with Simon, convincing him to pin the blame on Joe, the first victim of the disaster, publicly absolving Richard of the blame.
After this, Richard (possibly because he was killed by Simon) found himself in the purgatory of Silent Hill, trying over and over to prevent himself from being fired and blamed by everyone for the disaster. He called Simon there to help him. And Simon, apparently, called Zoe. This is what the dialog suggests, but I have my doubts. Zoe also claims that she has always been in that room. So it’s possible that Zoe was the one who first called Silent Hill to her town.
Why did Richard kill Zoe? I think he blamed her for Simon’s change of heart. We know that Zoe contacted Simon asking what deal he made and tried to convince him to tell the truth. Richard seems to think if he can eliminate Zoe, Simon will tell the truth crafted for him and everything can go back to how it was. Or he believes she is the reason none of the changes will take.
Of course, keep in mind that I’ve only seen one ending. In my ending, Simon kills Richard but then sees he’s done it before. The loop continues until he makes a different choice. They’re all still trapped in St. Amelia/Silent Hill until someone does the right thing or until Simon fully accepts that he’s not to blame for what happened. Simon falling into the water at the end loops back around to the beginning where he climbs out of the water and starts the whole thing over.
(But of course, the existence of a Dog ending tells us the truth. It was Mira, that pesky Shiba Inu, who caused this all.)
Face off. (Credit: Konami, Screen Burn Interactive)
Central to the story are the three playable characters. All three are wracked by guilt and while they’re stuck in purgatory, they’re struggling to change what had happened. They know it’s impossible. Richard wants his job and his credibility back. He’s convinced himself that the town and CEG are nothing without him and will not take any accountability for the deaths. Zoe torments herself with reminders of her failures, even though the patients were more than likely beyond help by the time they got to her. Not to mention the lack of supplies they were working under— if they’d had more resources and more assistance, maybe some of them could have pulled through, but for all we witnessed, Zoe did the best she could.
And Simon? He appears to have done everything he could as well, even without being trained on all the equipment and processes. He was just there to inspect, not to avert a disaster. It was also most likely too late as soon as the part failed. (We get some confirmation of this near the end when the workers have the chance to call Simon immediately and don’t do it for fear of Richard’s retaliation.) Simon’s slip in making a deal with Richard was understandable. He was under pressure and dying. Richard paid his medical bills, got him a new heart, played the role of his friend and benefactor. All Simon had to do was say that Richard and CEG were not at fault. All he had to do was blame a dead man who could no longer defend himself.
While the story is properly shrouded in mystery at the beginning and is paced well, once all is said and done, it’s a relatively straight-forward story with little left unexplained. In that way it falls a bit short from the more nuanced and mysterious entries in the series. The misdirects with Simon and Richard were well-crafted and took me by surprise. I really thought that Richard was the scapegoat engineer and Simon had been corrupted by the CEO to either cause the disaster or cover it up. The way it played out made them both into deeper characters than they would otherwise have been. (I still have no sympathy for Richard. His actions proved he was self-serving and unwilling to grow.)
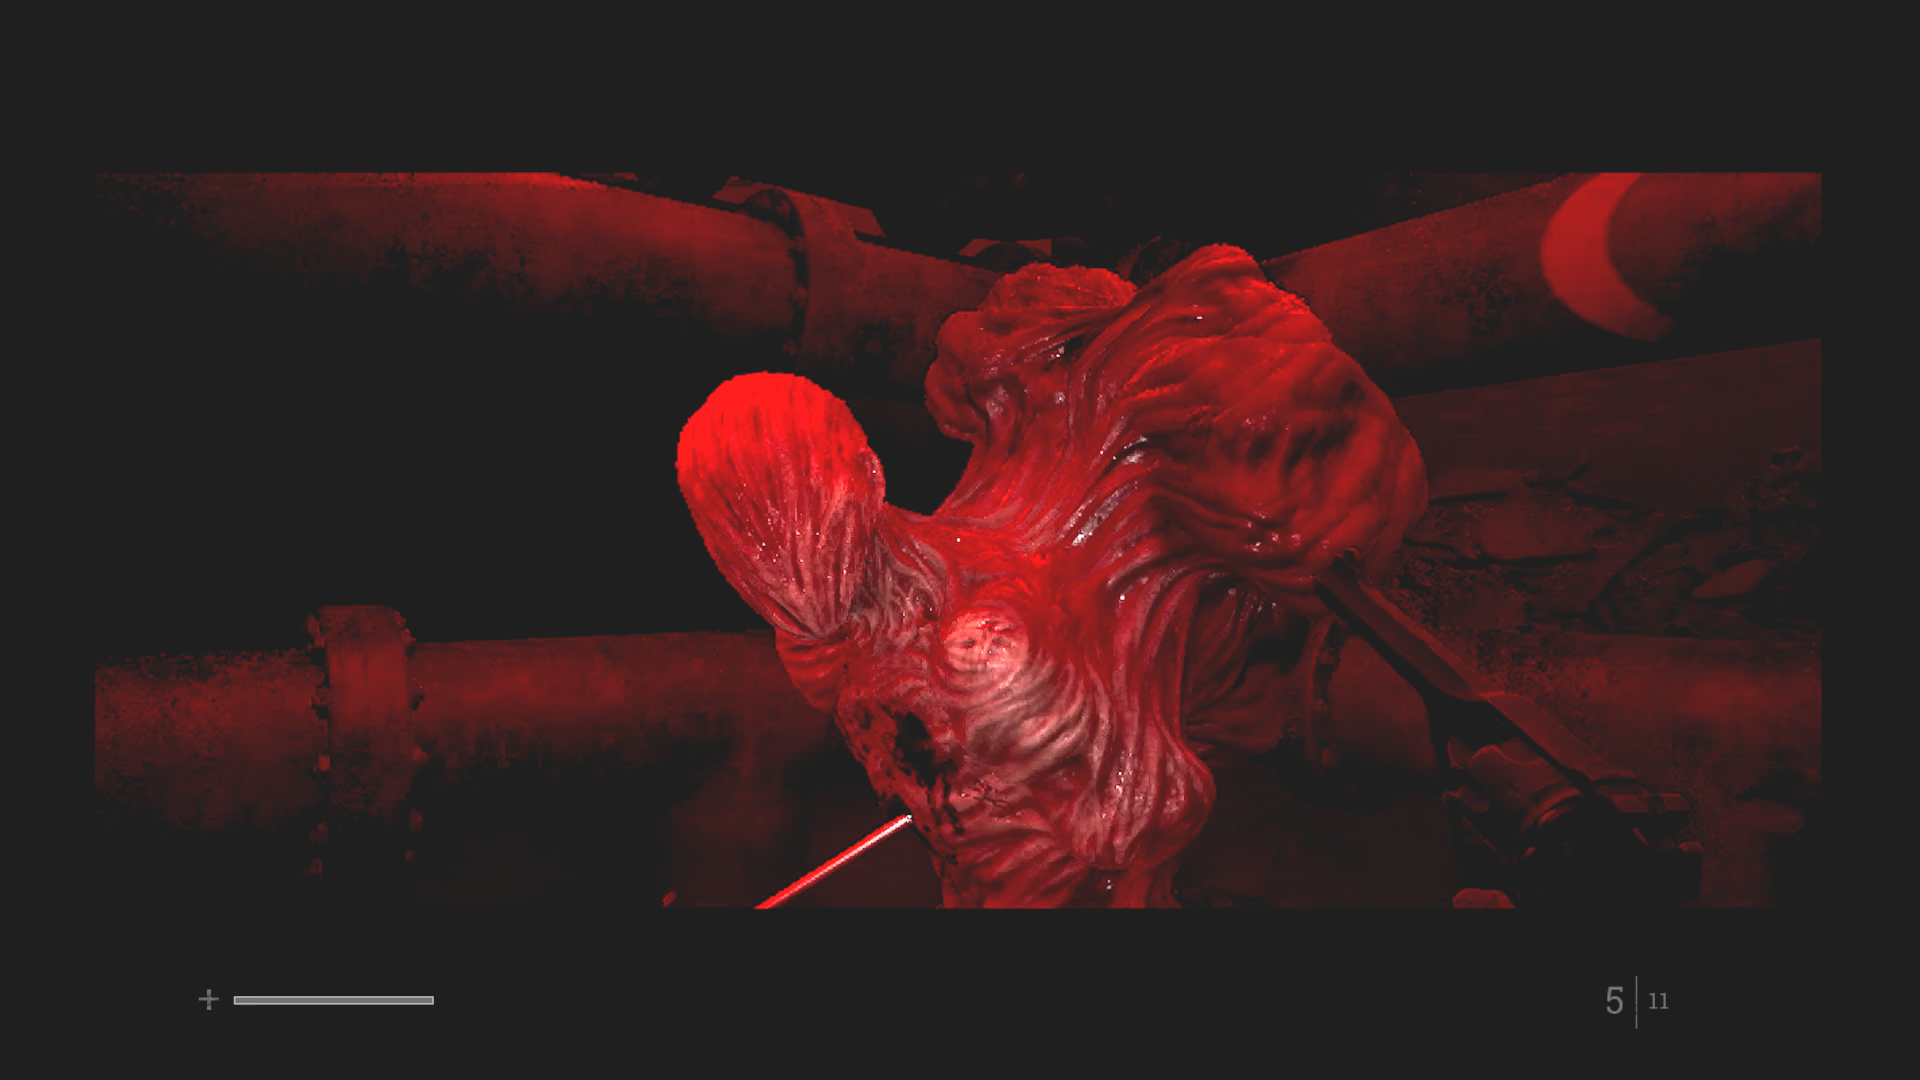
The Weight was pretty scary. (Credit: Konami, Screen Burn Interactive)
A striking aspect to the story is the character of the Weight. He serves as Simon’s nemesis, and at the end is revealed to be Simon himself. He’s a manifestation of his guilt and regret, the weight around Simon’s neck, anchoring him to Silent Hill.
Me: (While playing.) “The Weight is a lot like Pyramid Head. He’s personal to the main character and there’s just one of him. Well, except for when there were two Pyramid Heads. . . . so I guess he’s not like Pyramid Head at all.“
Cocoa: (Laughs.) “You’d better write that down just like that.“
Most of the Silent Hill games have monsters that are manifestations of the main character’s guilt and fears. (Except the first game— those monsters were from Alessa’s imagination.) The monsters in this game represent those who died in the SWDP disaster. The Sorrowful are bloated corpses who died from the contaminated water and Zoe’s inexperience. The Fallen are the workers who washed up on shore. The Lungers (the ones Cocoa and I nicknamed Hatchet Heads) were representations of the CEG workers who died in the fire. And the Widows, who come after Richard, are the protesters, those who lost loved ones to Richard’s negligence.
What about the Collapse? The mysterious behemoth that towers over everything, dropping monsters? This is a representation of the SWDP disaster itself, the sinking oil platform that took all those workers (and nearly Simon) to their watery deaths. This is why it drops bodies. It spins like a drill, representing the machinery that failed. It’s the specter of the disaster all three main characters feel responsible for. In the deluxe edition’s art book, the design sketches show that there is a flat platform at the top of the Collapse, but this is not viewable in the game itself.
The overarching theme in Silent Hill games seems to be whatever dark or demonic force is infecting the town makes a person’s internal trauma into external nightmares. As such, it’s no longer just one town. We've seen it in South Ashfield (Silent Hill 4), Shepherd’s Glen (Homecoming), Kettenstadt, Germany (A Short Message), Ebisugaoka (Silent Hill f), and now the Scottish isle of St. Amelia. We first saw it in Silent Hill itself, but there are no true borders. Seeing as how Silent Hill f and Townfall took place prior to the events of Silent Hill 1, it’s hard to say where the curse first started.
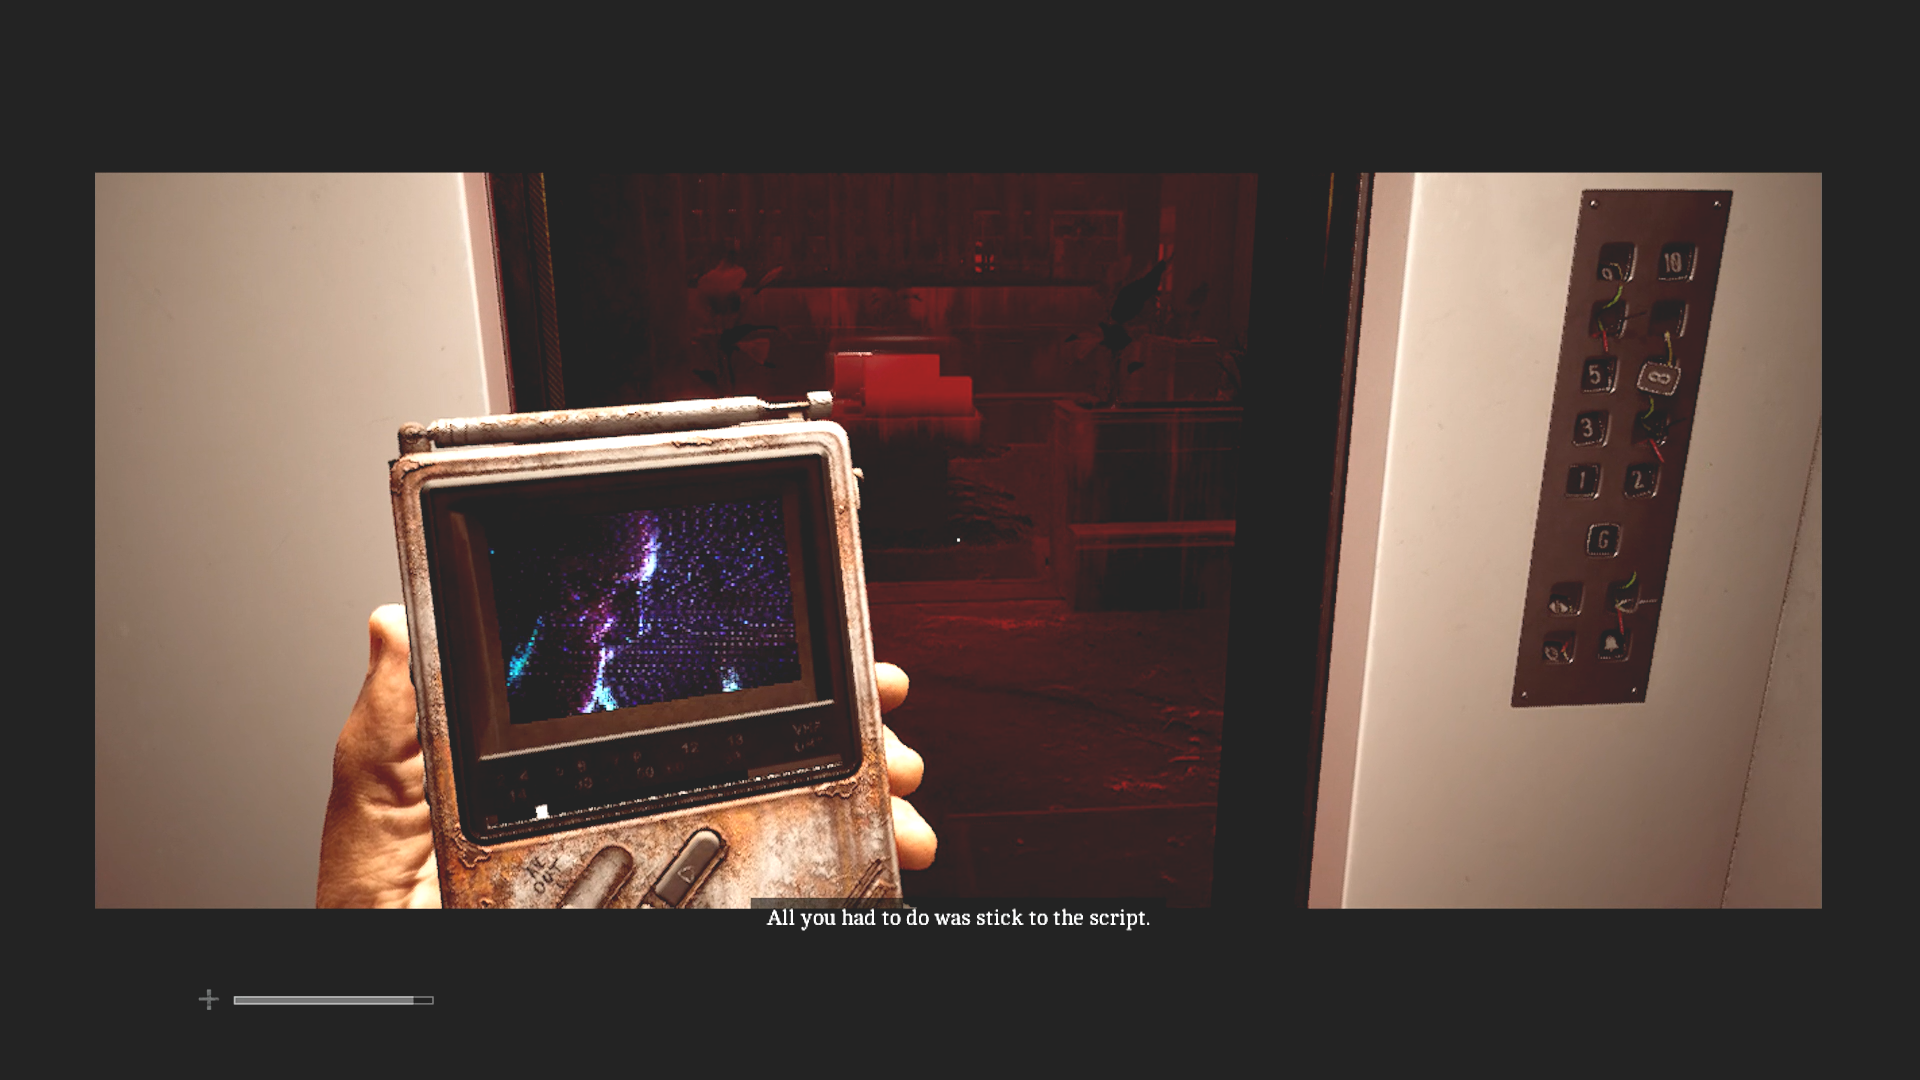
I liked the CRTV mechanic. (Credit: Konami, Screen Burn Interactive)
As mentioned, I had tons of graphic and performance issues while playing. I’m sure they were mainly Steam-related. I’m still a newbie, so I don’t know all the settings yet. (I have a very antagonistic relationship with my Steam Deck.) I found some recommended settings that helped a bit, but it was never perfect. I’m not one to bitch and moan about FPS, but the stuttering did get annoying at times. These were a day one issue, so maybe not enough testing and QC before release? There were also apparently balancing issues that had to be patched, mainly involving the difficulty of the Weight.
Beyond the technical issues, the stealth aspect of the game grated on me. I’m not a patient gamer. I prefer to just jump into the action, not sneak around. The puzzles in the underground at the end were interesting, but felt like padding to extend the gameplay by another hour or two. The game was very, very dark and it was often hard to see what was going on. (As you can likely tell by some of my screenshots. I did the best I could to brighten them.)
Faults aside, this was by far one of the most anxiety-inducing games I ever played. (Silent Hill or otherwise.) It was genuinely nerve-wracking at times, and some of the areas were exhausting to get through. But I missed the combat aspect of the earlier games. Again, this one was aimed for stealth, but being able to freely fight the enemies that are in your way gives you more control over your fate. Townfall, in that sense, does quite well at making you feel helpless. The scarcity of items, getting single bullets instead of packs, the low durability of weapons — these all factor into the tension and stress.
Zoe’s segments were carefully designed to make you feel out of your depth and overwhelmed, just like she would have felt while this was all going on. As Richard, constantly seeing the dead Richards from his failed attempts served to make the entire thing feel hopeless. The same with Simon’s final puzzles. dodging the monsters and the Weight as you desperately try to avert a disaster you know you can’t stop just keeps the tension going.
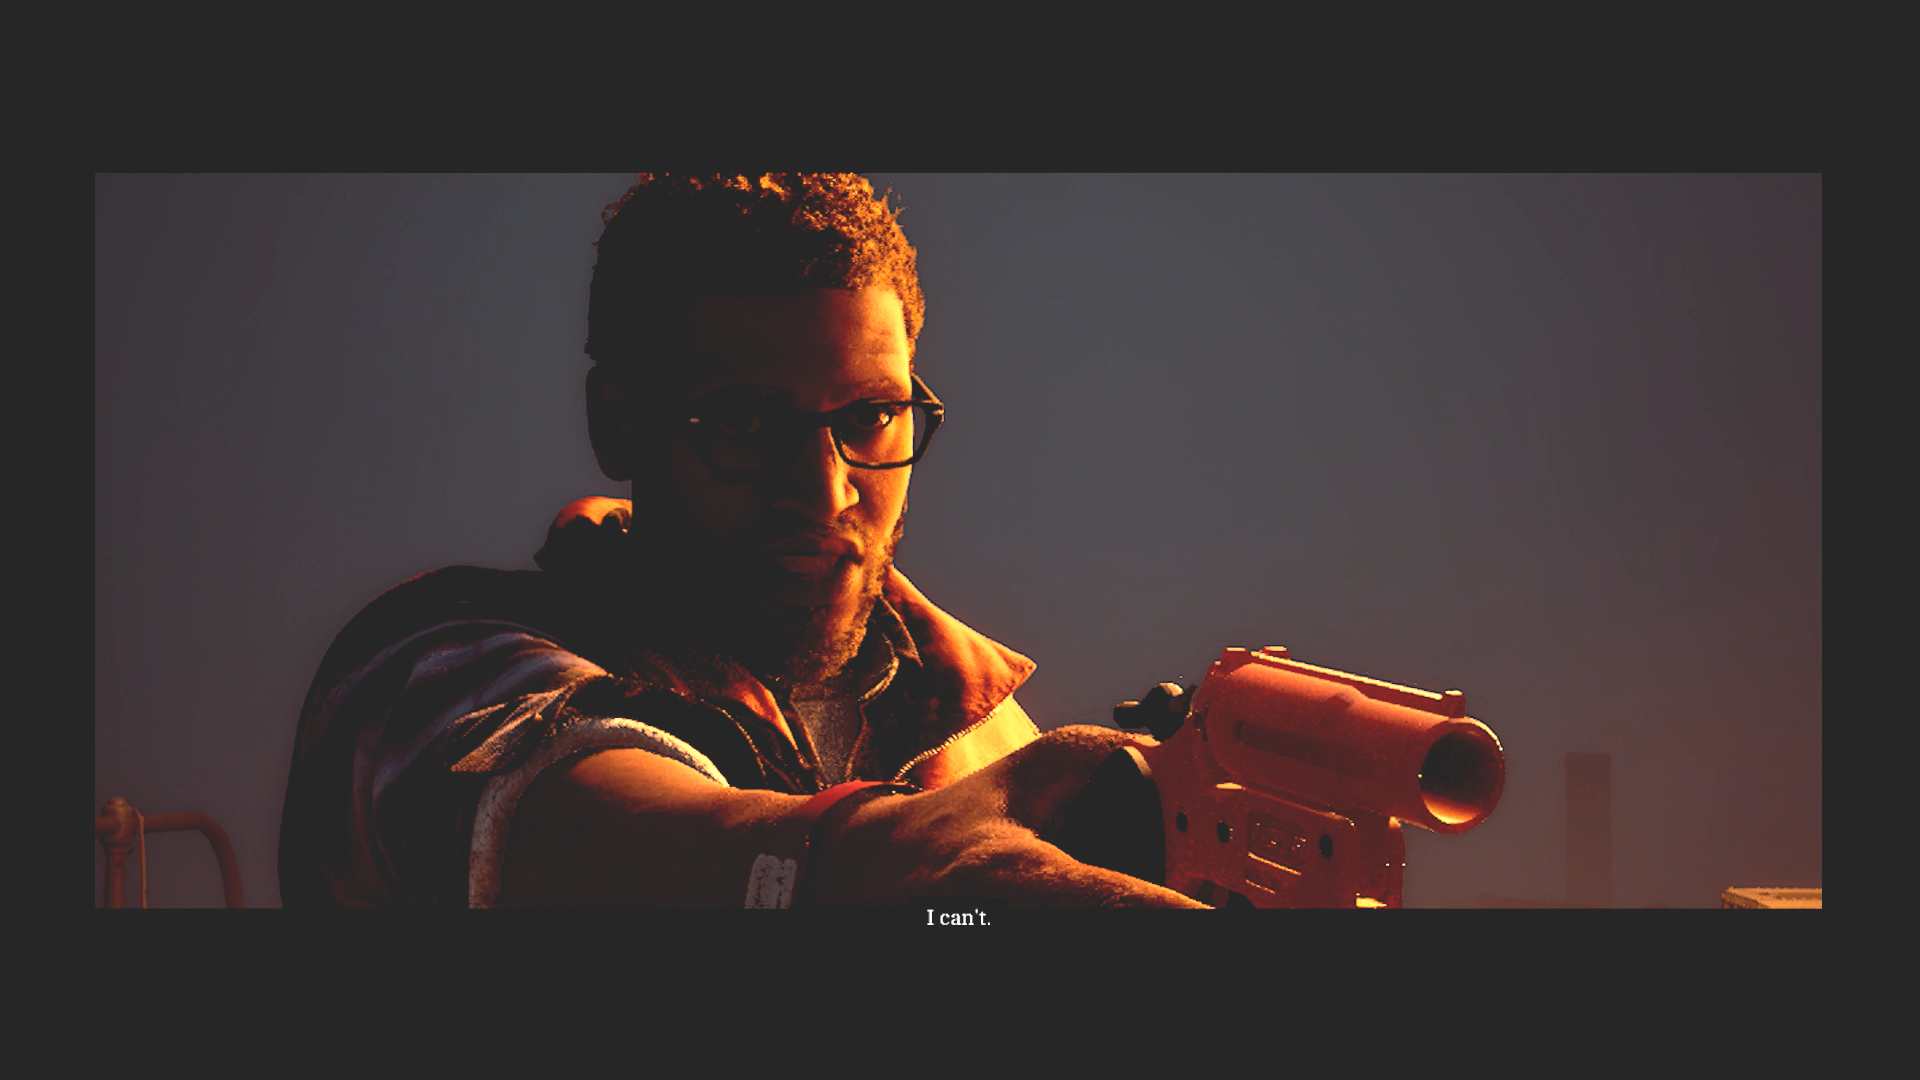
I don’t think this is the right move. (Credit: Konami, Screen Burn Interactive)
It can take a lot of strategy to proceed on your path. Do I sneak by, do I throw a bottle, turn on a radio or set off a car alarm? Which way do I go after causing a distraction and will another enemy come out of nowhere as I’m sneaking past the first? Is it worth hiding? Do I risk a fight? The difficulty of the monsters and the stealth mechanics adds a lot of depth to the game. But it can also get very tedious. Every time you enter a new area or get a new objective, there’s a new set of monsters wandering around, getting in your way. Of course I’ll play again to get the other endings, but knowing that I have to lean more into the stealth and rely less on combat makes me hesitant to fire the game up again. Knowing that I have to stealth more than fight to get the better endings seems like a daunting task. (Especially in the final boss battle where the enemies swarm to get between you and the Weight.)
Combat in Silent Hill f was like a dance, relying on strategy, timing, and rhythm. In Townfall it’s more frantic. Brutal and desperate. It’s better to run from the problems and hide away, but even that doesn’t mean you’re safe. Besides, none of these monsters deserve to die . . . they’re the victims, after all.
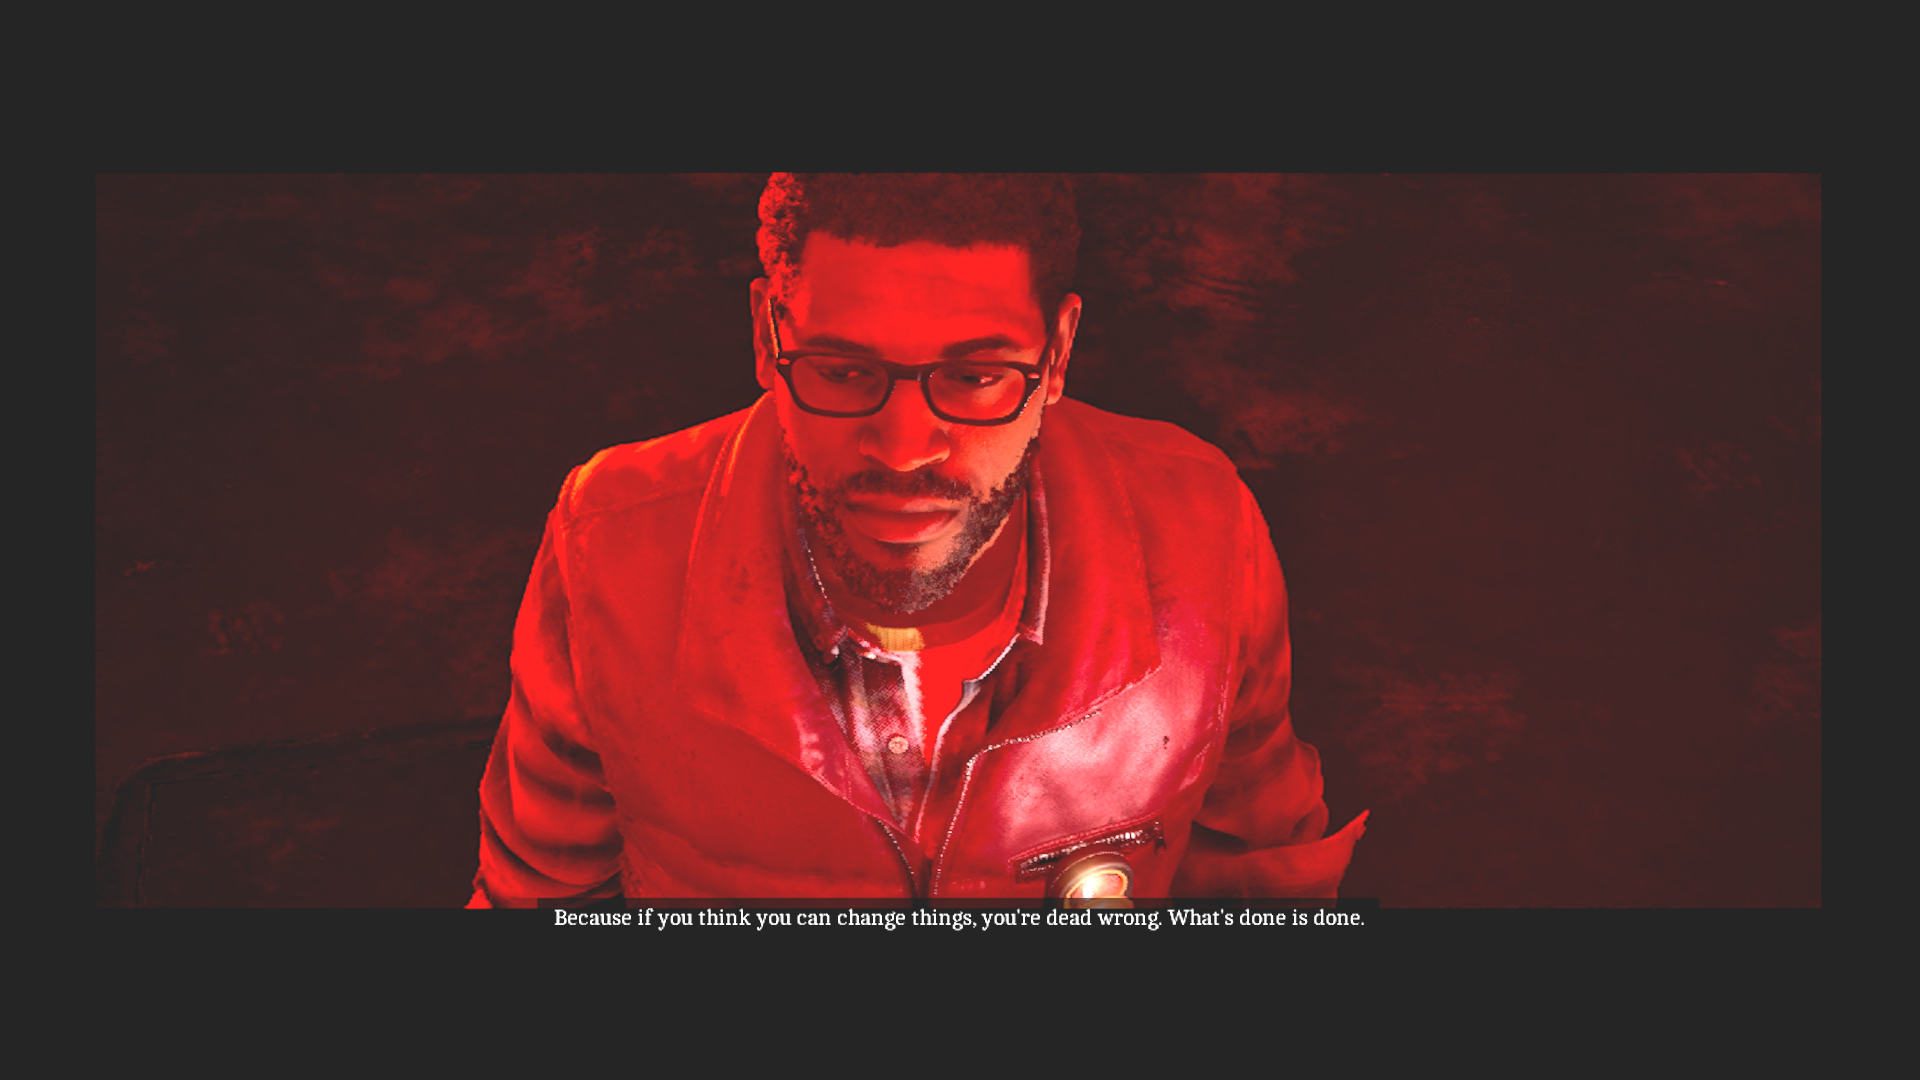
Yup. (Credit: Konami, Screen Burn Interactive)
All in all, I would say my thoughts and feelings for Silent Hill: Townfall are mixed. I’m glad I got it and played it. I’m looking forward to playing it again and seeing the other endings. But I know it will be a trial to get through some of the sections again. The story was relatively simple, but was told well. The characters were well-designed and had depth. I love the parts that felt like old-school Silent Hill— fighting and exploring— but I appreciate what they were trying to do with the stealth mechanics. While a little more drab and understated than Pyramid Head, the Weight was a nice addition to the Silent Hill boogeymen. The voicework was excellent— I’ve always been a fan of Terry O’Quinn— and the music and sound effects were great.
While Silent Hill: Townfall will never be my favorite entry, I did have fun with it. It was also very frustrating and tiring to play through. It was a welcome addition to the growing Silent Hill franchise, but one I only plan to play one more time. (I plan to carefully plan my way through and use multiple save files to get the other four endings.)
That’s enough TV for today. (Credit: Konami, Screen Burn Interactive)
Thank you for joining me on our most recent trip to Silent Hill! As I said, this was a tough one and came down to the wire. But we got through it. I was thinking next year I would finally play Silent Hill Origins, like I’ve planned for the last several years. But my plans have changed again. While editing this post I learned that Bloober Team’s Silent Hill 1 Remake should be released in 2027. I have to play that the second it releases. I’m excited to see what they do with it and if they move on to SH3 next.
Next up on the blog will be the annual Christmas post and the year end Video Game post. I hope to see you there. I appreciate you all and I’ll see you the next time we venture into Silent Hill!
Bye everyone! (Credit: Konami, Screen Burn Interactive)